Tonight I came down to the kitchen, having fallen asleep reading to my sons hours before, to the dishes and pans piled up from tonight’s dinner. Ugh. Last thing I felt like doing was dishes. The dishwasher was full of clean things I put on this afternoon and the pots and pans still needed to be washed. The funny thing about my love of cooking is that I am anything but a domestic goddess; I hate cleaning the house and doing laundry. I am constantly battling piles of papers that I need to weed through. But that never stops me from cooking, especially for others. I remember at university I’d rather cook a spectacular Indian/Japanese meal for my 7 flat mates (it was really 5 but we had one live-in girlfriend and an exchange student staying with us for several months), than go to my lectures. Messed up priorities.
I mean, I love in the summer that we often grill, just so that clean up is easier. Or in the winter a crock pot meal is perfect for the ease of cleaning and also that the prep time is not during the kids’ witching hour. Marinating a food for grilling later can also cut your stress when you’ve planned that day’s dinner beforehand. Even if we are pressed for time, I usually make sure my kids have healthy meals. I will take short cuts but won’t skimp on vegetables.
Today, I was reading a Parent & Child magazine my son brought home from school and saw a recipe for chicken satay. I love satay, and though I haven’t made it before, thought my kids would love it too. I had time this morning so I made the recipe. But I thought about the satay that was made in a restaurant I worked at during senior year of high school and thought they made it without the peanut butter in the marinade, so I adapted it in another marinade as well.
Annabel Karmel’s Satay Marinade:
- 1 Tbsp grated ginger
- 1 clove garlic, crushed
- 1 Tbsp lime juice
- 1 Tbsp soy sauce (I use tamari)
- 1 Tbsp honey (try to buy local)
- 1Tspn peanut butter (I use Trader Joe’s Organic salted- just peanuts and salt)
My version had above without the peanut butter and I added a Tbsp of OJ. I pretty sure the restaurant I worked at used pineapple juice but I didn’t have any.
Annabel Karmel’s Peanut sauce
- 1/3 cup chunky peanut butter (I only had smooth, but it was ok)
- 1/3 cup coconut milk
- 1/3 cup water
- 1 Tbsp sweet chili sauce
- 1 tsp soy sauce
- 1 tsp lime juice
I cut the chicken breasts into strips and marinated them in two different containers in the
fridge for 8-9 hours.
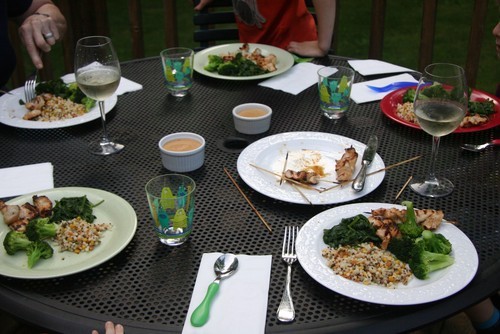
So, this evening, after I started the grill, I made my vegetables and grains. I used the Trader Joe’s Harvest Grains. It’s a mixture of Israeli Couscous, orzo, baby garbanzo beans and red quinoa. It takes 10 minutes to cook, very easy. My eldest loves it so much, we always make enough for leftovers so he can take it to school for a snack.
We had baby spinach from our CSA and broccoli. Those are probably our go-to vegetables. All three of my kids love them and I can store it more than a couple of days if need be. If you’ve read my other posts, I did my usual preparation— steam, shock, reheat with little butter, sea salt and pepper. Tonight I added a little garlic powder to the spinach.
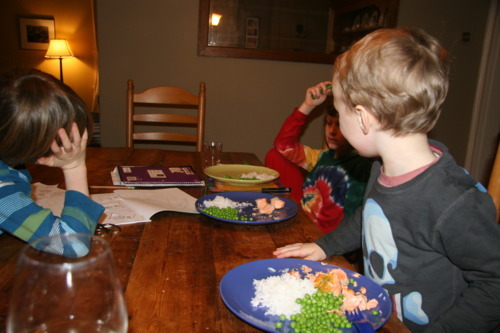
My kids loved the satay but didn’t care too much for the peanut sauce because they supposedly don’t like coconut at the moment. News to me. But they cleaned their plates of all their vegetables and most of the grains. 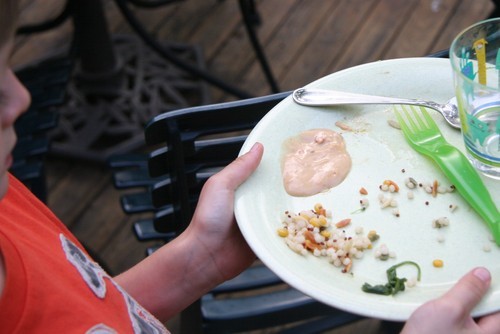
Now, I have dishes to do. I washed up the pots and pans, rinsed the food off the plates and cutlery, and will unload/reload in the morning. Now it’s time for bed. Priorities.
© 2010 mykidsreallyeatthis.com
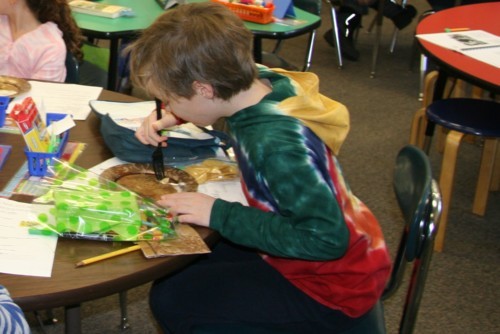
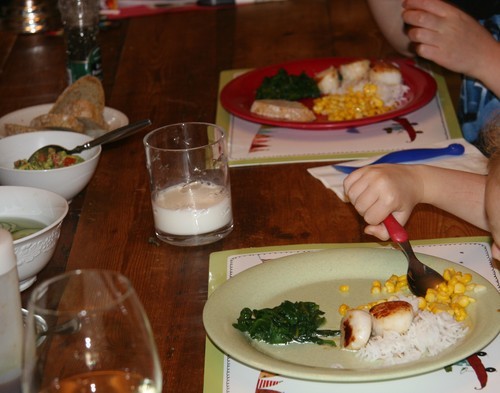
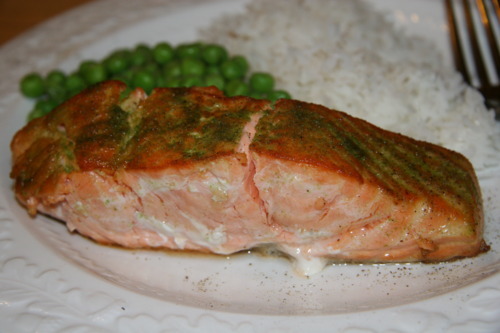
 This is my youngest son enjoying one of his favorite veggies. Though when I asked him last night what his favorite vegetable was, he said, “Salmon!”


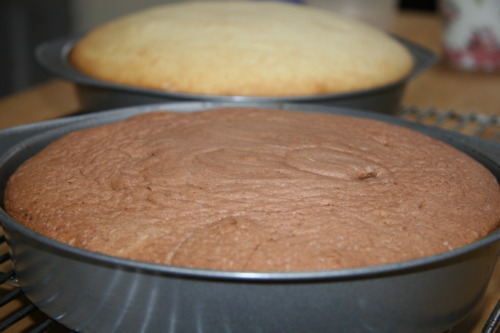
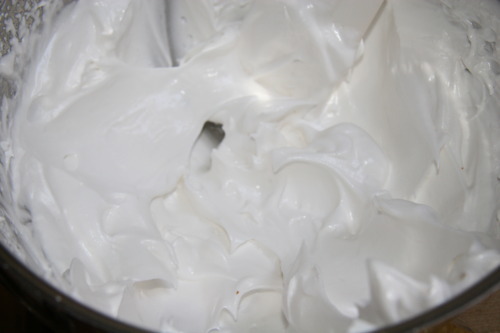
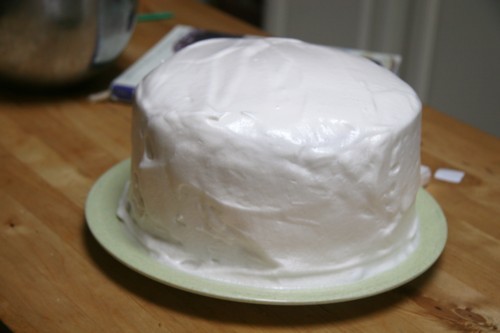
 So for my son’s dinner at home with sitter I made cupcakes, then dinner with friends and his party at Chuck E Cheese’s (hate the place- torture for parents, bliss for kids) cakes with the vanilla cake recipe and meringue frosting with variations. I only made 12 cupcakes so I halved the recipe.