I don’t call myself a baker for good reasons— I am often too impatient to allow the proper processes and I tend to improvise, which can often end in disaster. (Plus distractions can also lead to baking failure). Whereas cooking is actually open to not following directions as long as you have an idea of what flavors will go well together. I once had a flat mate that mixed too many different herbs and spices and each meal tasted like it was burnt but it wasn’t actually overcooked. Baking is a science with chemical reactions depending upon temperature and mixing the specific ingredients in sequence. If you stray from the sequential order, forget or add something, or if the weather is not right for what you’re working with… not the best outcome.
My youngest son turned four so I baked a cake for his party and make cupcakes to bring into his preschool class. I followed my friend Amanda’s chocolate cake recipe (adding white chocolate chips) but I missed the part about lining with parchment (or flouring) and just greased the pan. It stuck and broke and I was left with a horrible-looking mess. Ugh. Looking back I remember when I’ve made cakes in the past and they always say to grease and flour or line pan but last time I baked a “real” cake (not quick bread or brownies) was a year earlier for his 3rd.
Well, I just thought I’ll try to save it by turning into an ice cream cake. So I made some vanilla ice cream and added chocolate chips (yes, made— I got an ice cream maker for my birthday last year and I knew I’d have to soften a store bought tub enough to spread on cake, which could end in an expensive mess). Now it would have worked nicely had I been patient enough to freeze the cake for more than 20 minutes (I wanted to take the boys for a hike) and wait to get the ice cream a little more frozen. But, I didn’t. I spread the lovely tasting ice cream over the mess of a cake and stuck it in the freezer. When we got back from our fantastic hike, I checked on the cake and the ice cream had mostly melted and then refroze into the cake. Man!
The next morning I made the frosting and actually got the cake looking pretty good considering its mistakes. 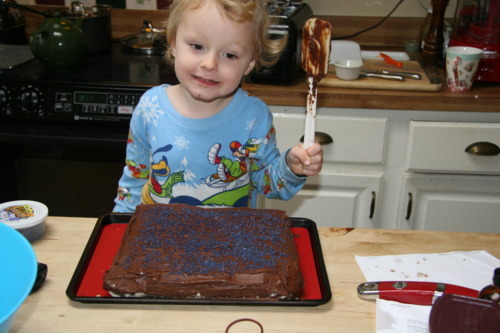 But we had a 20 minute drive to the birthday party place and it was cold out— good for ice cream cake had it stayed outside instead of on the floor with 73F heat blowing on it! Now it was more like a chocolate frosted mess swimming in a cream pool. Luckily they had a fridge so the damage didn’t progress too much more.
It made me realize if I insist on baking I should give myself plenty of time and read all the directions. The cake actually tasted great to me and the parents who had some. The kids’ reviews were mixed of those that ate any as some wouldn’t have any. Since many children focus on aesthetics I completely understand why some would pass on even a taste. 
If you make this, put cake layer in freezer for at least an hour or two before topping with ice cream.
Vanilla with Chocolate Chip Ice Cream
2 cups heavy cream
1 cup milk or half and half
3/4 cup sugar
2 egg yolks
2 tsp real vanilla extract (used bourbon vanilla)
1 cup semi sweet chocolate chips
pinch of sea salt
Over medium-low heat mix cream, milk, sugar, salt and egg yolks. Stirring often until mixture is just about boiling. Lower heat and stir in vanilla. 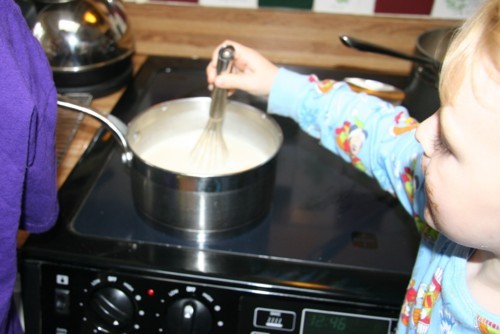 Keep stirring while it thickens slightly (for thicker ice cream increase egg yolk amount). Chill for at least half an hour before pouring into ice cream maker.
 My ice cream maker takes about 25-30 minutes for a nice creamy yet frozen ice cream. Add chocolate chips in last few turns.
 I didn’t want it too stiff so that I could easily spread it on the cake. (It was all for naught really, but the cake was super moist!) The ice cream itself was also super delicious!


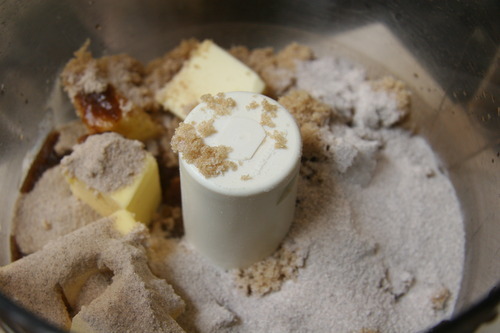
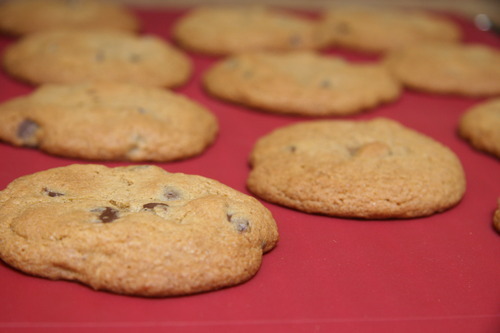
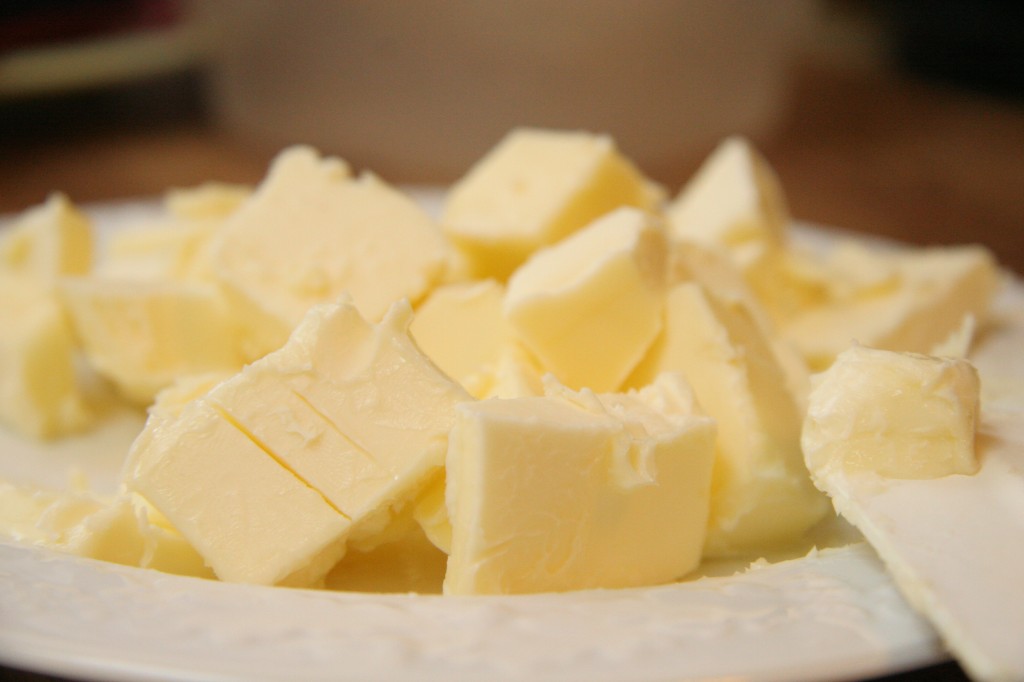 Most commonly people know to soften the butter in the microwave, but it’s important to cut the butter into small cubes and use a low setting. It’s also helpful to move the pieces around on the plate or bowl, so that they’re evenly softened (otherwise some melt while others are cold).
 Once you’ve gotten the butter temperature correct, placing it into a cold stainless mixing bowl will not help your goal. It’ll cool it down again. So, put warm water in the bowl or place the bowl in warm water for a couple of minutes and tip out before adding the butter. Too hot and butter will melt. But warm, the butter won’t congeal again.

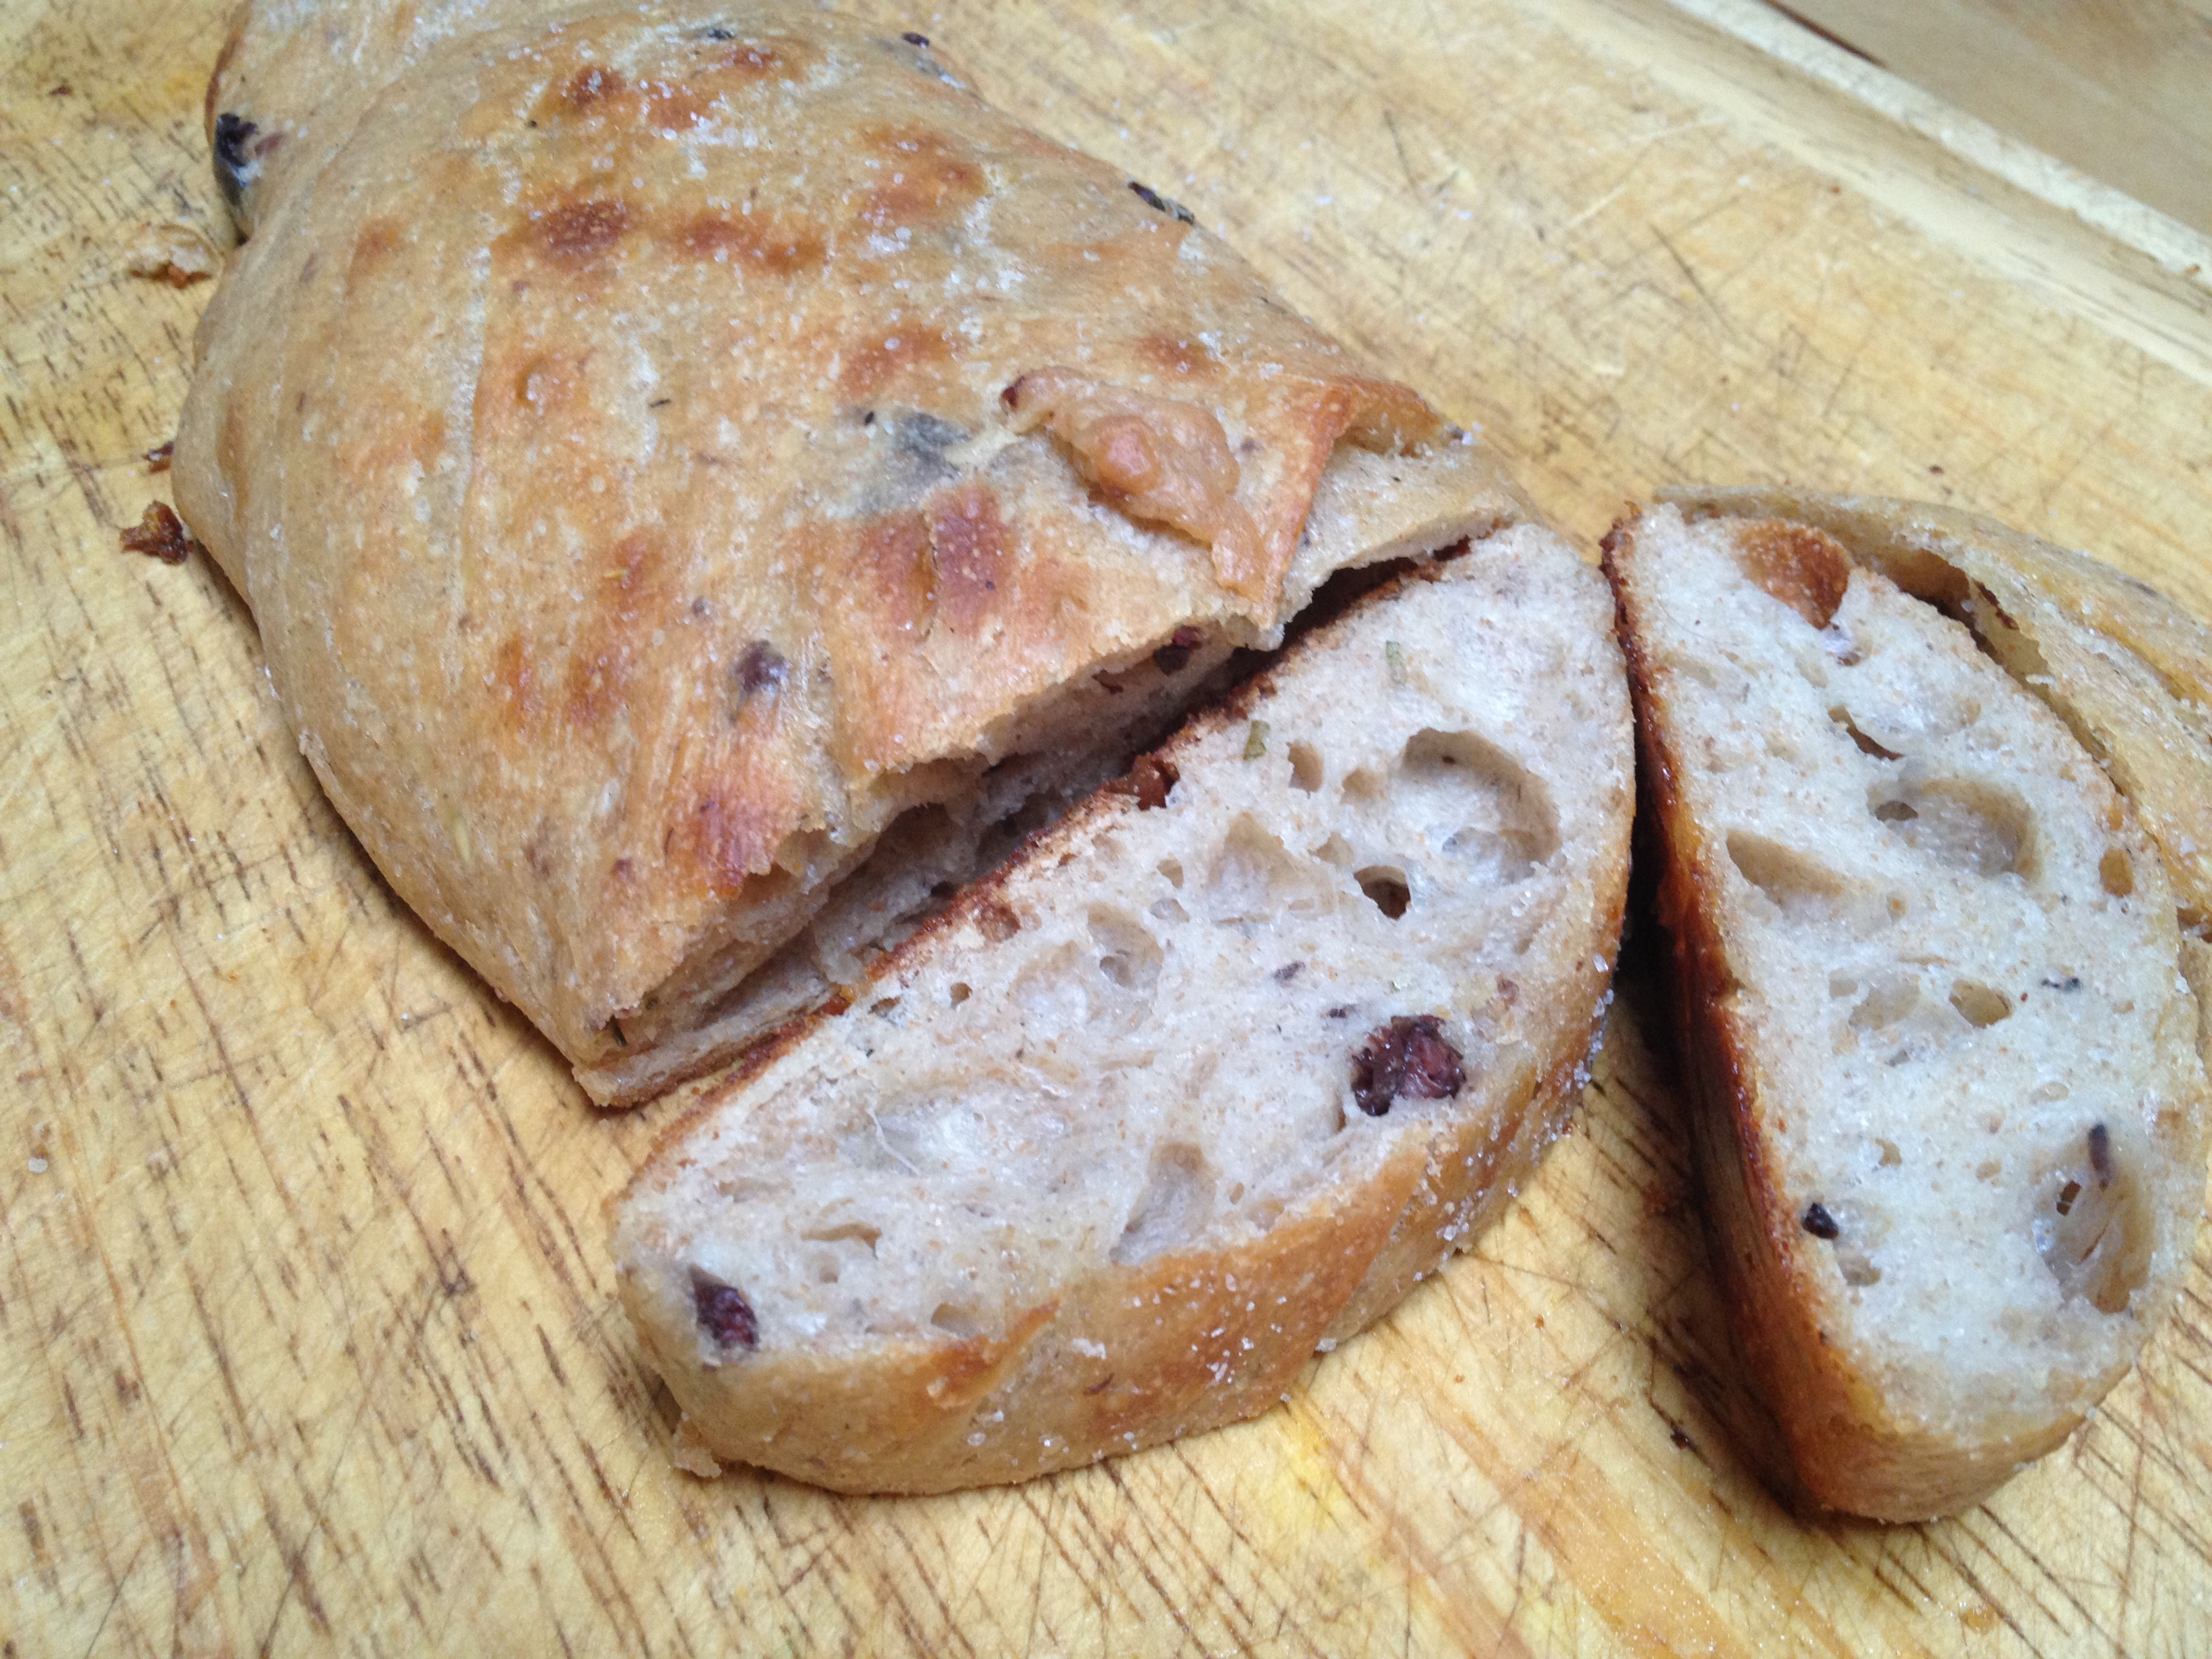


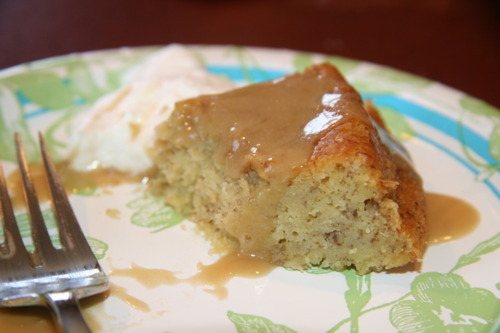

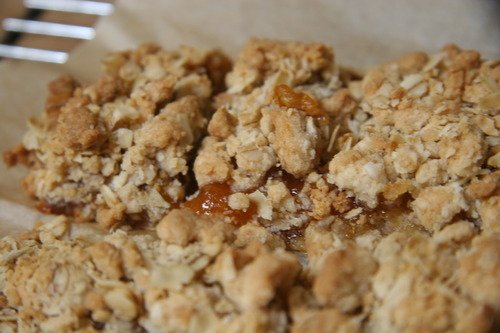
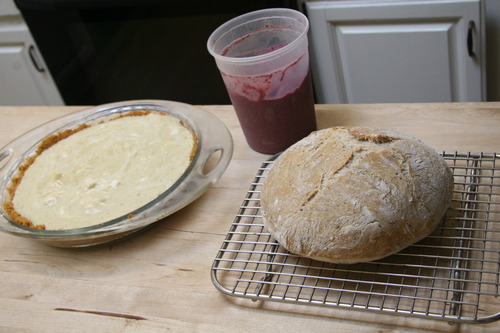
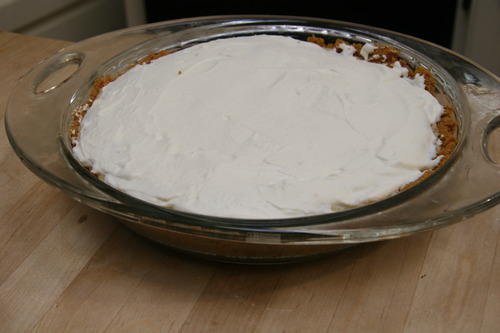
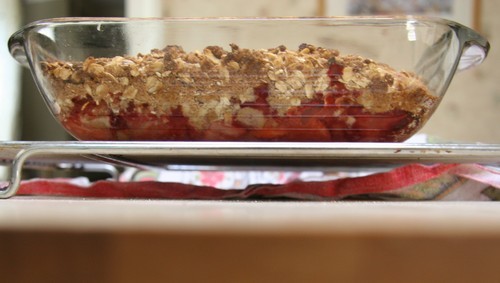
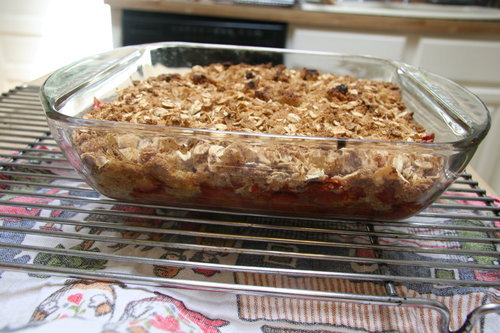
 This picture doesn’t really do it justice. I was having camera trouble and this was the best I could do.

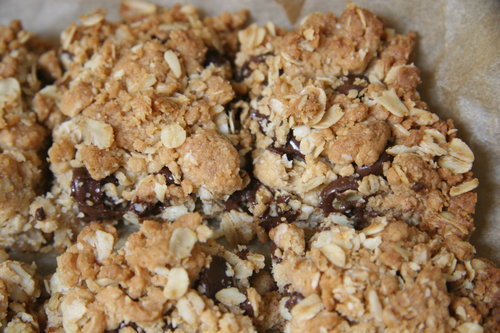
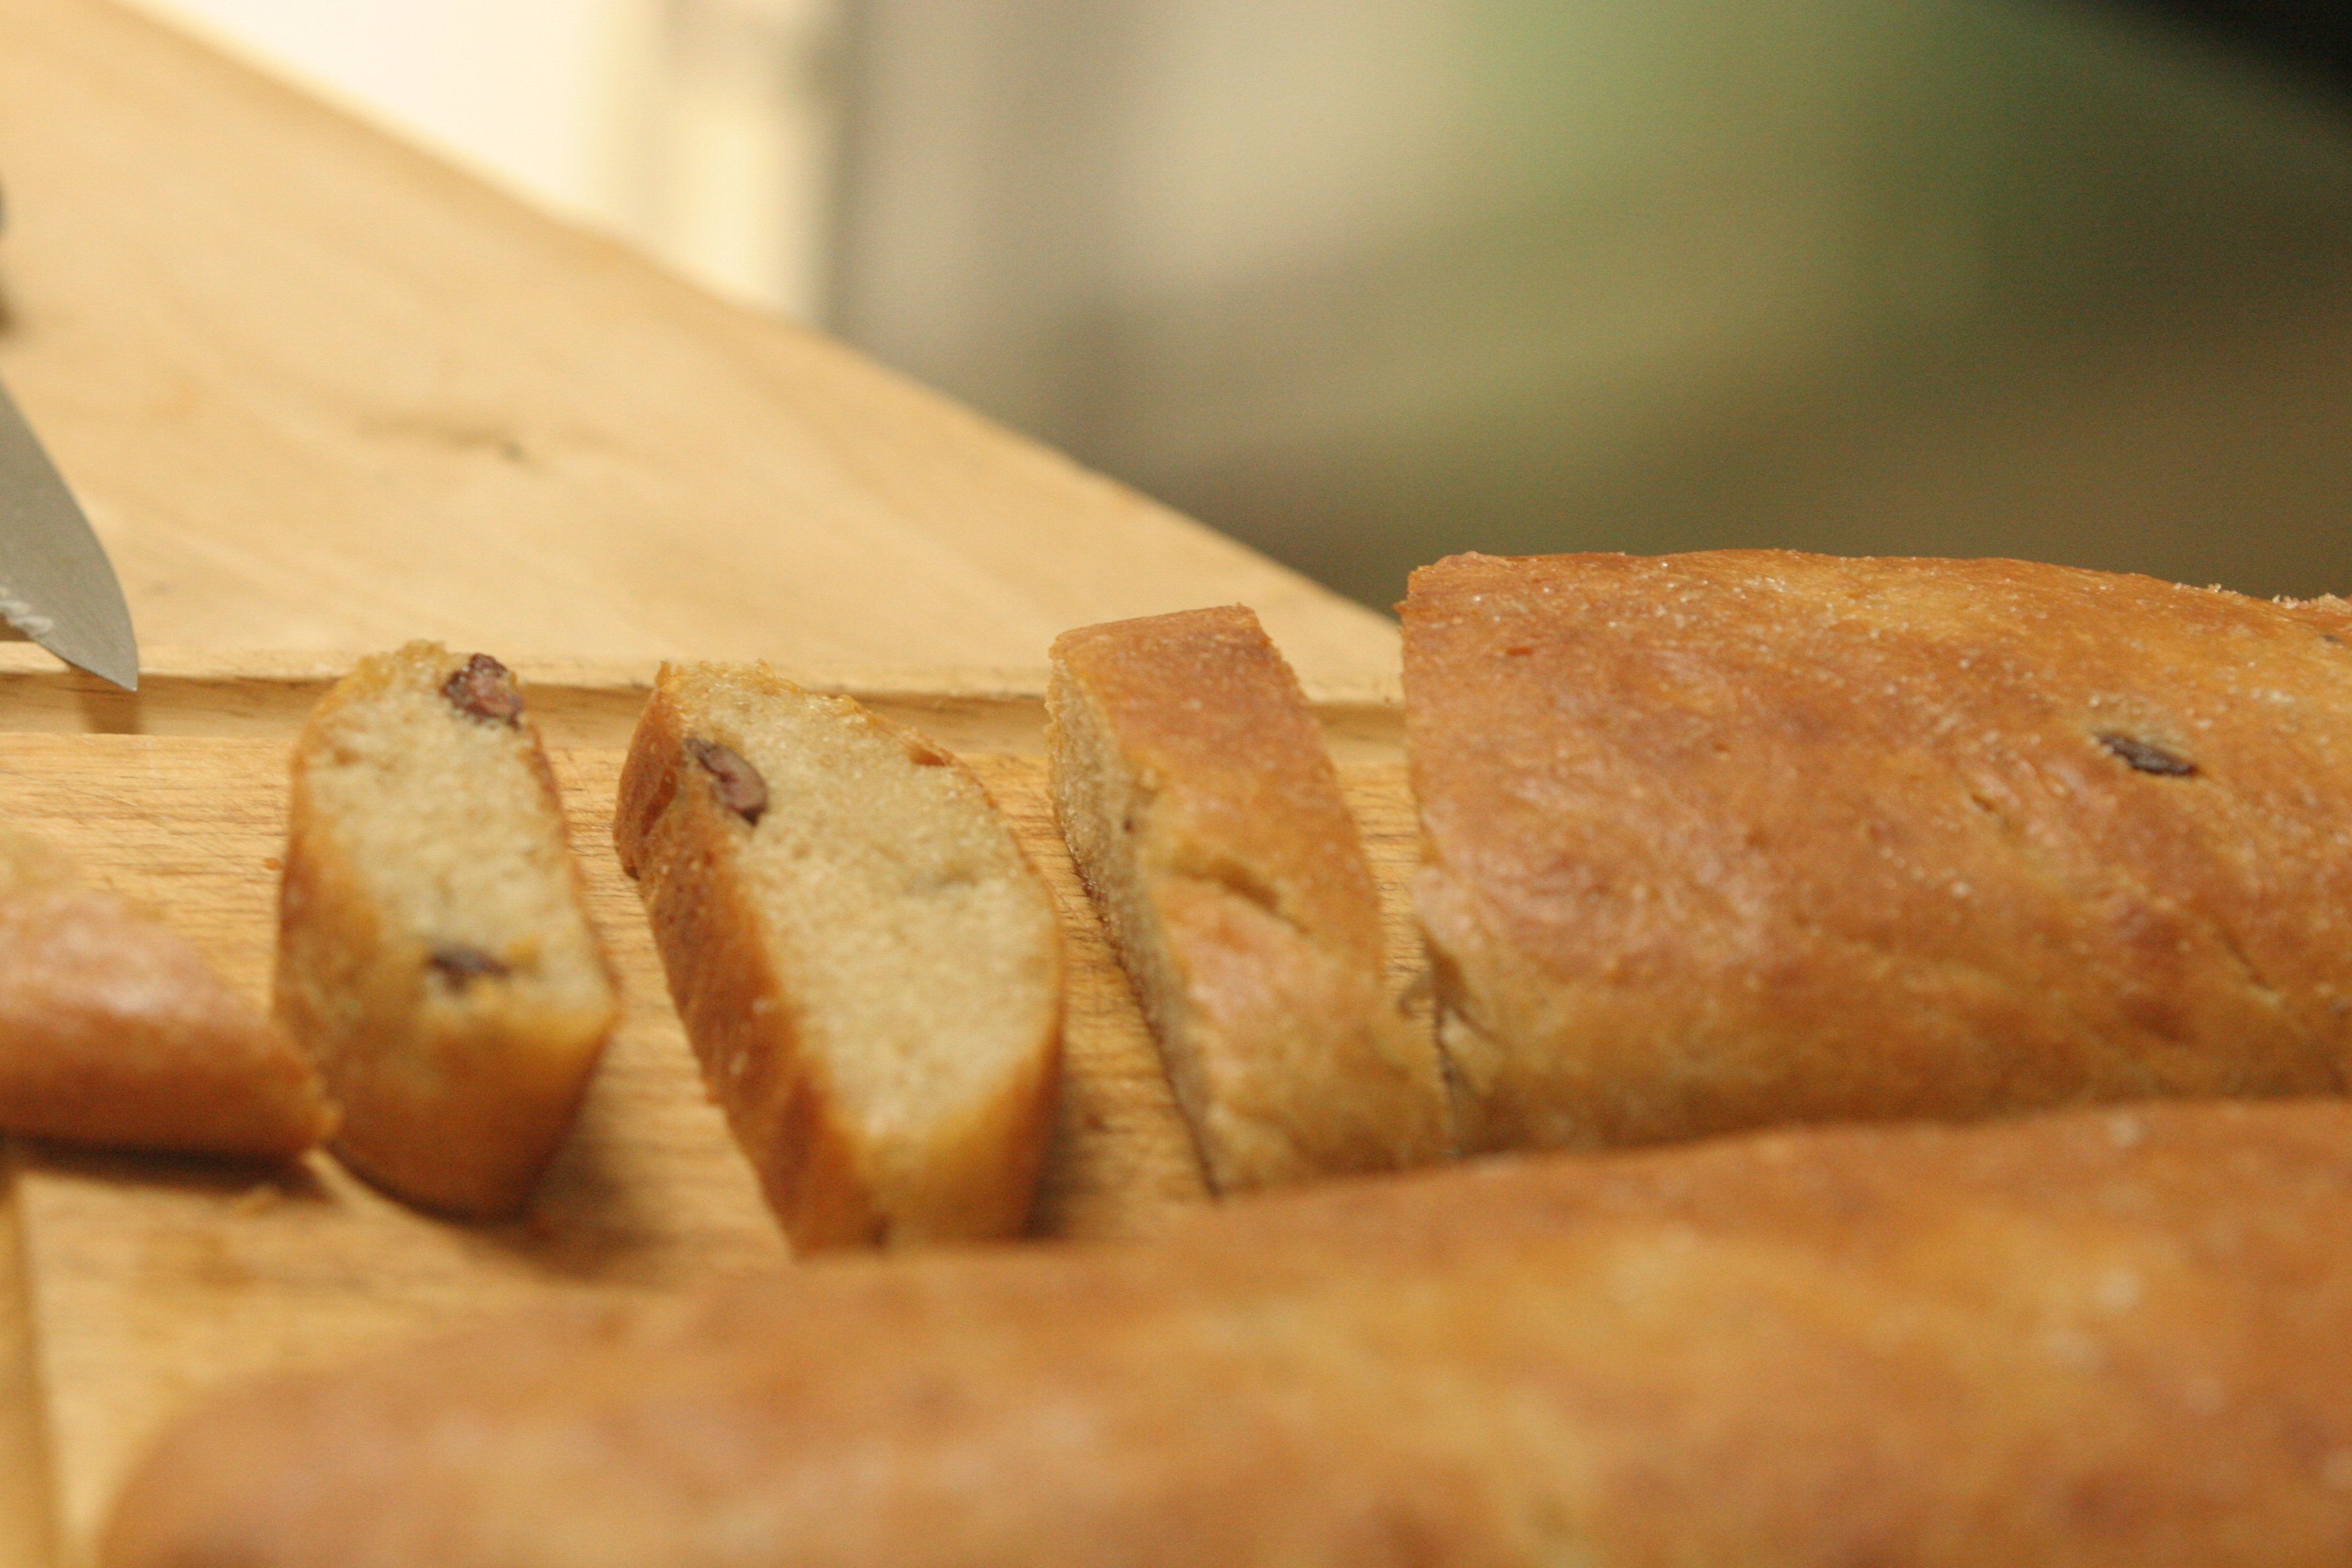
 Both tasted great.