Baking fail leads to new recipe!

I think I’ve mentioned before why I’m a better cook than a baker— my creative improvisation or really haste leads to mistakes in baking!  But this time around i came up with my own recipe that really worked!

The other week I made my first ricotta cheesecake with graham cracker crust.  Mmm, it was delicious, my kids loved it as did my friend and her girls BUT it’s texture was off.  It was grainy. 
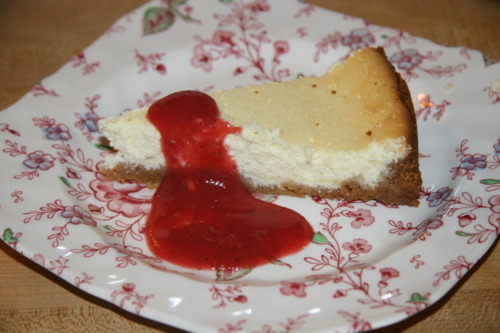
So I decided to try again but this time, besides the kids eating most of the graham cracker cookies so I had to improvise another crust, I blended two parts ricotta cheese with 1 part cream cheese in the food processor until it was incredibly creamy— no little bumps left.  I thought I was on my way to a perfect cheesecake until I made a big mistake.  I was using the Joy of Cooking and misread the instructions/ingredients because they don’t list the ingredients at first, just in the steps. I hate their layout.  Well, I read “3 cups of whole milk or part skim milk” and missed the next line.  I kept saying to myself, “I don’t remember adding milk  last time.”  I should have trusted my instincts and re-read before adding any… that’s because I didn’t last time!  

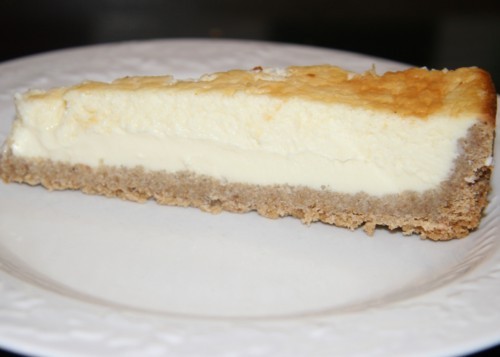
Now luckily I was low on milk and only added one cup.  Then I added half a cup of cream.  Then I re-read the recipe and saw the next line of “ricotta cheese” as in no milk but just ricotta.  Ugh.  It was too late.  I wondered if it was ruined.  I thought I may as well try, I’ll just cook it slightly longer at the lower temp.  It ended up being delicious.  And, though it wasn’t as cheesy, it was so creamy and tasted like a slightly creamier Panna Cotta or a cross between Crème brûlée and cheesecake.  So, I’ve dubbed it Panna Cotta Cheesecake.

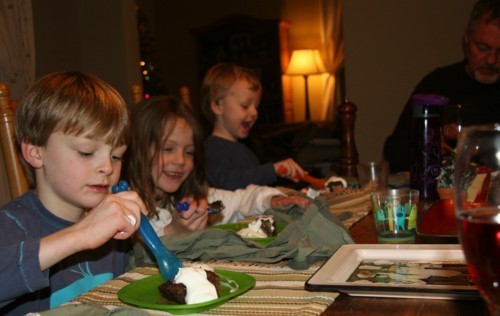
Of course, the kids loved it.  They didn’t all want the strawberry coulis, only my eldest.

Panna Cotta Cheesecake

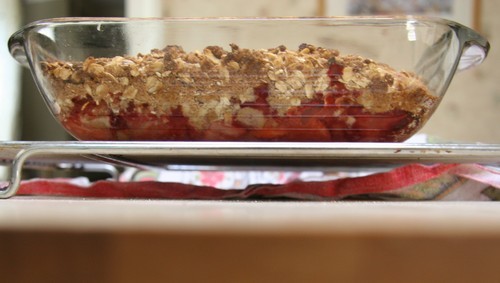
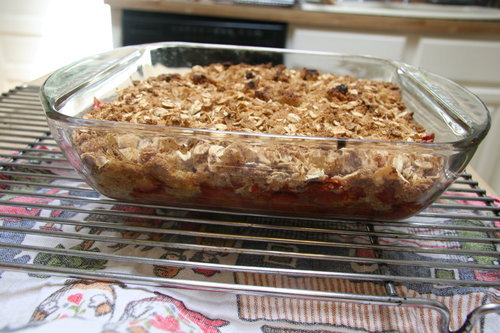
Graham Cracker & Strawberry Yogurt Cereal Crust

4 cups of strawberry yogurt cheerios style cereal (Trader Joe’s)

1½ cups of graham cracker cookies (I use organic ones without unwanted colorings, etc)

1 stick butter, melted

1 tsp vanilla

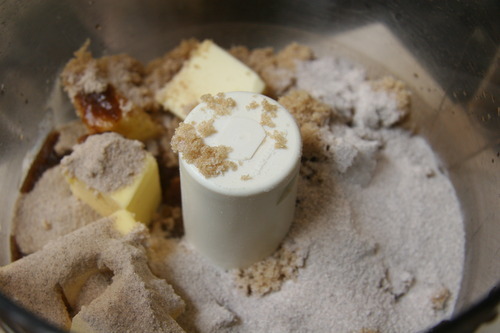
Put cereal and cookies in food processor and blend until small crumbs.  Add melted butter and vanilla into top tube while still on.  When well mixed and crumbs stick together, press into bottom and part way up sides of springform pan.  Bake for 7 minutes at 350F.  Let cool before adding filling.
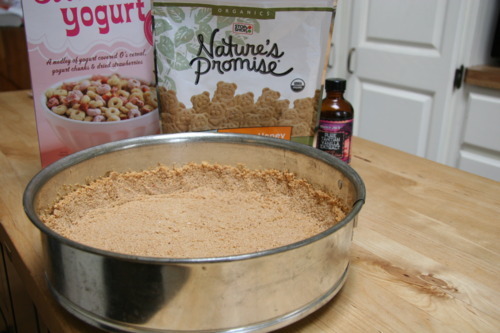
Filling

2 cups ricotta cheese

1 package cream cheese

4 eggs

1 cup sugar

2 tsp vanilla

1 cup milk

½ cup cream

Preheat oven to 400F.  Blend cream cheese and ricotta together in food processor until creamy and smooth. Set aside.  Beat the eggs, sugar and vanilla for 2 minutes then add milk and cream for another half minute. 
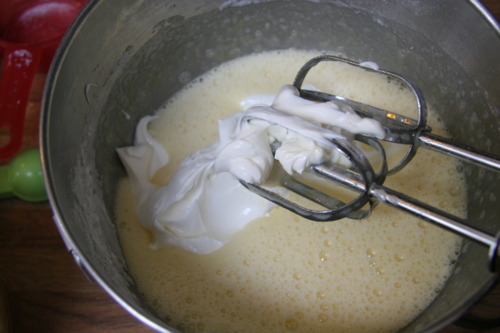
Fold in cheese mixture and then pour into crust.  If very bubbly, let settle for a few minutes before placing in oven. 
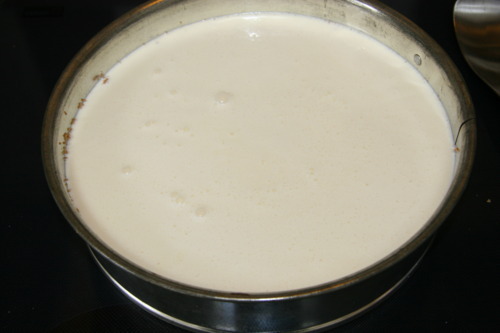
Bake for half an hour with a sheet pan half full of water on lower rack (doesn’t need to be in water bath). Lower temperature to 325F and bake for another 35 minutes. Cool completely on a rack, remove wall of pan, then place in fridge to set for several hours.
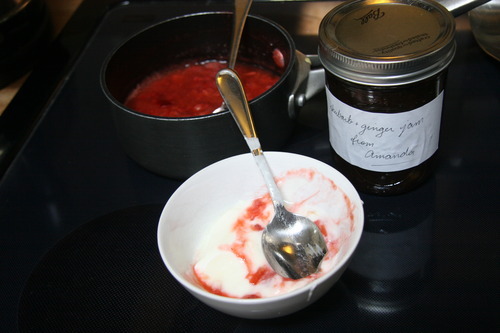
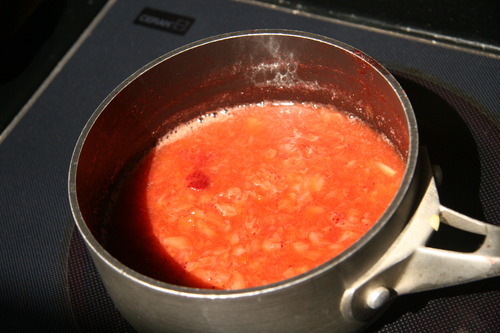
Strawberry Coulis

1½ cups frozen strawberries

2 tsp sugar

1 tsp lemon juice

¼ cup water

Place all in pan on stove and cook until strawberries are tender. 
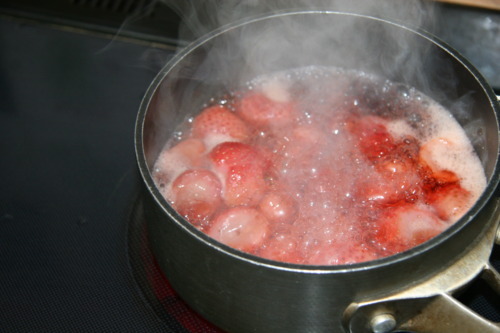
You can adjust sugar to your liking.  I prefer slightly tart as the cheesecake is sweet.  Masticate with immersion blender until smooth. 
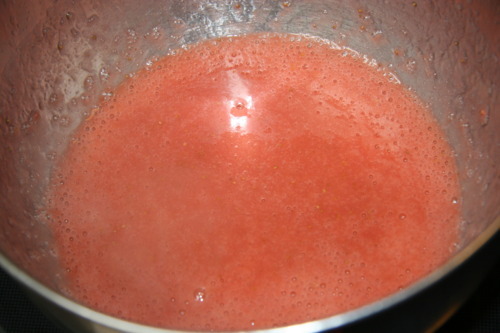
Poor on or next to cheesecake.

Enjoy!

Sticky Date/Toffee Pudding


One of my all time favorite desserts is Sticky Date Pudding, AKA Sticky Toffee Pudding.  It is not really a “pudding” in the American sense of the word, but an extremely moist cake with toffee sauce.  I first tried it at Boulcott Street Bistro in Wellington, New Zealand when I worked there in the 90’s.  The owner and the chef at the time, was nice enough to fax me the recipe when I moved back to the States, but I’d long ago lost it.  But a friend Amanda came to the rescue with the recipe from Sharrow Bay, where the recipe originated. She sent me this recipe a few months back and I finally made it.

It is fairly simple and utterly worth every moment you spend making it.   I served it over the holidays when my friend and her daughters joined us for dinner.  She said it was maybe the best dessert she’d ever had and I had to concur. Then a couple of days later I made it to bring to another friend’s for dinner.  I made it the second time in a slightly different way.  That friend and all the kids also loved it.

 First time I boiled the water and poured them over the dates.  The second time I brought the dates and water to a boil.  And I used half brown sugar, half white in the second batter.  I preferred the second one.  This is a very sweet dessert so you can always cut down on the sugar and it still would be plenty sweet enough. 

 Sharrow Bay Sticky Toffee Cake

Cake:
6 oz. dates, chopped (I used one 8oz pack)
1 tsp. baking soda
¾ cup sugar (2nd time used brown/white sugar)
4 tbs. butter (1/2 stick)
2 eggs
¾ cup self rising flour (
I used 3/4 cup flour, 3/4 tsp salt and 3/4 tsp baking soda well sifted)
½ tsp. vanilla

Topping:
6 tbs. heavy cream (I increased this to taste)
¾ cup dark brown sugar
½ stick butter (I used 1/2 stick salted butter)
½ tsp. vanilla

Cake:
1. Preheat oven to 355° F
2. Grease and line 8 inch square baking pan
3. Place dates in saucepan with 1 cup of water. Bring to a boil. Take off heat and add the baking soda. Stir well, and let sit for 10 minutes.
4. Cream butter and sugar together. Add eggs and vanilla, beat well.
5. Stir in the flour.
6. Stir in the date mixture
7. Pour into baking pan (it is a very loose batter). Bake until toothpick inserted in cake comes out with moist crumbs clinging to it. Approximately 30 minutes.
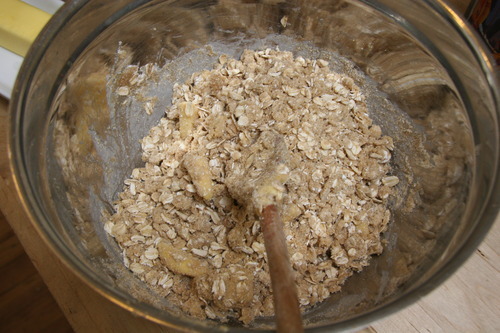
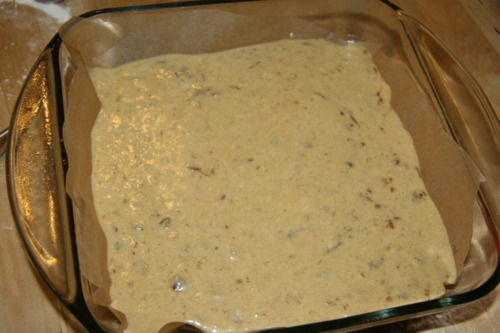
This is my first batter in which the dates/baking soda were just soaked in boiling water.  It will be much darker if you bring dates/water/baking soda to a boil.
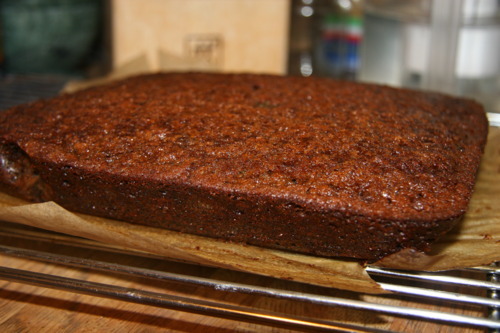
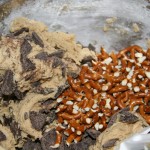
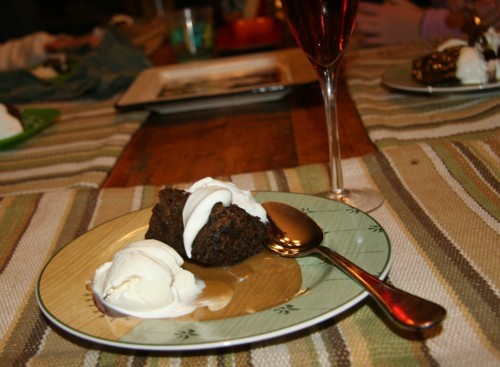
Topping:
Place all ingredients in a saucepan. Bring to a boil while stirring. Simmer gently for 15 minutes, stirring occasionally. Allow to cool and then pour/spread over cake.


Serve with whipped cream and/or vanilla ice cream.  You could also make a creme anglaise in place of the toffee sauce topping. I really couldn’t believe how easy it was to make.  So glad I can make it to our hearts’ desire!


A wonderful benefit of this dessert is that it’s got great fiber content.  It is much healthier than many other desserts (besides the fact that it’s got heaps of sugar, but then it is dessert).

A Day of Baking

We have new neighbors so I made some cookies and bars to bring over to them; welcome them. They haven’t moved in yet, doing renovations, but the builder was there and put them in the fridge. I got a message that did get them at least, just have to wait to meet them.

I made the Apricot In-Betweens my friend blogged about here. I actually made 3/4 of the pan with apricot and put chocolate chips in the other 1/4. Both tasted great.

I thought of making some chocolate cookies but didn’t have the patience (nor time) to make most recipes- melting chocolate and then chilling the dough for a couple of hours when there was a ton of housework calling out to me, just didn’t seem like the best idea. So, chocolate chip cookies are an easy thing to make. But still I wanted something, more… I found it in the form of Ghirardelli’s White Mocha Hot Chocolate Mix. I made the recipe (but just half) from just the back of a Trader Joe’s semi-sweet chocolate chip package but substituted the White Mocha mix for the white sugar. It was subtle but delicious, especially when still warm from the oven.

Mocha Chocolate Chip Cookies

Combine:

1 1/4 cups flour

1/2 tsp salt       

1/2 tsp baking soda

Set aside. 

Mix until creamy:

1/2 cup brown sugar

1/4 cup Ghirardelli’s White Mocha mix

1/2 cup softened unsalted butter

1/2 tsp vanilla

Add 1 egg and beat.

Mix in dry ingredients.

Stir in 1/2 package chocolate chips (about 6-8 oz)

Place rounded spoonfuls onto cookie sheet and bake at 375F (preheated) for 8-10 minutes.  Makes about two dozen cookies.


I also mixed the ingredients together for the No-Knead Bread I posted here.  It’s best to mix the dough the day before you’re baking it.  I made this one with regular flour and just a Tbsp of ground flax-seed.  Yum!  Really, such a great method.  I never used to bake bread, now I make it all the time!

Strawberry Rhubarb Crisp

A request was put in for me to bring my banana cream pie (this one I’d created the crust out of banana Cheerios) to a friend’s barbecue.  But it was forecast to be one of the hottest, most horrifically humid days of the hottest July’s on record, last thing I wanted to do was stand over the stove whisking the eggs and sugar until they reach 165°F.  So instead, I baked a crisp.  At least I could leave the kitchen while it was in the oven.

I had some rhubarb from my CSA and I bought some organic strawberries (we’re into blueberries round here now).  They make such a great sweet-tart combination and I wanted to use up the rhubarb. 

Strawberry Rhubarb Crisp
In a bowl mix: 

2 cups of strawberries, cut·
1 1/2 – 2 cups of rhubarb, cut 
sugar- about 1 Tbsp, just enough to coat them
juice of 1/4 lemon
2 Tbsp flour 

Crumb topping:

2 cups oats·        
2 cups oat flour (or wheat flour)        
 
1 cup minus 2 Tbsp loosely packed brown sugar
1/4 c maple syrup
1 stick butter (if you use unsalted add 1/4 to 1/2 tsp salt) cut into small pieces.  

Mix ingredients together until you notice crumbly appearance.

 Pour into 9×9 inch glass pan and top with crumb mixture.

Bake  it at 400°F for 20 minutes then at 325° for 20 minutes.  I warmed it later at my friend’s in the oven and served it with vanilla ice cream.   

My eldest son loved it! The other kids weren’t interested that evening, but had some as left-overs next day.  Next time I’ll make nectarine and blueberry pie or crisp, my other favorite combo.  

Inspiration

The other day I was reading my friend’s fabulous baking blog which showcases her amazing gift with such beautifully photographed details.  She said she started it because my blog had inspired her.  She wrote about making rhubarb ginger jam which in turn inspired me to go to the fridge and finally use that rhubarb I had bought at a local farm.  I made a strawberry rhubarb compote because I didn’t have enough of either to make a pie.  It is so easy to make and takes as much time to cook as it does to chop.  I don’t have any jars for jam so didn’t even consider it. 

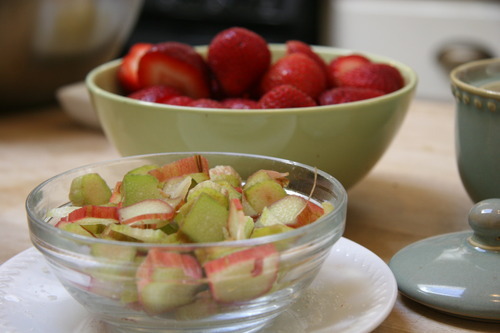
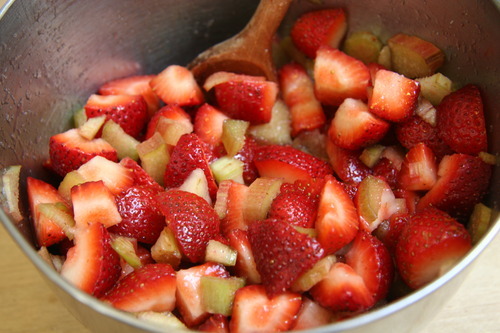
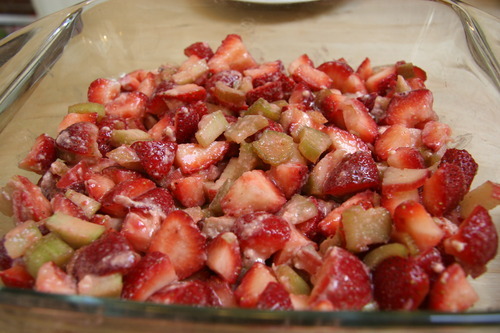
Strawberry Rhubarb Compote

  • 1-2 stalks rhubarb
  •  1-2 cups of chopped strawberries
  • 2 Tbsp water
  • 2-3 tsp sugar
  • 1 tsp lemon juice

Just chop one large stalk of rhubarb into 1/2 inch pieces and heat over med-high heat with water and sugar for several minutes, add strawberries (about 1/2 inch pieces) and lemon juice.  Stirring constantly simmer for couple of minutes until soft.  You want the strawberries to retain their color.  Take off heat and cool.  Perfect stirred into yogurt or over vanilla ice cream.  My eldest son would eat a whole bowl of just it alone, if allowed.

Amanda had made strawberry scones to serve with her rhubarb-ginger jam.  It brought back memories of scones.  Like my first trip to Wanaka, New Zealand when I was 16.  I had asked, looking up at a menu in the maze snack shop, “What’s a scone?” (I pronounced like you would “cone” in a thick American accent).  My friends thought it was hysterical because there they pronounce it “scon” (as in “gone”).  Well, however you say it, I have enjoyed scones ever since, but I’ve never made myself.  Eating some in Devonshire with real clotted cream and fresh jam is another stand-out memory.    

Anyway, Amanda is such a fabulous baker, she even sells her delicious and beautifully decorated cakes and cookies now, and I was thinking what a treat it would be to eat her scone with her jam.  I dished out my strawberry-rhubarb compote, a poor substitute, but delicious anyway.  I had just put some on vanilla yogurt when the doorbell rang, which I answered it, bowl in hand.  It was Amanda with a jar of her jam!  What a great surprise and nice treat!  And without as much as a “hello”, I just handed her the yogurt/compote for her to eat. 


I wanted to taste the jam in similar manner as she wrote about. So, the following day, I used her scone recipe, but made some with strawberries and some with blueberries.  Since the strawberries were fresh, those scones tasted best.  My scones didn’t look quite as scrumptious as hers, probably because I don’t have anything near the baking talent that she does, but they were yummy.  My children loved them!  Funny how full circle it had come.  We’d inspired each other to do something we may have previously felt was daunting, but not that difficult once we began.


© 2010 mykidsreallyeatthis.com