Cince de Mayo

It’s my birthday and also Cinco de Mayo.  So, I’ll be going out with my family and enjoying a margarita.  

Avocado salsa

Here are a few of my recipes to make salsa at home.  First one is a chunky guacamole, the second a quick tomato salsa, and last is mango salsa.  

http://www.mykidsreallyeatthis.com/a-simple-way-to-make-a-delicious-avocado/

http://www.mykidsreallyeatthis.com/quick-salsa/

http://mykidsreallyeatthis.tumblr.com/recipes

A one pot meal ALL my kids liked

My posts have been few and far between.  I’ve taken on another job and barely have time for laundry (actually have 4 baskets to fold and put away, when I finish this one). Lately my one pot meals haven’t been as successful for all three of my children.  One or all of them will often not like what I’ve cooked, except when I make chili.  They all (usually) love that.  But this classic Italian dish I tried for the first time and they all devoured it and raved how delicious it was.  And not one complained about any of the ingredients (mushrooms, hot peppers).  095

I didn’t look up any recipe for this, but adapted it from versions I’d had in restaurants.  I altered it slightly for my younger sons by not adding the hot cherry peppers until I’d dished theirs out. So, I catered to their tastes slightly, without compromising the whole dish.  My youngest like black pepper but aren’t really into very hot spicy dishes yet. Whereas, my eldest will add Sriracha and habanero powder to almost anything.
This takes about 20 minutes to make with breasts and longer with thighs.

Chicken Scarpariello* with Spinach
1 small onion
3 cloves garlic, chopped
2 chicken breasts or 4 thighs, cut in pieces
½ cup white wine
1½ cups of chicken stock
1 qt of mushrooms, sliced
1 bunch of baby spinach
3 sausage links (I used precooked spinach & garlic chicken sausage, can use sweet Italian)
Handful of hot cherry peppers (can use sliced red bell pepper if you prefer)
¾ Tbsp dried oregano
¾ Tbsp dried basil
Salt & Pepper to taste
Olive oil

Heat 1 Tbsp olive oil in pan over medium-high heat, add onions.  Sauté for a several minutes, after they’re nearly translucent, add the garlic. Sauté for another few minutes. Remove from heat and set aside the onions, garlic. Put pan back on stove and add more olive oil if needed. Sear the chicken pieces for a couple of minutes then add the onion mix back in (if using bell peppers, add now).  Add the wine, then after about 30 seconds add the stock. After stock has started to simmer, add the sliced sausage, mushrooms, spinach, and herbs. 087088091  Turn heat down to medium-low and cover.  After the spinach has wilted and sausage is warmed through, add hot cherry peppers, if you’re having them.  Add salt and pepper then serve over pasta. (If you are using chicken thighs, make sure they’ve cooked throughout.  165°F. Breasts don’t take as long.)  094

I guess this is technically two pots since pasta needs to cook separately!  102 098 Feet up instead of thumbs up!104


My kids really liked this and ate it all.  It’s one I’ll be making again soon!

(*my version)

Cutest Review

My seven year old son had to write a review or critique of something in his first grade class.  He chose to write about the restaurant that’s just opened near us (and I’m actually bartending at a couple of times a week).  I had to share the review because in my thoroughly biased opinion, it is adorable.  

7 year old's opinion

7 year old’s opinion

My eldest son, who is now 12, said that it should’ve read “if you like high quality food” instead of “chicken fingers”, but everyone’s a critic.

Some people might see this and may think, “Vanessa allows her kids chicken fingers?” but that is often a misconception on my food views.  Yes, I do allow chicken fingers and fries and other stuff, just not all the time. Plus The Spinning Wheel’s chicken fingers are whole pieces of breast meat with their own breading.  It’s not made of mechanically separated parts mixed with who-knows-what.  

I have a couple of recipes for those who’d like to make their own at home. My original one is here and another one has a crunchy coating. They’re much, much healthier than the majority of prepared chicken fingers/nuggets/popcorn you’ll find in the stores or fast food places. 

One thing I find I often need to do if we eat out and they order from the children’s menu, is to order a side of vegetables or a salad, because too commonly, restaurants don’t serve vegetables with the kids’ meals.  

If you take your kids out to eat, do they share their opinions on the food?  Do they get a balanced meal? 

The Dr. Seuss Method of Getting Kids to Eat

Last year I wrote about being the character Sam of Dr. Seuss’s Green Eggs and Ham.  I was just  reading the book, in celebration of Dr. Seuss’s birthday, to my youngest son the other night.  Then last night had a moment where I felt like I was again Sam-I-Am.  My youngest is now seven years old and until a couple of weeks ago, broccoli was one of his favorite foods– not just one of his favorite vegetables, but of all foods.  Until two weeks ago that is; now he’s decided he no longer likes broccoli.  No, he hates broccoli.  My logo is of him eating broccoli with a huge smile on his face.  If he hates broccoli, I think, I’m done for.  But I remember what my mother said she learnt from Dr. Spock (not the Klingon Dr. Spock, but the baby book author that was popular in the 60’s & 70’s).  She said kids will go on “jags” eating nothing but one food until they suddenly no longer want that food.   I’m hoping this broccoli dislike is temporary. 

Anyway, my youngest is already my pickiest eater by far.  Well, when I made dinner last night, I took the vegetables I was going to use for a stir-fry and instead made a pasta dish.  It had garlic, shallots, green onions, broccoli, purple cabbage, shredded carrots, shredded cauliflower, zucchini, sugar snap peas and chick peas with a little olive oil and stock.  Number Two cried a bit at first then added ketchup (a trick a friend told him about and I said he could try), took a couple chickpeas out and ate most of it.  My eldest ate all of it and declared it delicious. My youngest son refused to taste it.  Wouldn’t eat a bite.  I just said he wouldn’t get anything else until he ate it… or at least tried it.

Fast forward an hour or so.  Youngest son is in the bath, probably with dessert on his mind.  I brought the pasta dish in to him and said, “Just try it, try it and you may see.”  He did without fuss and then requested I heat it up.  Of course I obliged and then proceeded to feed him in the bath (yes, I fed him like when he was a baby) with no train, fox, mouse or car in sight.  He even said he liked the broccoli “with the pasta” though he didn’t eat every piece and he asked to not have to eat the chickpeas (he loves hummus but not whole chickpeas).  The other thing he tried which previously he said he disliked was zucchini. I  explained that he might actually like it if he gave it a chance.  Immediately he said he didn’t but as he chewed and then swallowed his face softened and he said he did actually like it! 

He liked it!

He liked it!

I was so happy he ate so much of his dinner that he’d originally refused to touch with a thirty-nine-and-a-half-foot-pole.   It seems like I had the Sam-I-Am touch again.  

Don’t give up; sometimes you just have to catch them at the right moment — like when they are hungry enough to not fight you on it and they will actually try something new or healthy.

Baking Hacks- for when you’re short on time

While preparing to bake a Sticky Banana Toffee Pudding, I decided to share a few of my baking hacks; things to do to make baking easier and more successful. 

You may notice recipes usually state ‘use room temperature eggs (as well as) butter’, but you may not have taken the eggs and butter out to warm up enough by the time you’ve started baking.  It’s actually quite important when you’re creaming butter, sugar and eggs to not have butter and eggs that are cold.  If you don’t have the ingredients at the right temperature it won’t cream properly.  If too cold the butter will look like tiny pieces of rice in a puddle of egg stuff.  And if you’ve melted it, it also might not bake properly.  (Whereas in making pastry (crust) you do want cold butter.)

These tips will help get around the time constraints, so you can have warm enough ingredients.

IMG_0991Most commonly people know to soften the butter in the microwave, but it’s important to cut the butter into small cubes and use a low setting.  It’s also helpful to move the pieces around on the plate or bowl, so that they’re evenly softened (otherwise some melt while others are cold).

IMG_0989Once you’ve gotten the butter temperature correct, placing it into a cold stainless mixing bowl will not help your goal.  It’ll cool it down again.   So, put warm water in the bowl or place the bowl in warm water for a couple of minutes and tip out before adding the butter.  Too hot and butter will melt.  But warm, the butter won’t congeal again.IMG_0993

IMG_0988Last tip is one I discovered myself but I’m sure it’s been done elsewhere.  Since we refrigerate our eggs in the US, one usually needs to plan to bake with eggs by taking them out of the fridge in time to take the chill off.  But you can place eggs in a bowl of warm water for 5 to 10 minutes.  Again, not hot water, but warmer than lukewarm.  The butter, sugar and eggs will look fluffy if you’ve got the right temperature. 

These tricks will help you bake great cakes, cupcakes, muffins, and cookies.

©2014 MyKidsReallyEatThis 

Science Backs Up My Mom (well, when it comes to dairy it does)

Last night I had a conversation about fats in milk … the other person and I were in agreement that full-fat milk, cream cheese, yogurt, etc. tastes so much better than the low-fat or fat-free versions.  I added that we were taught in my family that it’s okay to eat/drink full-fat dairy as long as it was in moderation.  They said they were as well– they were Greek. My family is from New Zealand and Germany. We were wondering if that was one reason, we stuck with the cultural norm.  When I was growing up (and for long after) everyone around us (here in the US) was saying you needed to eat/drink low-fat dairy.  My kids only have low-fat milks at school, where there is no choice. 

Today, while spreading organic butter onto one son’s bagel and full-fat cream cheese on another, I heard on the radio about the latest studies (in a string of recent studies with similar outcomes) that those who consume full-fat dairy are less obese and also do not have higher incidence of heart disease than those who eat/drink low-fat or no-fat dairy.  

“Whatever the mechanism, this association between higher dairy fat and lower body weight appears to hold up in children, too.

As we reported last year, a study of children published in the Archives Of Diseases in Childhood, a sister publication of the British Medical Journal, concluded that low-fat milk was associated with more weight gain over time.” 

It’s what I’ve been saying for years, with only anecdotal evidence, but now science is backing up the beliefs my parents and grandparents passed on to me.

One point made in our conversation last night was that if you look at the ingredient list on those low-fat dairy packages, you notice that there is often added sugar and complex artificial additives to try to make it taste like full-fat dairy.  I remember my mother once, by mistake, bought fat-free cream cheese.  I put it on my bagel and was horribly shocked when I took a bite!  It tasted like plastic! Ick!  I thought it was off/bad – but it was just fat-free.  Think about it, fat-free cream cheese is an oxymoron.  Cream=fat.  Fat-free cream?  Hmm.

A fairly new snack/dessert my eldest two kids are absolutely loving is Greek yogurt with local honey. It’s hard to find full-fat, but I’ll be making my own this week. I buy the Fage 2% plain yogurt. 

Greek yogurt drizzled with local honey.

2% Greek yogurt drizzled with local honey.

The probiotics in yogurt is great for the immune system as is honey!  And if you eat local honey there’s a side benefit– reduced seasonal allergies. (Science still has to prove this one.)

So, if your family does consume dairy– go ahead and buy your kids and yourself the full-fat dairy.  Don’t be afraid. Don’t feel guilty.  Be confident you’re making the right choice. 

Now, to get the schools up-to-date with the science!

Resolutions– some goals for me

Aside

I haven’t been writing lately for several reasons, one is that I didn’t have much time over the holidays with kids home and my husband working crazy hours each day.  But another reason is that I was at a loss of what to say– that’s pretty rare for me.  I think it’s not exactly that I couldn’t come up with something, but that I wanted to be really careful in what I say.  I’ve had a crazy year (or few) and I’ve suffered the brunt of not filtering more.  So, I’m trying to find my voice in this new year without alienating more people of whose opinion I care about.  

One of my goals is to impart some advice without seeming high and mighty or even careless. And this year I really need to make money to continue to live where we live (where my kids have great schools).  So, another goal is to take what I’ve shared here to a new level.  What do you think it should be– a book?  A pitch for a show?  Or just getting out there and pounding the pavement with cards in hand and willingness to show more people how they can get kids to eat/feed their kids well?  


Eggnog is the New Pumpkin

Last couple of months I noticed pumpkin flavored everything in the stores.  When I saw pumpkin moisturizing cream, it reminded me of the paper I’d written years ago on oat bran for my marketing class at university.  Back then oat bran was hailed as being fabulous for one’s health.  How it ended up in shampoo and everything else besides oatmeal, was the marketing geniuses at work.  Back to pumpkin; I did actually indulge in some pumpkin flavored items like instant oatmeal and pancake batter (the latter was so delicious) in October and November.  I also incorporated it into some of my cooking and baking.  Now it’s eggnog season, pumpkin is so last month, and I’m beginning to see some items like ice cream (one from Trader Joe’s is really, really good), gelato and cookies.  I’m wondering what else will be now eggnog “flavored”. Donuts?  Hair gel?  Deodorant?

Anyway, all my kids happen to love eggnog.  I buy it pre-made from a couple of stores/brands but it’s hard to get it without high fructose corn syrup and preservatives.  It’s also costly since I usually end up getting the organic one by default (sans other ingredients I’m avoiding). I’ve told the boys we’re going to make some, but I keep putting it off.

Well, my eldest son asked for French toast the other day, “made with eggnog”.  I used about 1/3 cup with one egg, sprinkle of cinnamon, dash of sugar and pinch of salt. Cooked on a lightly buttered saute pan over medium/medium-high heat until golden.  Topped it with some warm buttered maple syrup*.  He loved it and since there was a little mixture left, I had one too.  He had a great idea!  So, maybe eggnog won’t go the way of oat bran or even pumpkin, but we’ll be indulging in the next few weeks while it’s around.  Think I’ll try some in my baking. 

*Warm Buttered Maple Syrup:  I learnt this tip from the restaurant business.  Add a pat of butter to 1/2 cup of maple syrup (we only use the real stuff) and heat it in the microwave for 40 seconds until the butter melts. Stir and serve on pancakes, waffles, French toast, etc. 

Pancake with warm buttered maple syrup

Pancake with warm buttered maple syrup

(didn’t have a photo of the eggnog French Toast)


Easy Peasy Pie Crust

I used to shy away from making my own pie crusts because I thought it was difficult and time consuming.  Then I read Mark Bittman’s recipe and how it just takes a few minutes with a food processor.  The recipe I use is adapted from Allison Holst’s pie crust in her Bacon & Egg pie recipe.  You can add some sugar for a sweet pie crust.  

Pie Crust
1 1/2 cups AP flour (more if needed plus some for dusting surface)
1/4 cup spelt flour (optional- use more AP if omitting) 
1/2 tsp salt
1 1/2 tsp baking soda
1 stick unsalted butter, very cold & cut into pieces
3/4 cup milk
1 tsp vinegar

Add vinegar to milk and set aside.
IMG_0937

Pulse dry ingredients together in food processor until mixed.  Add butter and process until butter is mostly incorporated (fine if small pieces, but don’t over do it as you want some chunky bits for flakiness).  
 IMG_0941IMG_0938

IMG_0949 IMG_0957 IMG_0959


Slowly add milk/vinegar.  The dough should start coming together, if too sticky add more flour.  It will be done when it forms a ball.   IMG_0961IMG_0964

Place on floured surface and split into 2 or you can wrap well and place in fridge for a couple of days. 
Roll with flour on both sides so it doesn’t stick. 
IMG_0970 IMG_0971
When it is your desired thickness/thinness you can place in pie plate.  Fill and bake! IMG_0972 IMG_0976 IMG_0979IMG_0984IMG_0987

This was a version of bacon & egg pie I made because I messed up a recipe calling for egg yolks– I blended the whole egg together; actually 11 whole eggs.  

At least I have a great lunch and possibly dinner!

Now to go get some more eggs so I can make my Thanksgiving Day Apple Cream Pie (using just egg yolks!)


Thanksgiving Pie idea- Triple Layer Pumpkin Pie

 IMG_2518pie 1

My computer died a few weeks back and I fixed it, by myself :-), a couple of days ago.  So, I’m finally back online with more than a smartphone. 


I will be creating a quick pie crust tutorial but haven’t gotten to it yet.  This year for Thanksgiving I am making a sous vide apple cream pie (not all of it is made sous vide) which I haven’t attempted before. I wanted to give anyone a fabulous recipe (actually 2 different recipes) for a great Thanksgiving Day pie.  The following recipe(s) is one of my favorite pies– Triple Layer Pumpkin Pie.  It is time consuming, so unless you’re super organized and already have 3/4 of your Thanksgiving meal cooked, I suggest it for those who only need to take an item or three to family or friend’s house. 


This is a repost from a couple years back, but made it many times and it’s always a winner.  I’ve used several different custard recipes too.  Might try a sous vide one as well next time.  Pie 1 recipe comes from a pastry chef that used to work at Tavern on Main in Westport, CT many moons ago.

 IMG_2503food 191food 196food 194food 191

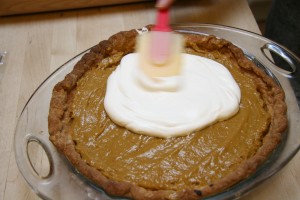
 Keep saying that I should really call it Quadruple Layer as I put another layer of Whipped Cream on Top of this.

You’ll need a couple of hours to complete this.

Triple Layer Pumpkin Pie– 2 Ways
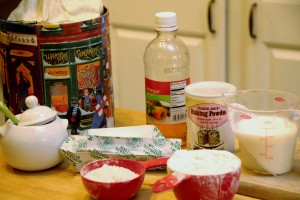
Pie #2 Crust

2 cups flour

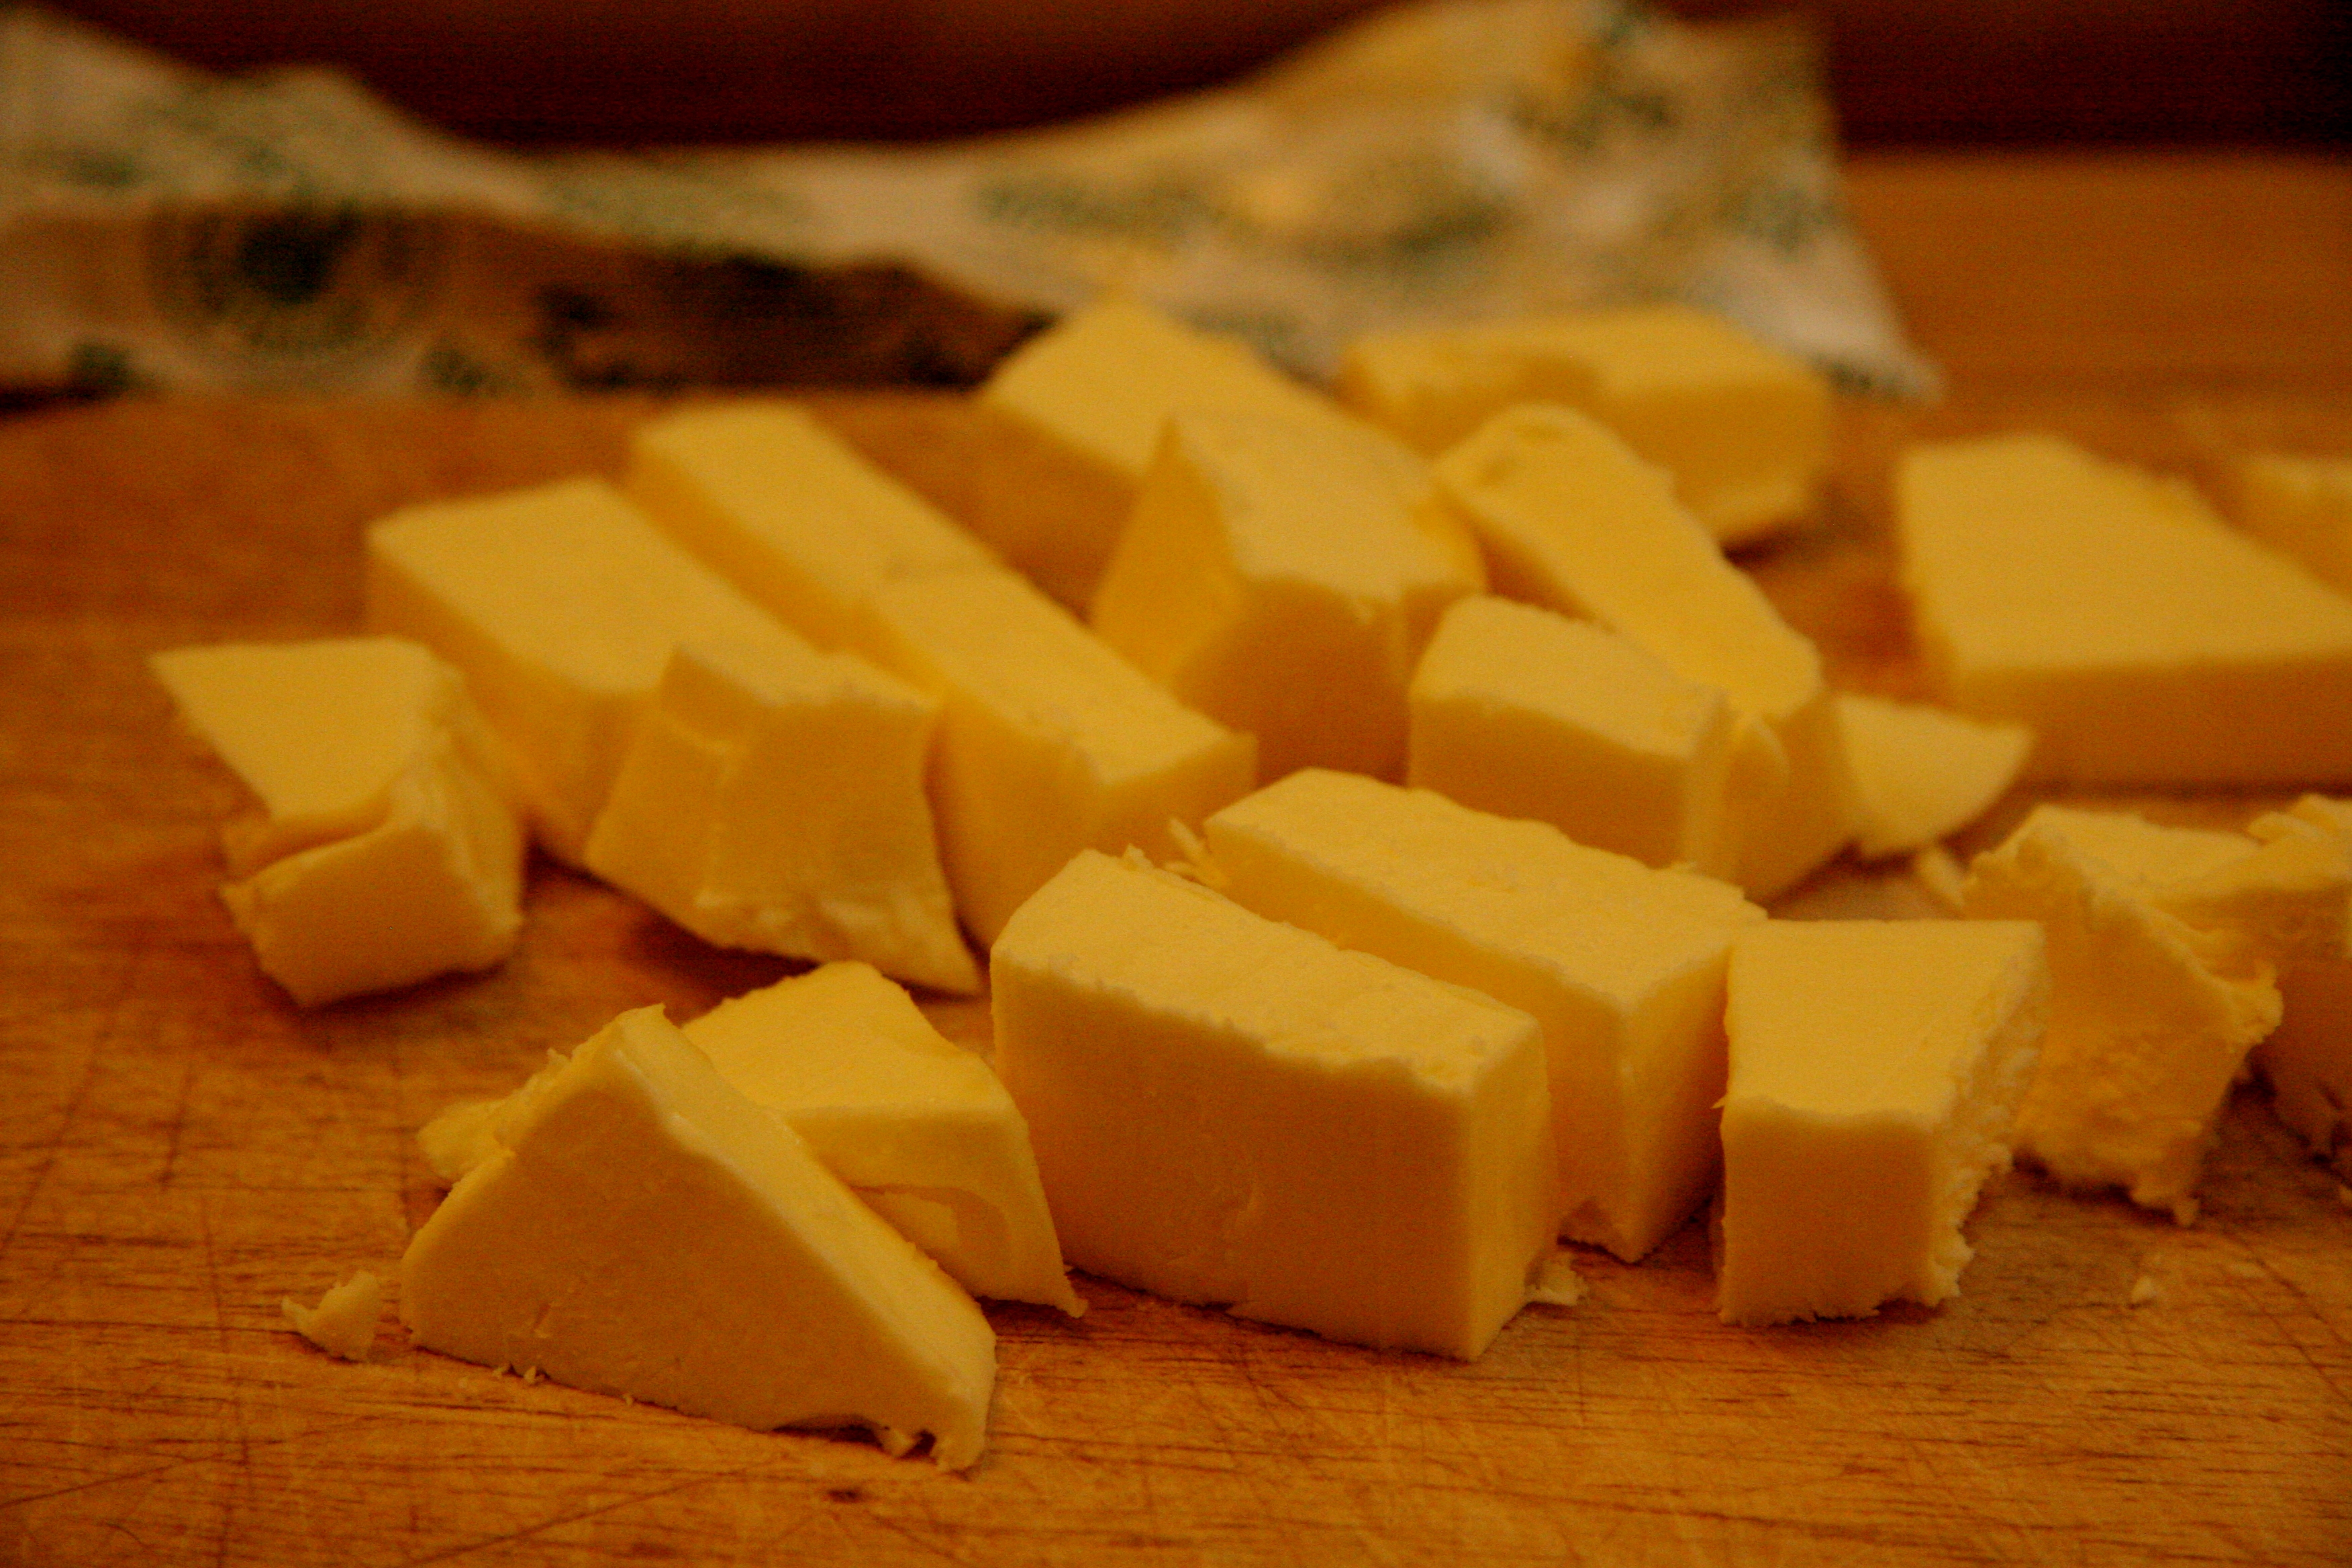
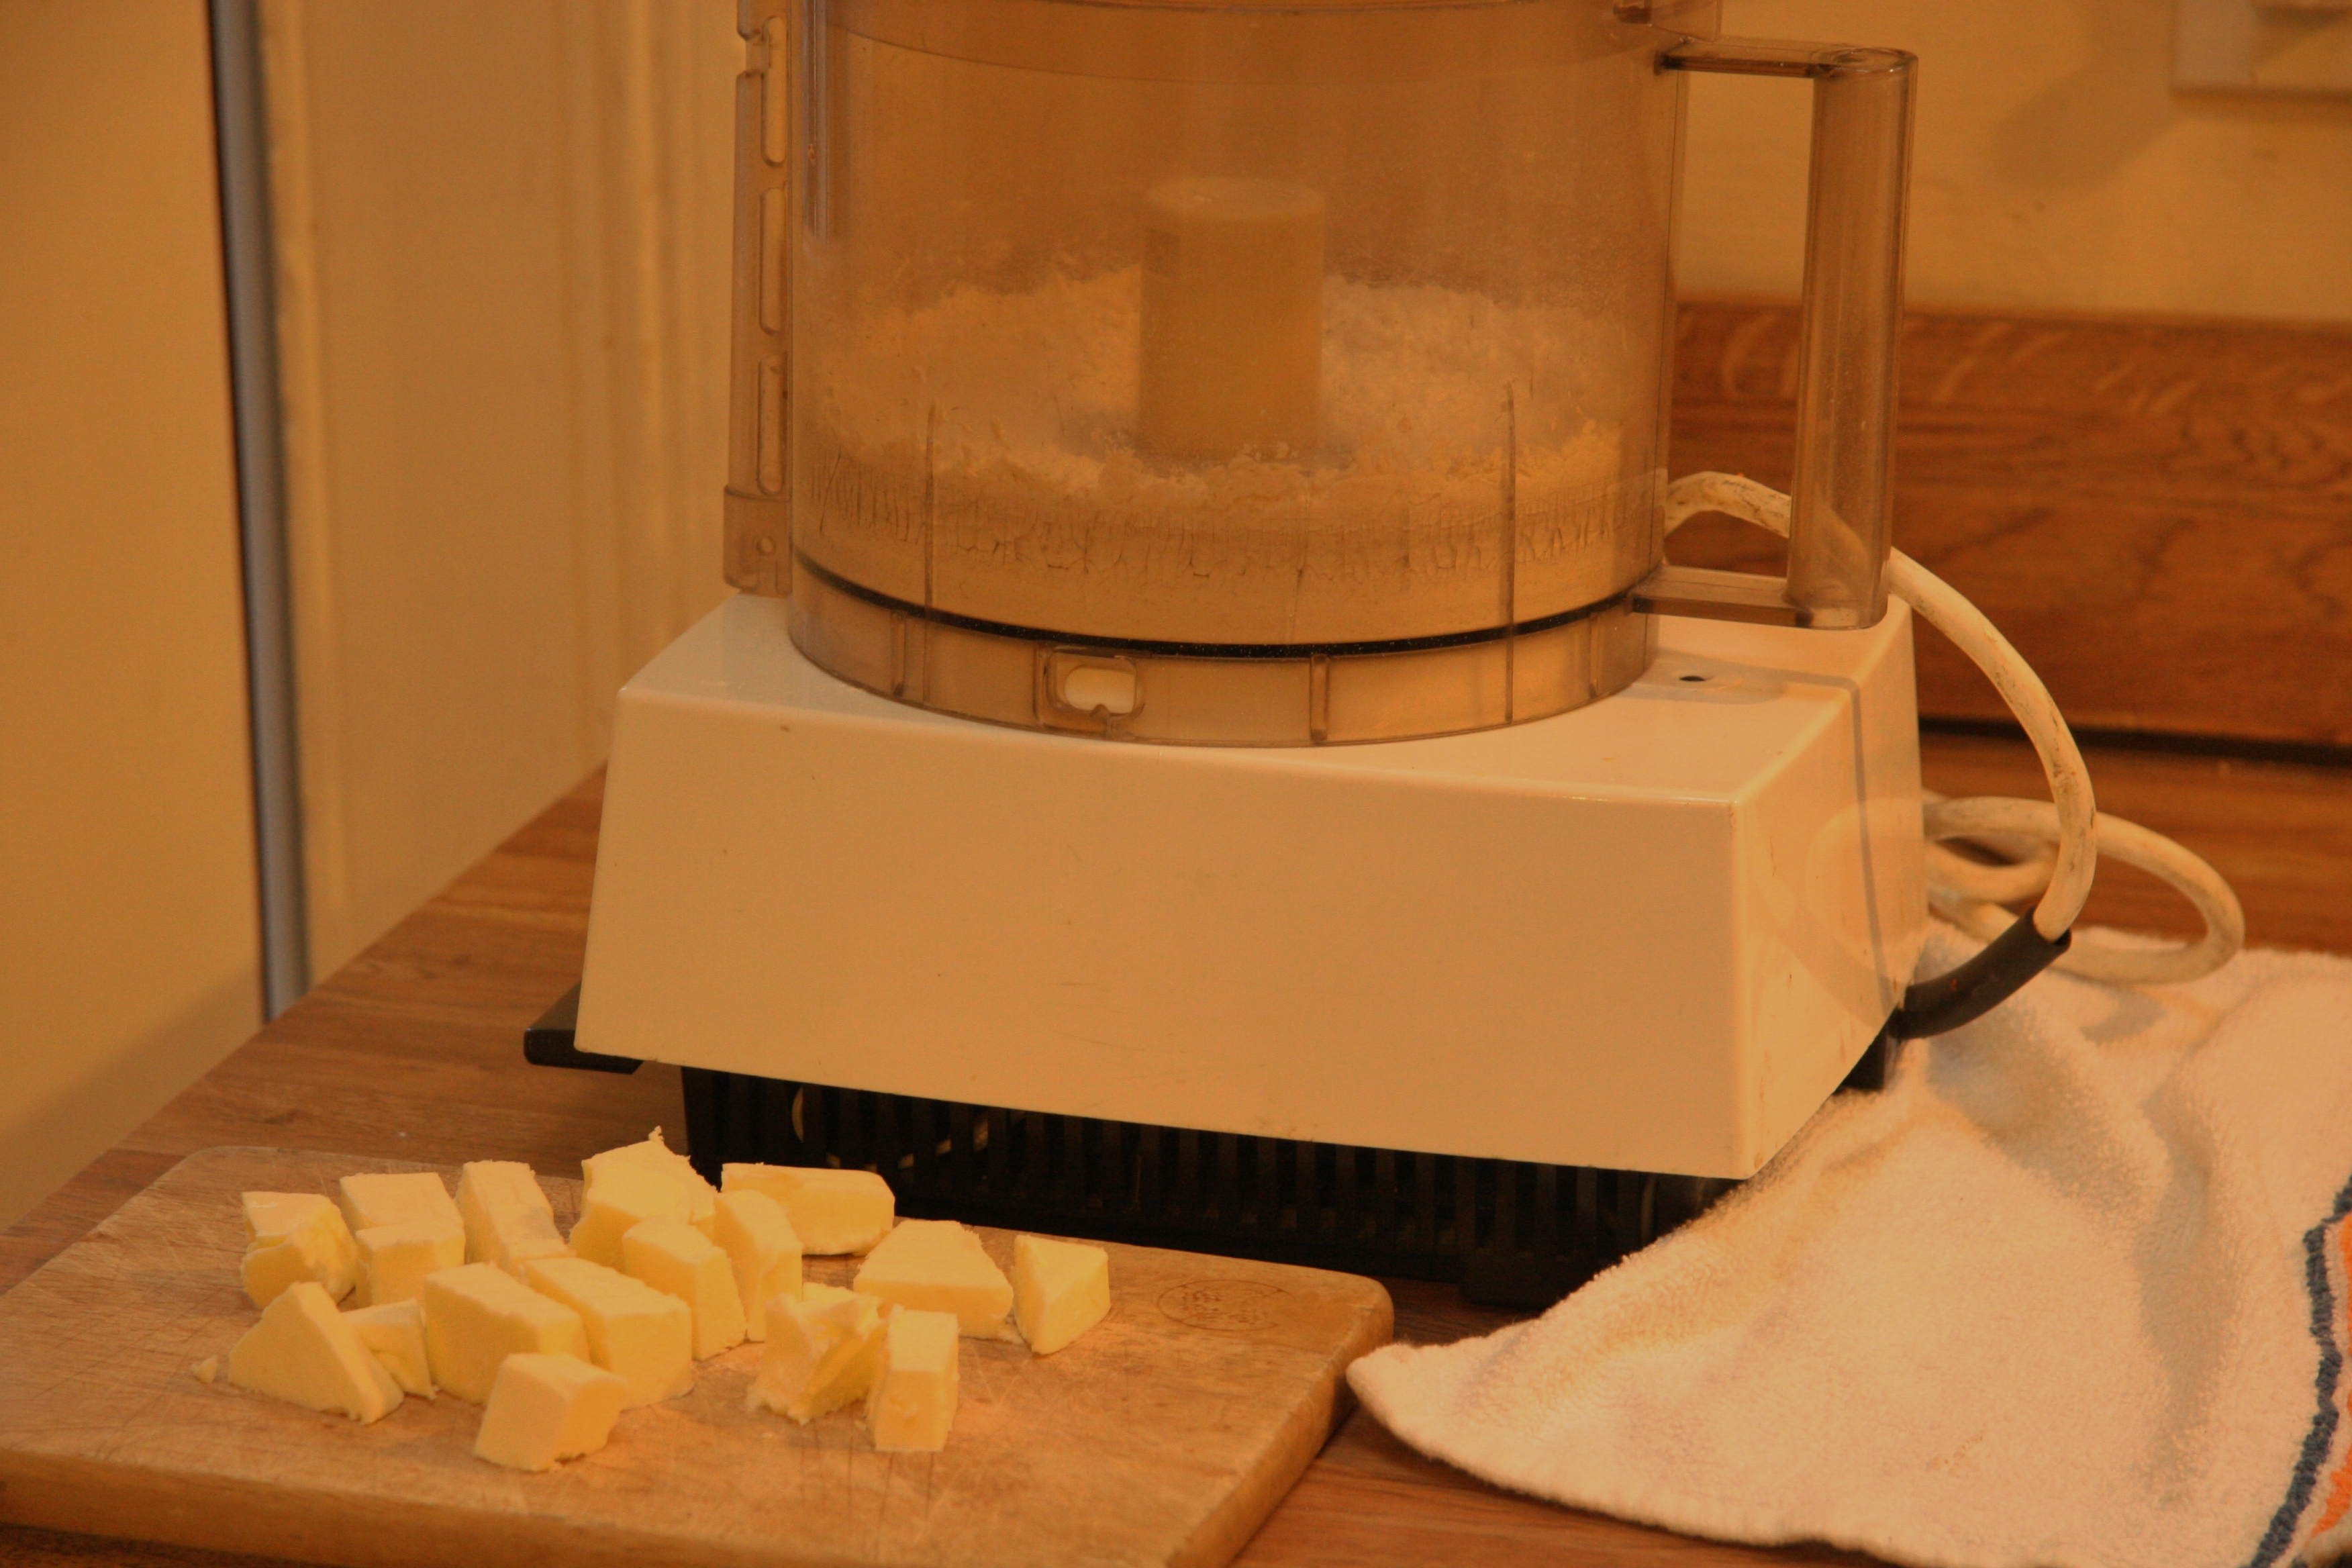
1 stick cold butter, cut into pieces (increase by 1 Tbsp if you don’t use lard)

1 Tbsp cold lard (optional)

1 cup milk

1 tsp white vinegar

(if you use unsalted butter, add 1/4 tsp salt)

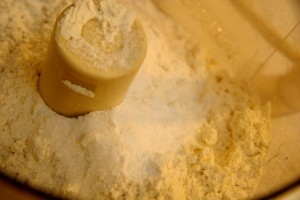
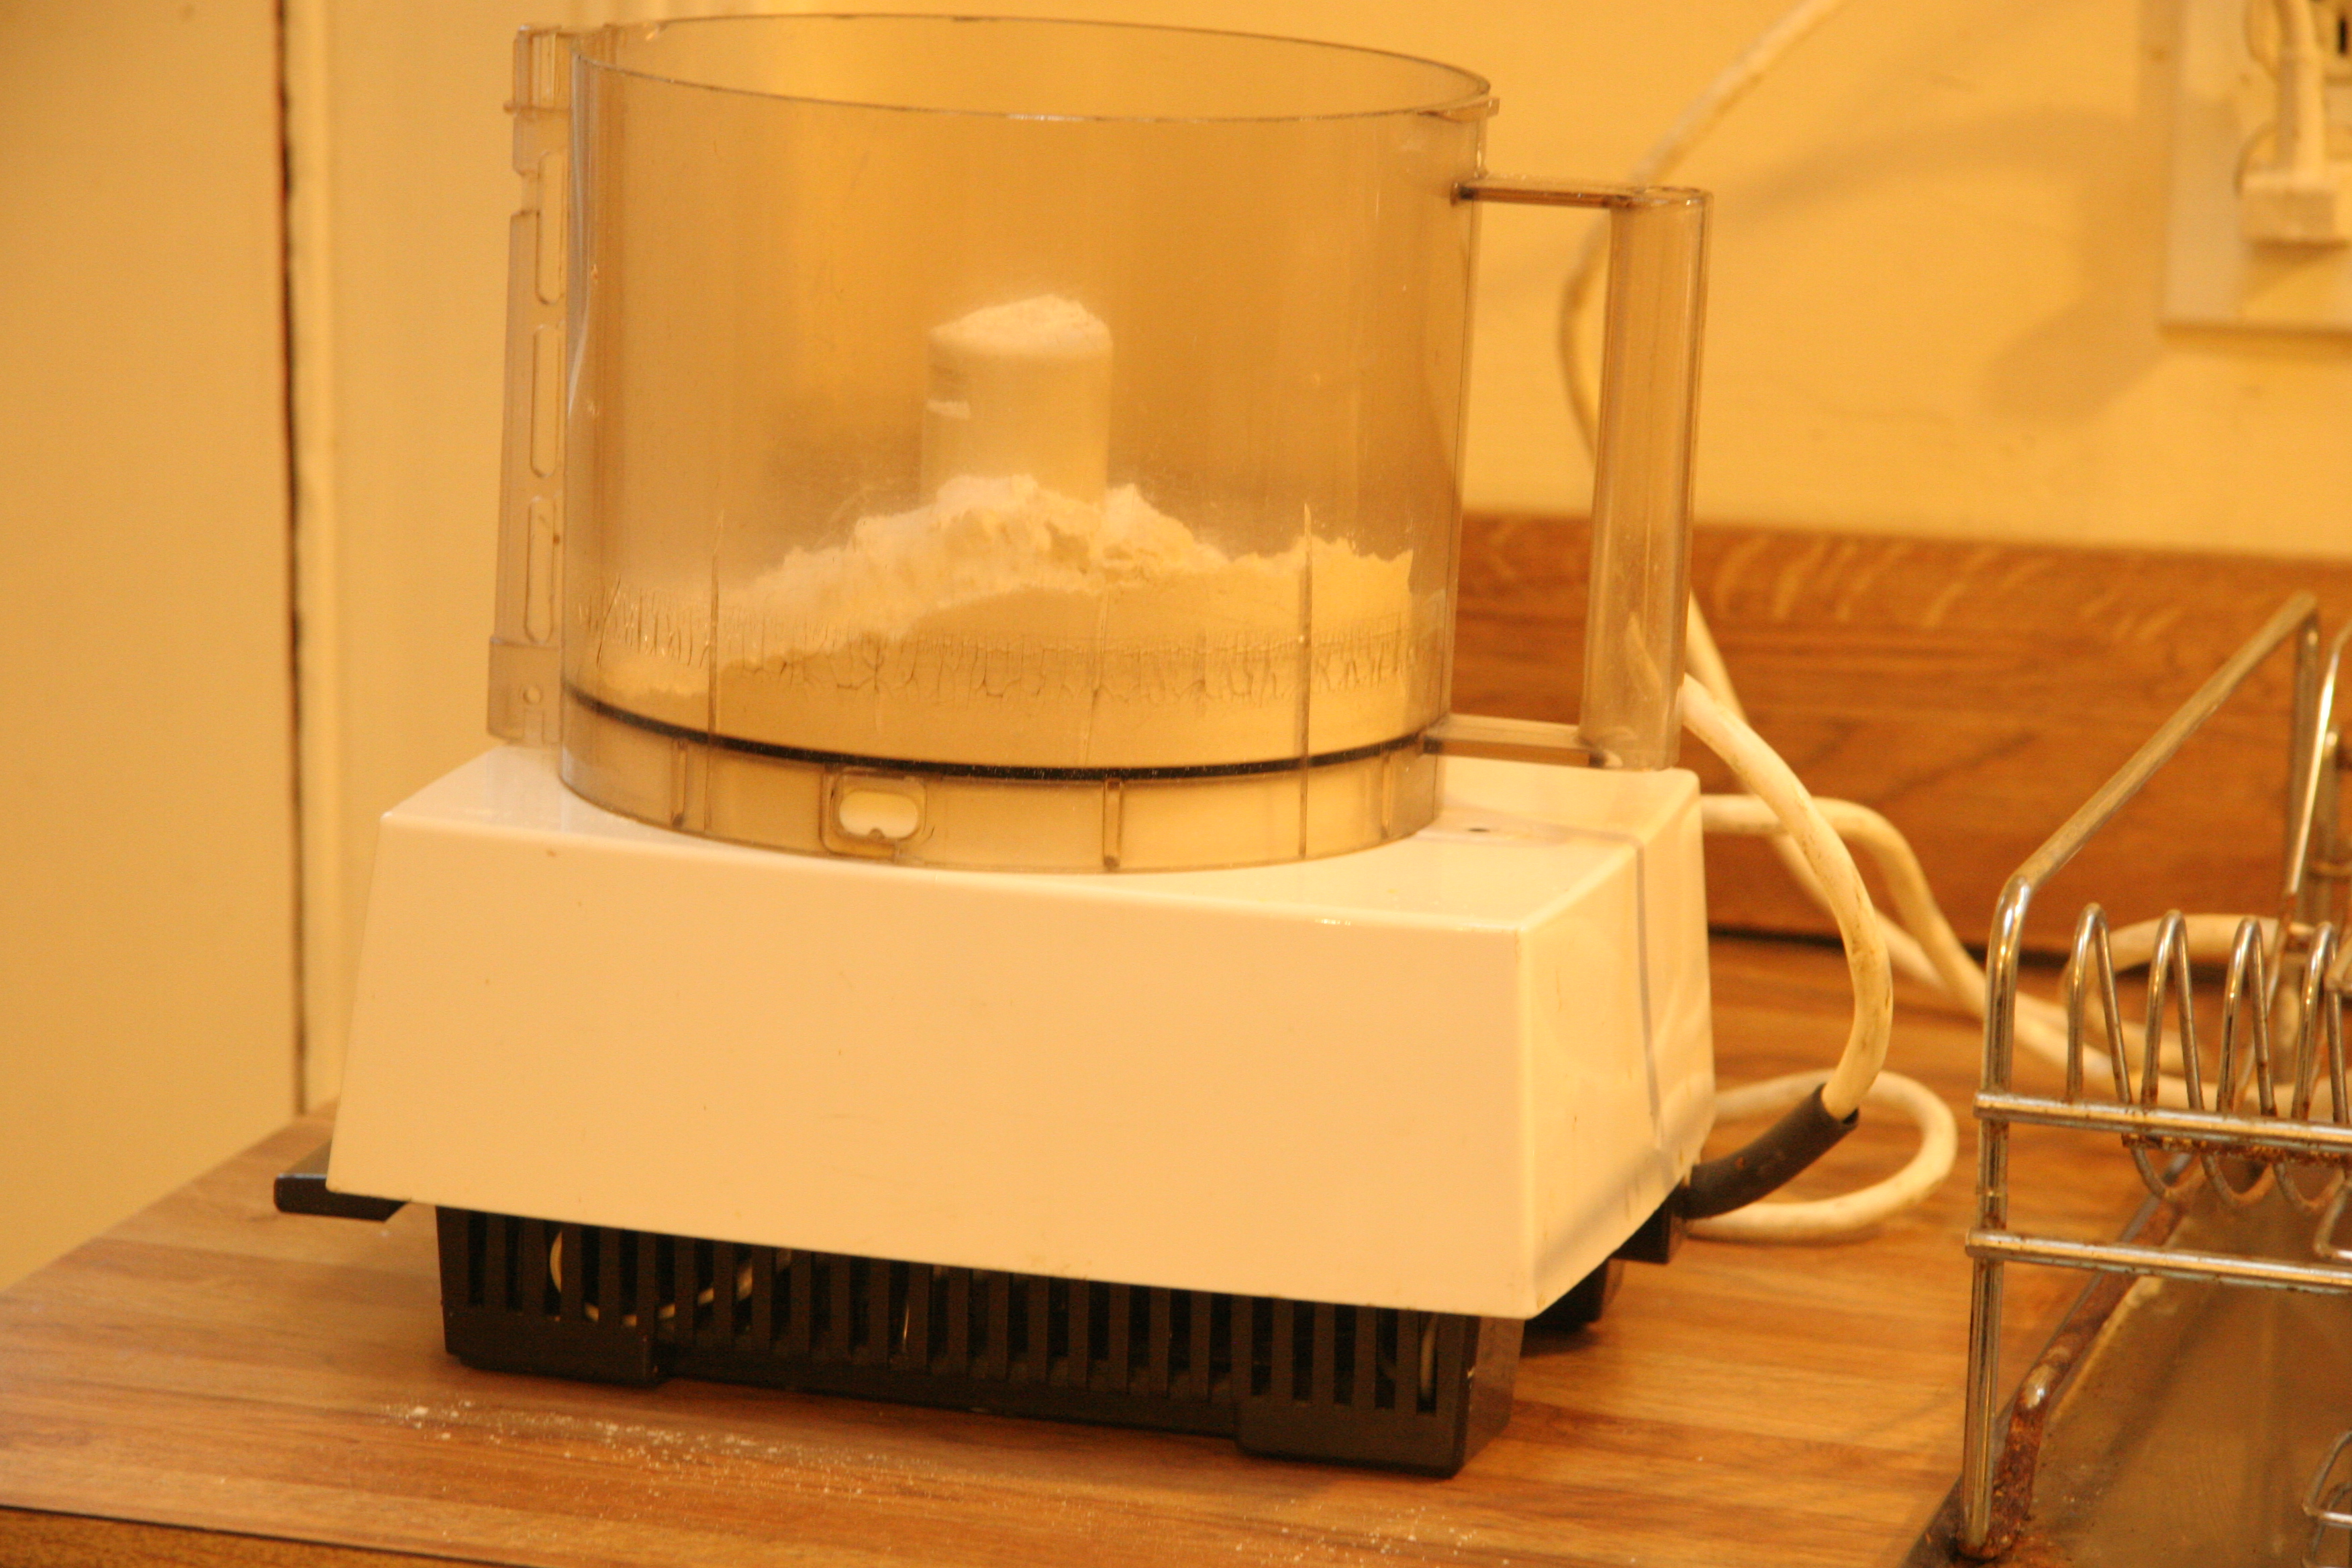
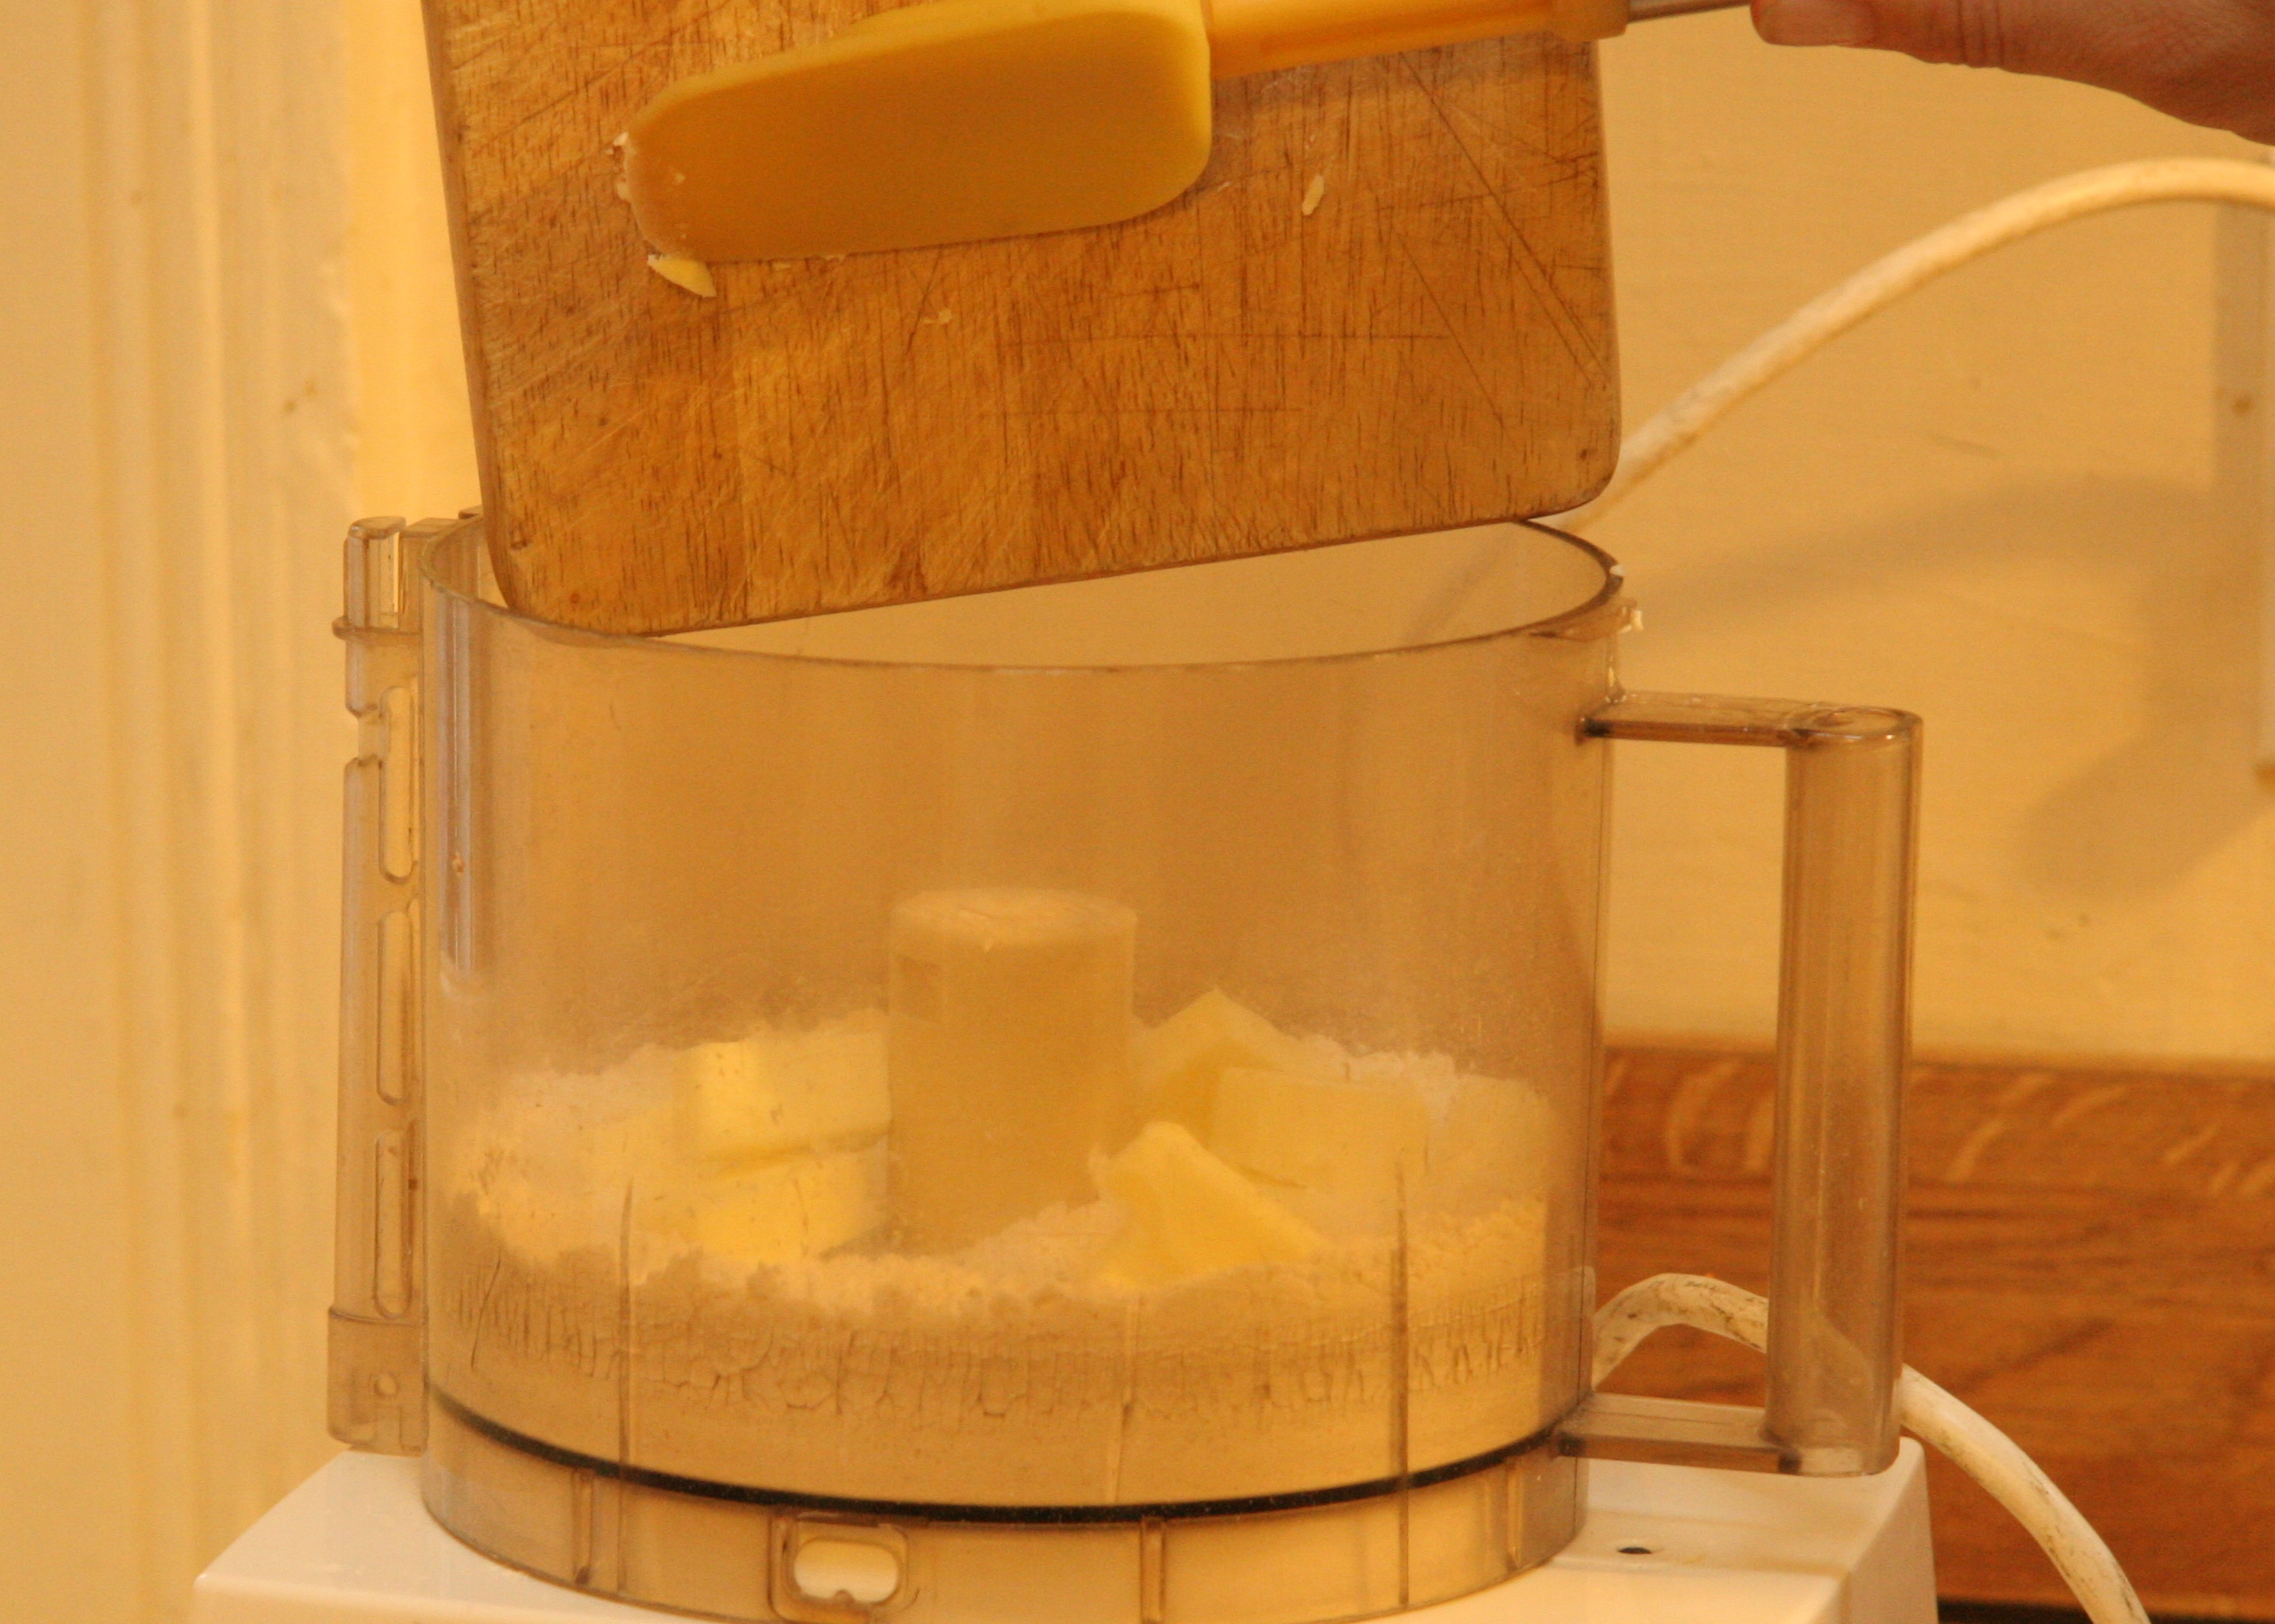
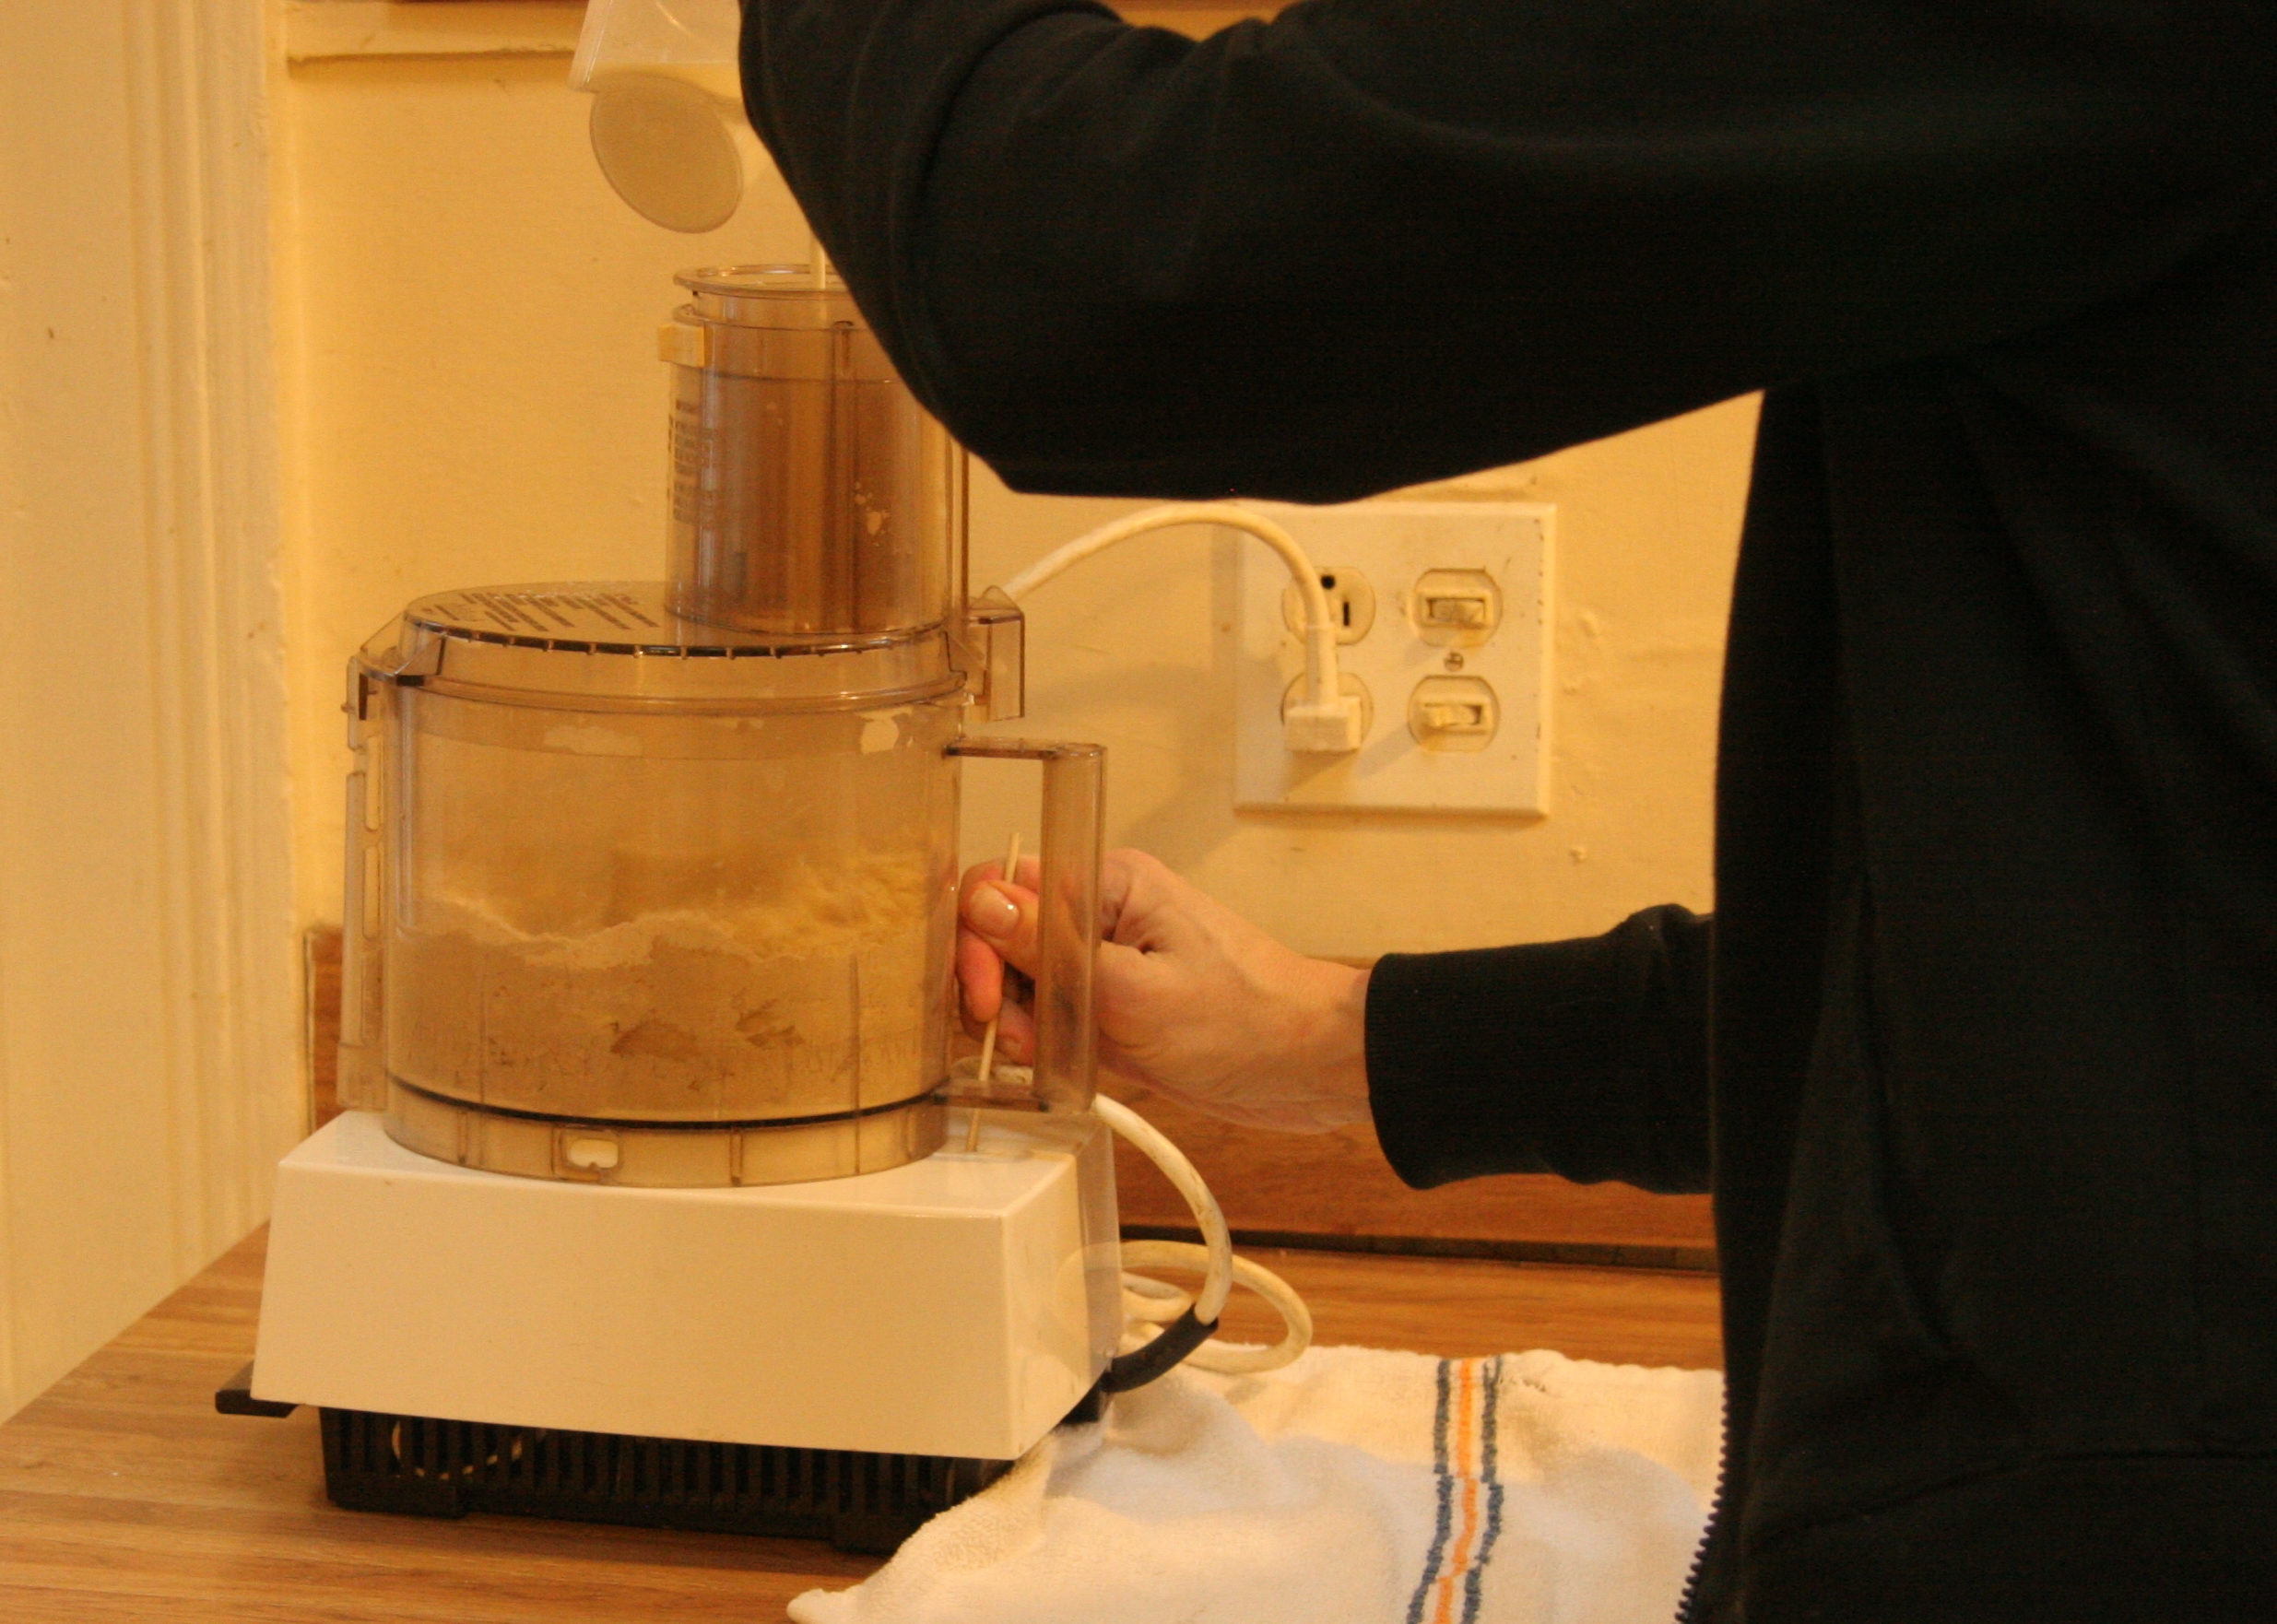
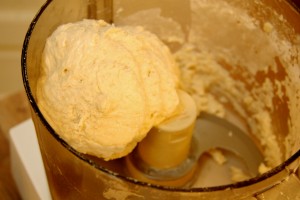
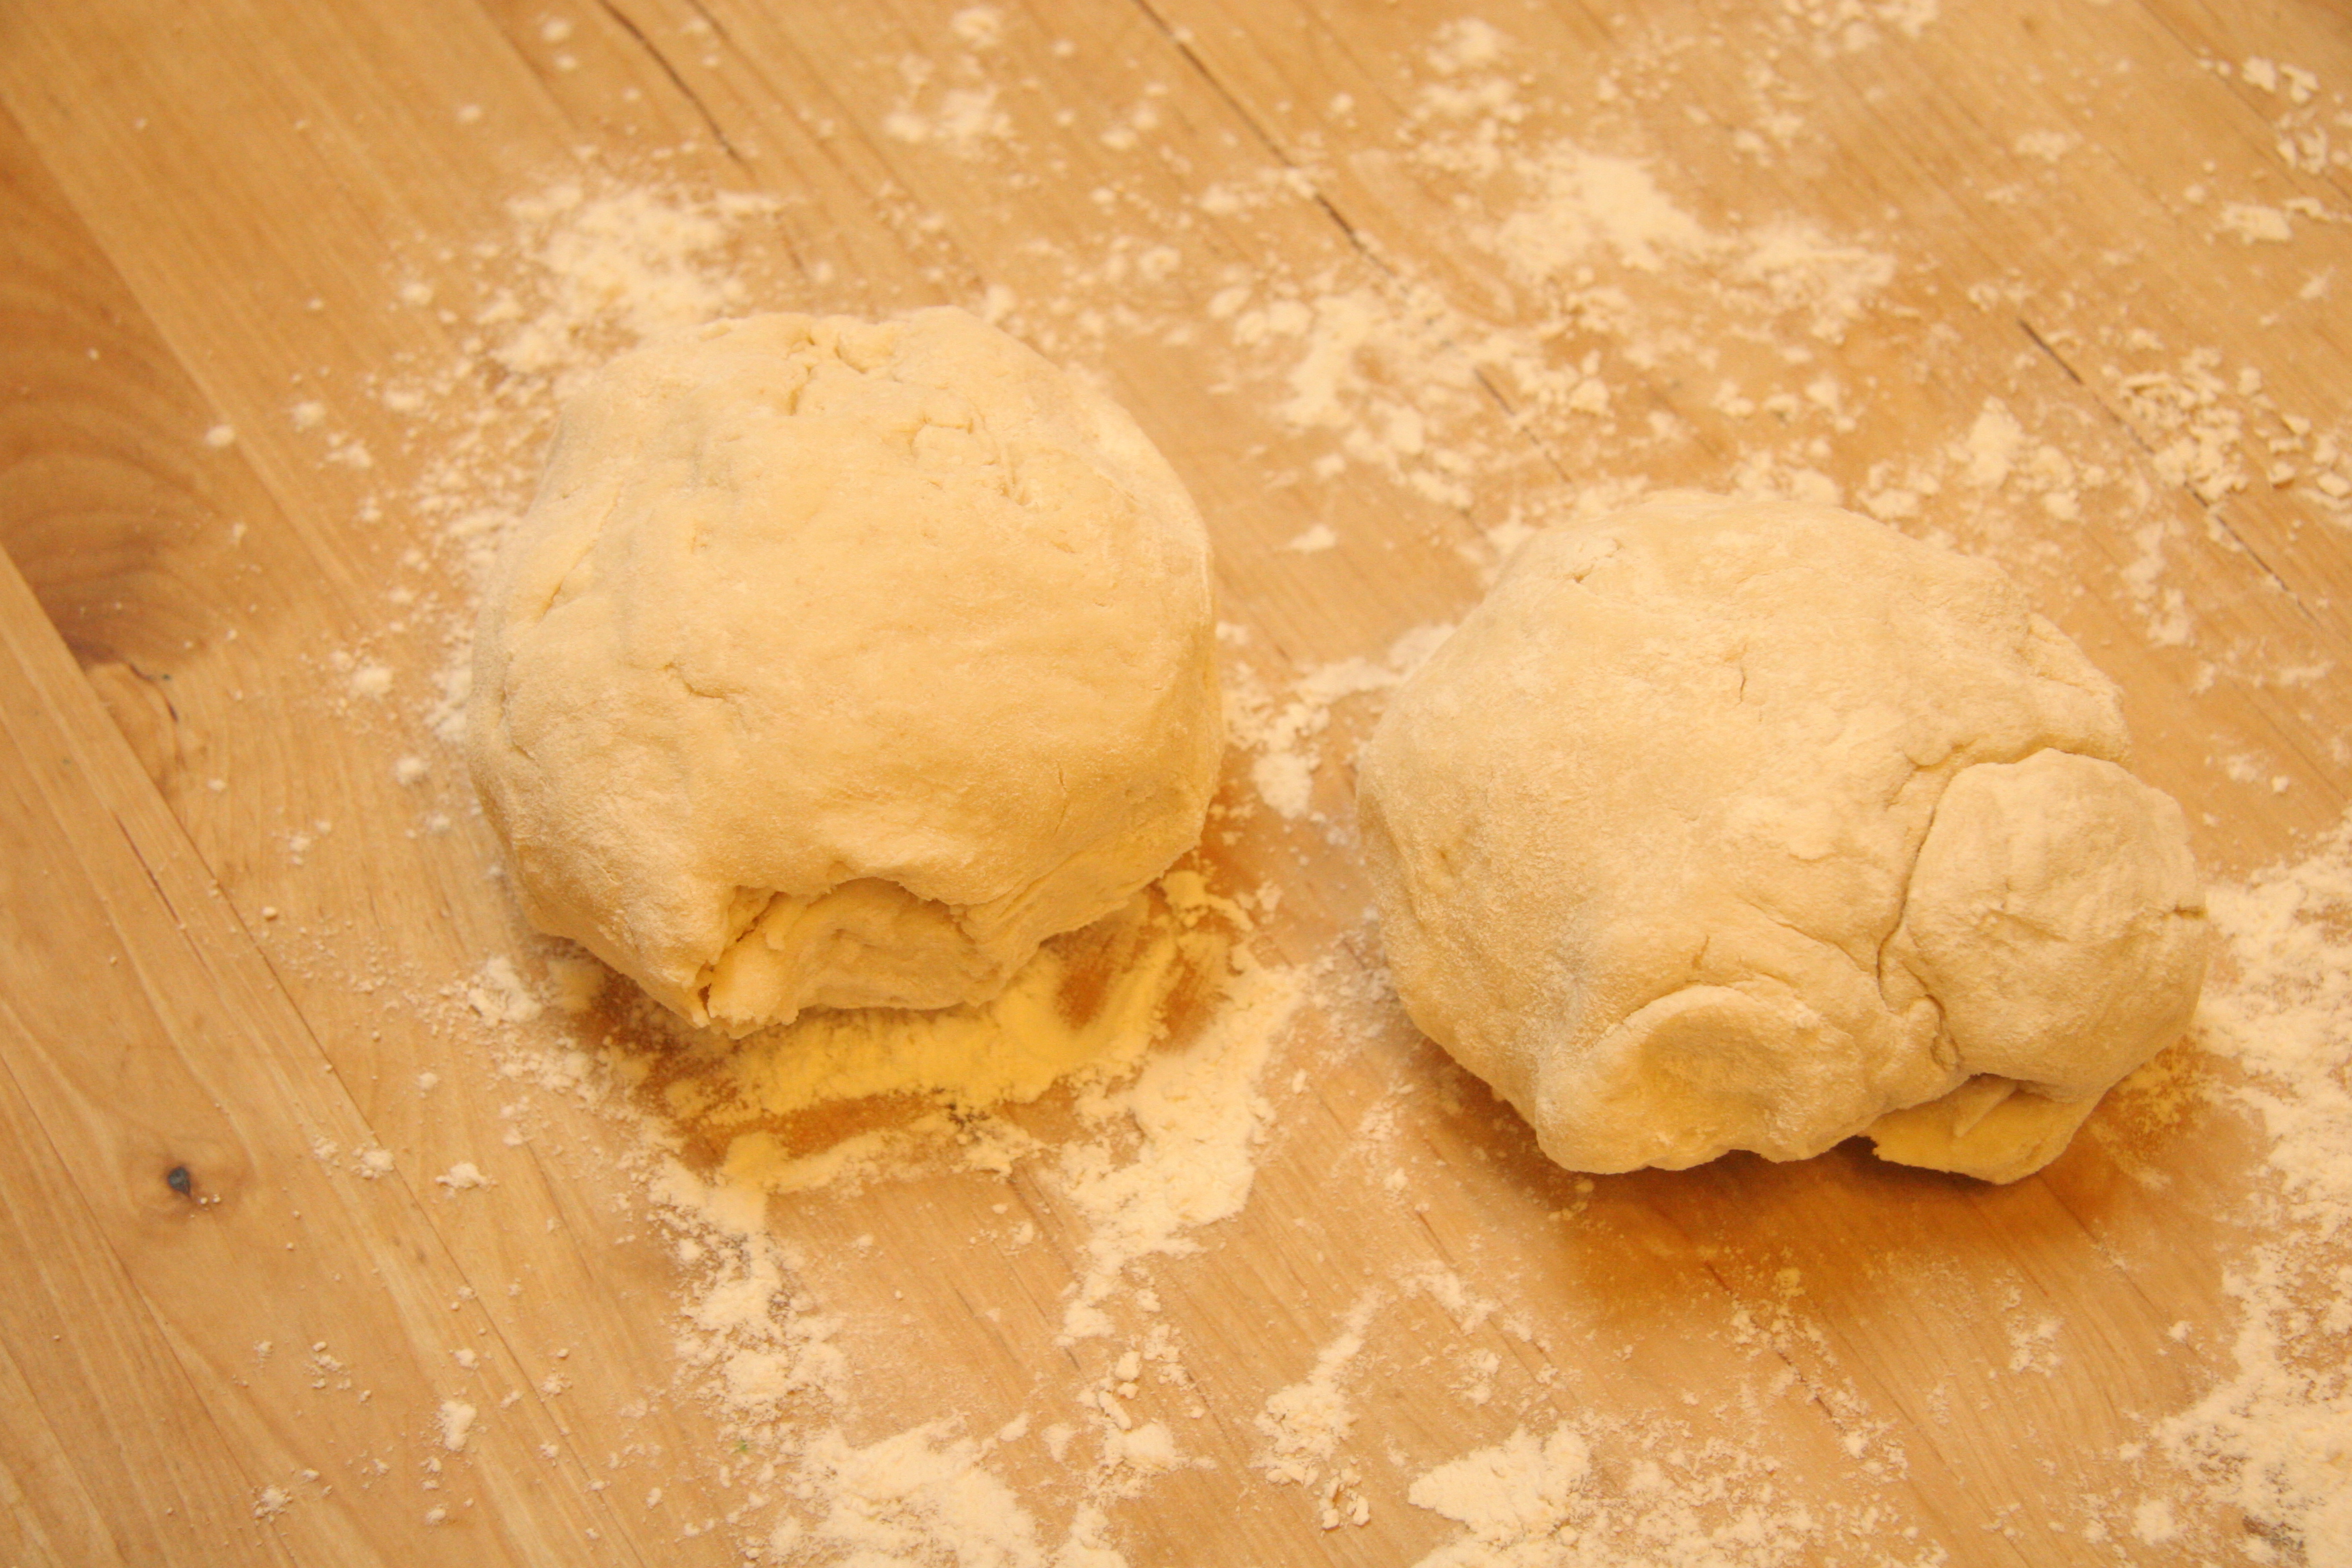
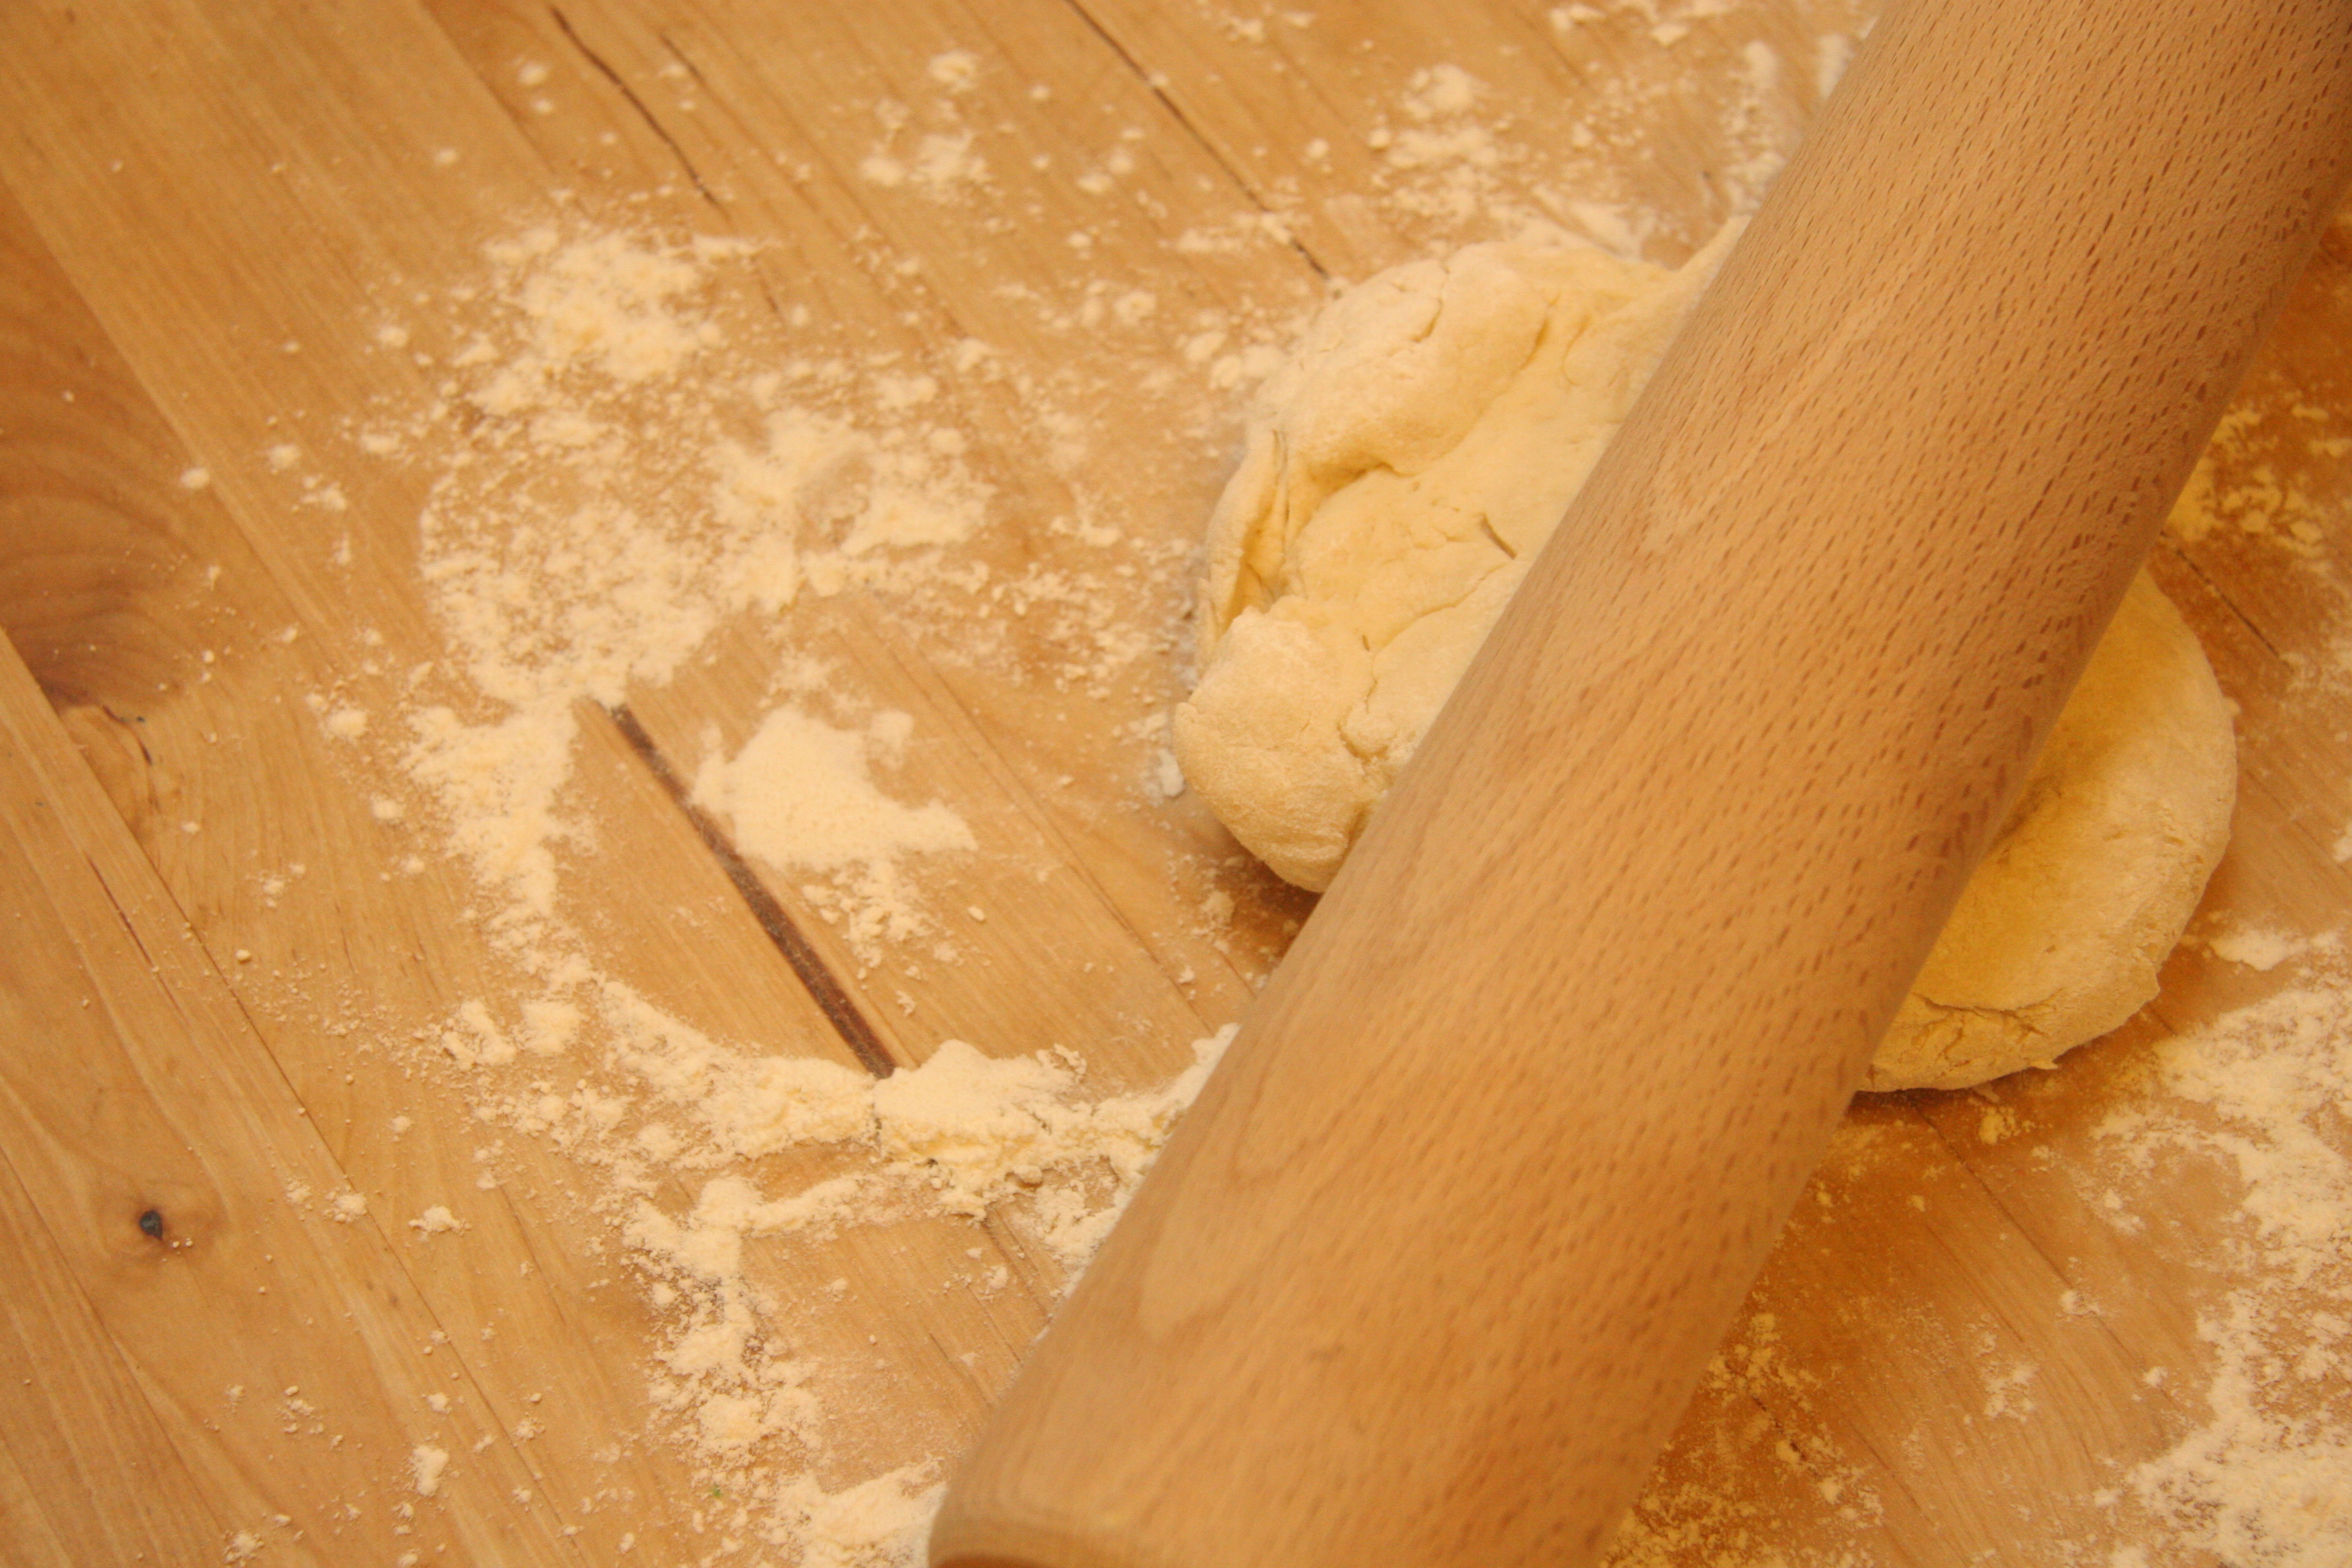
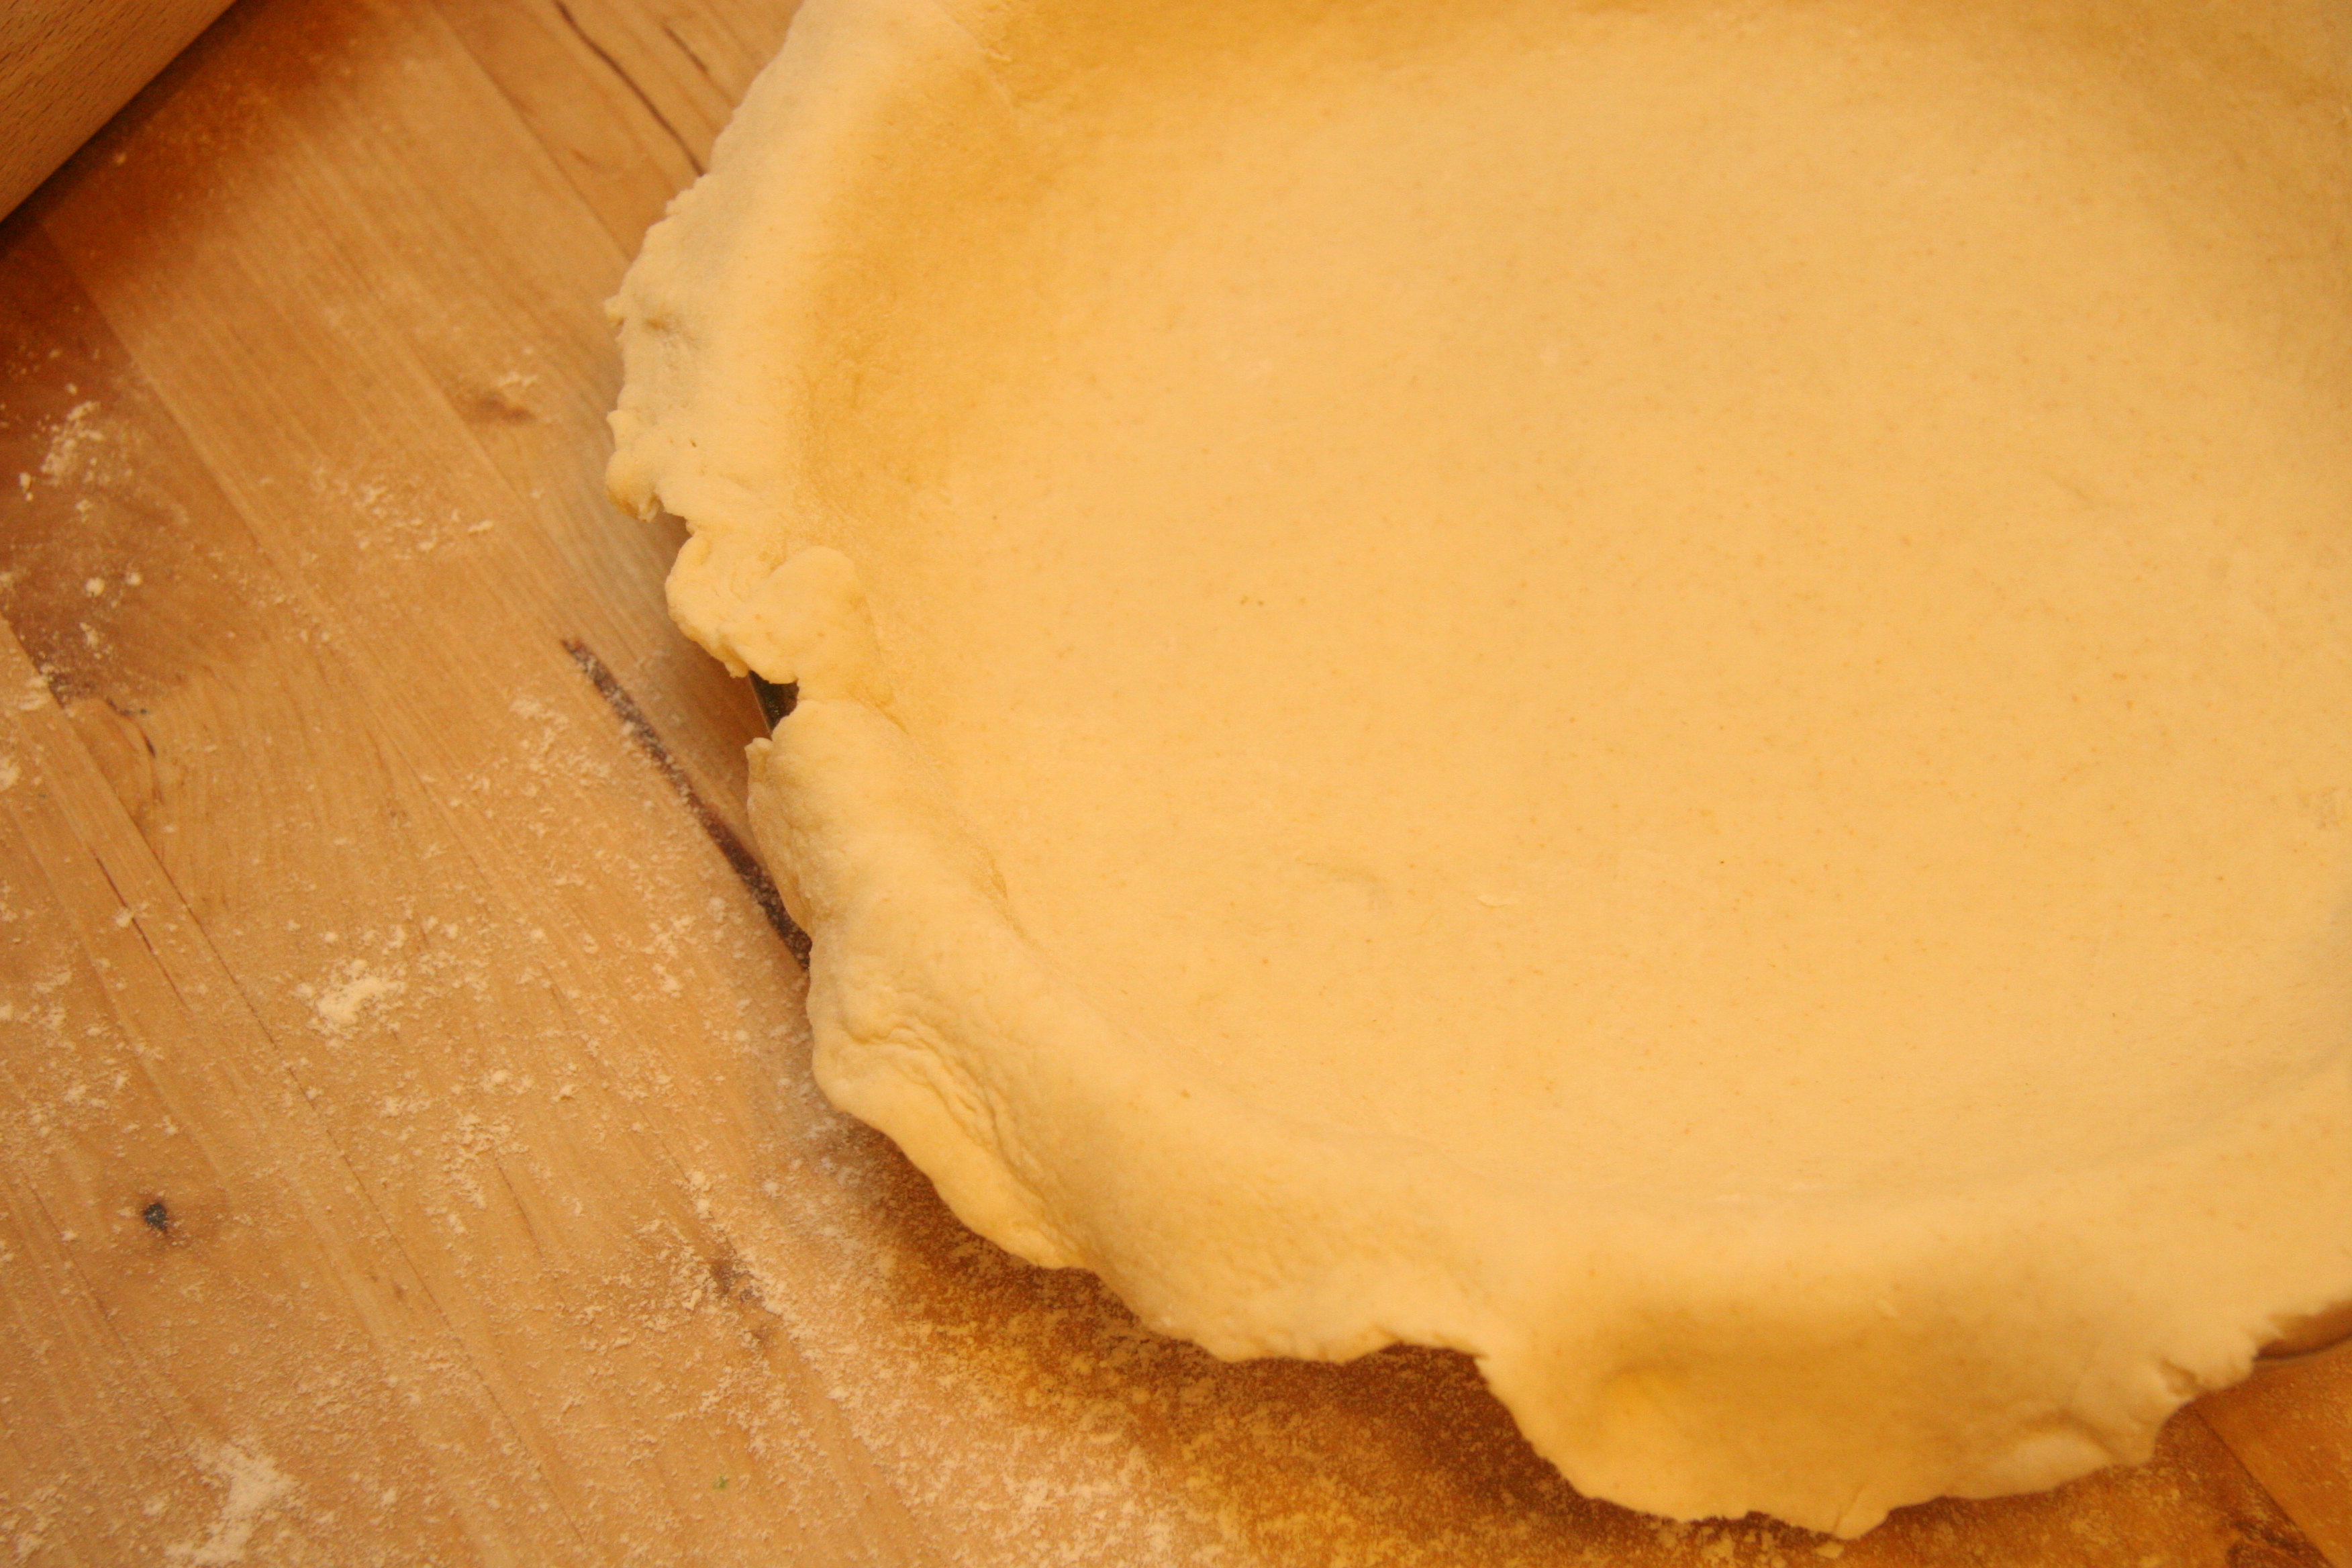
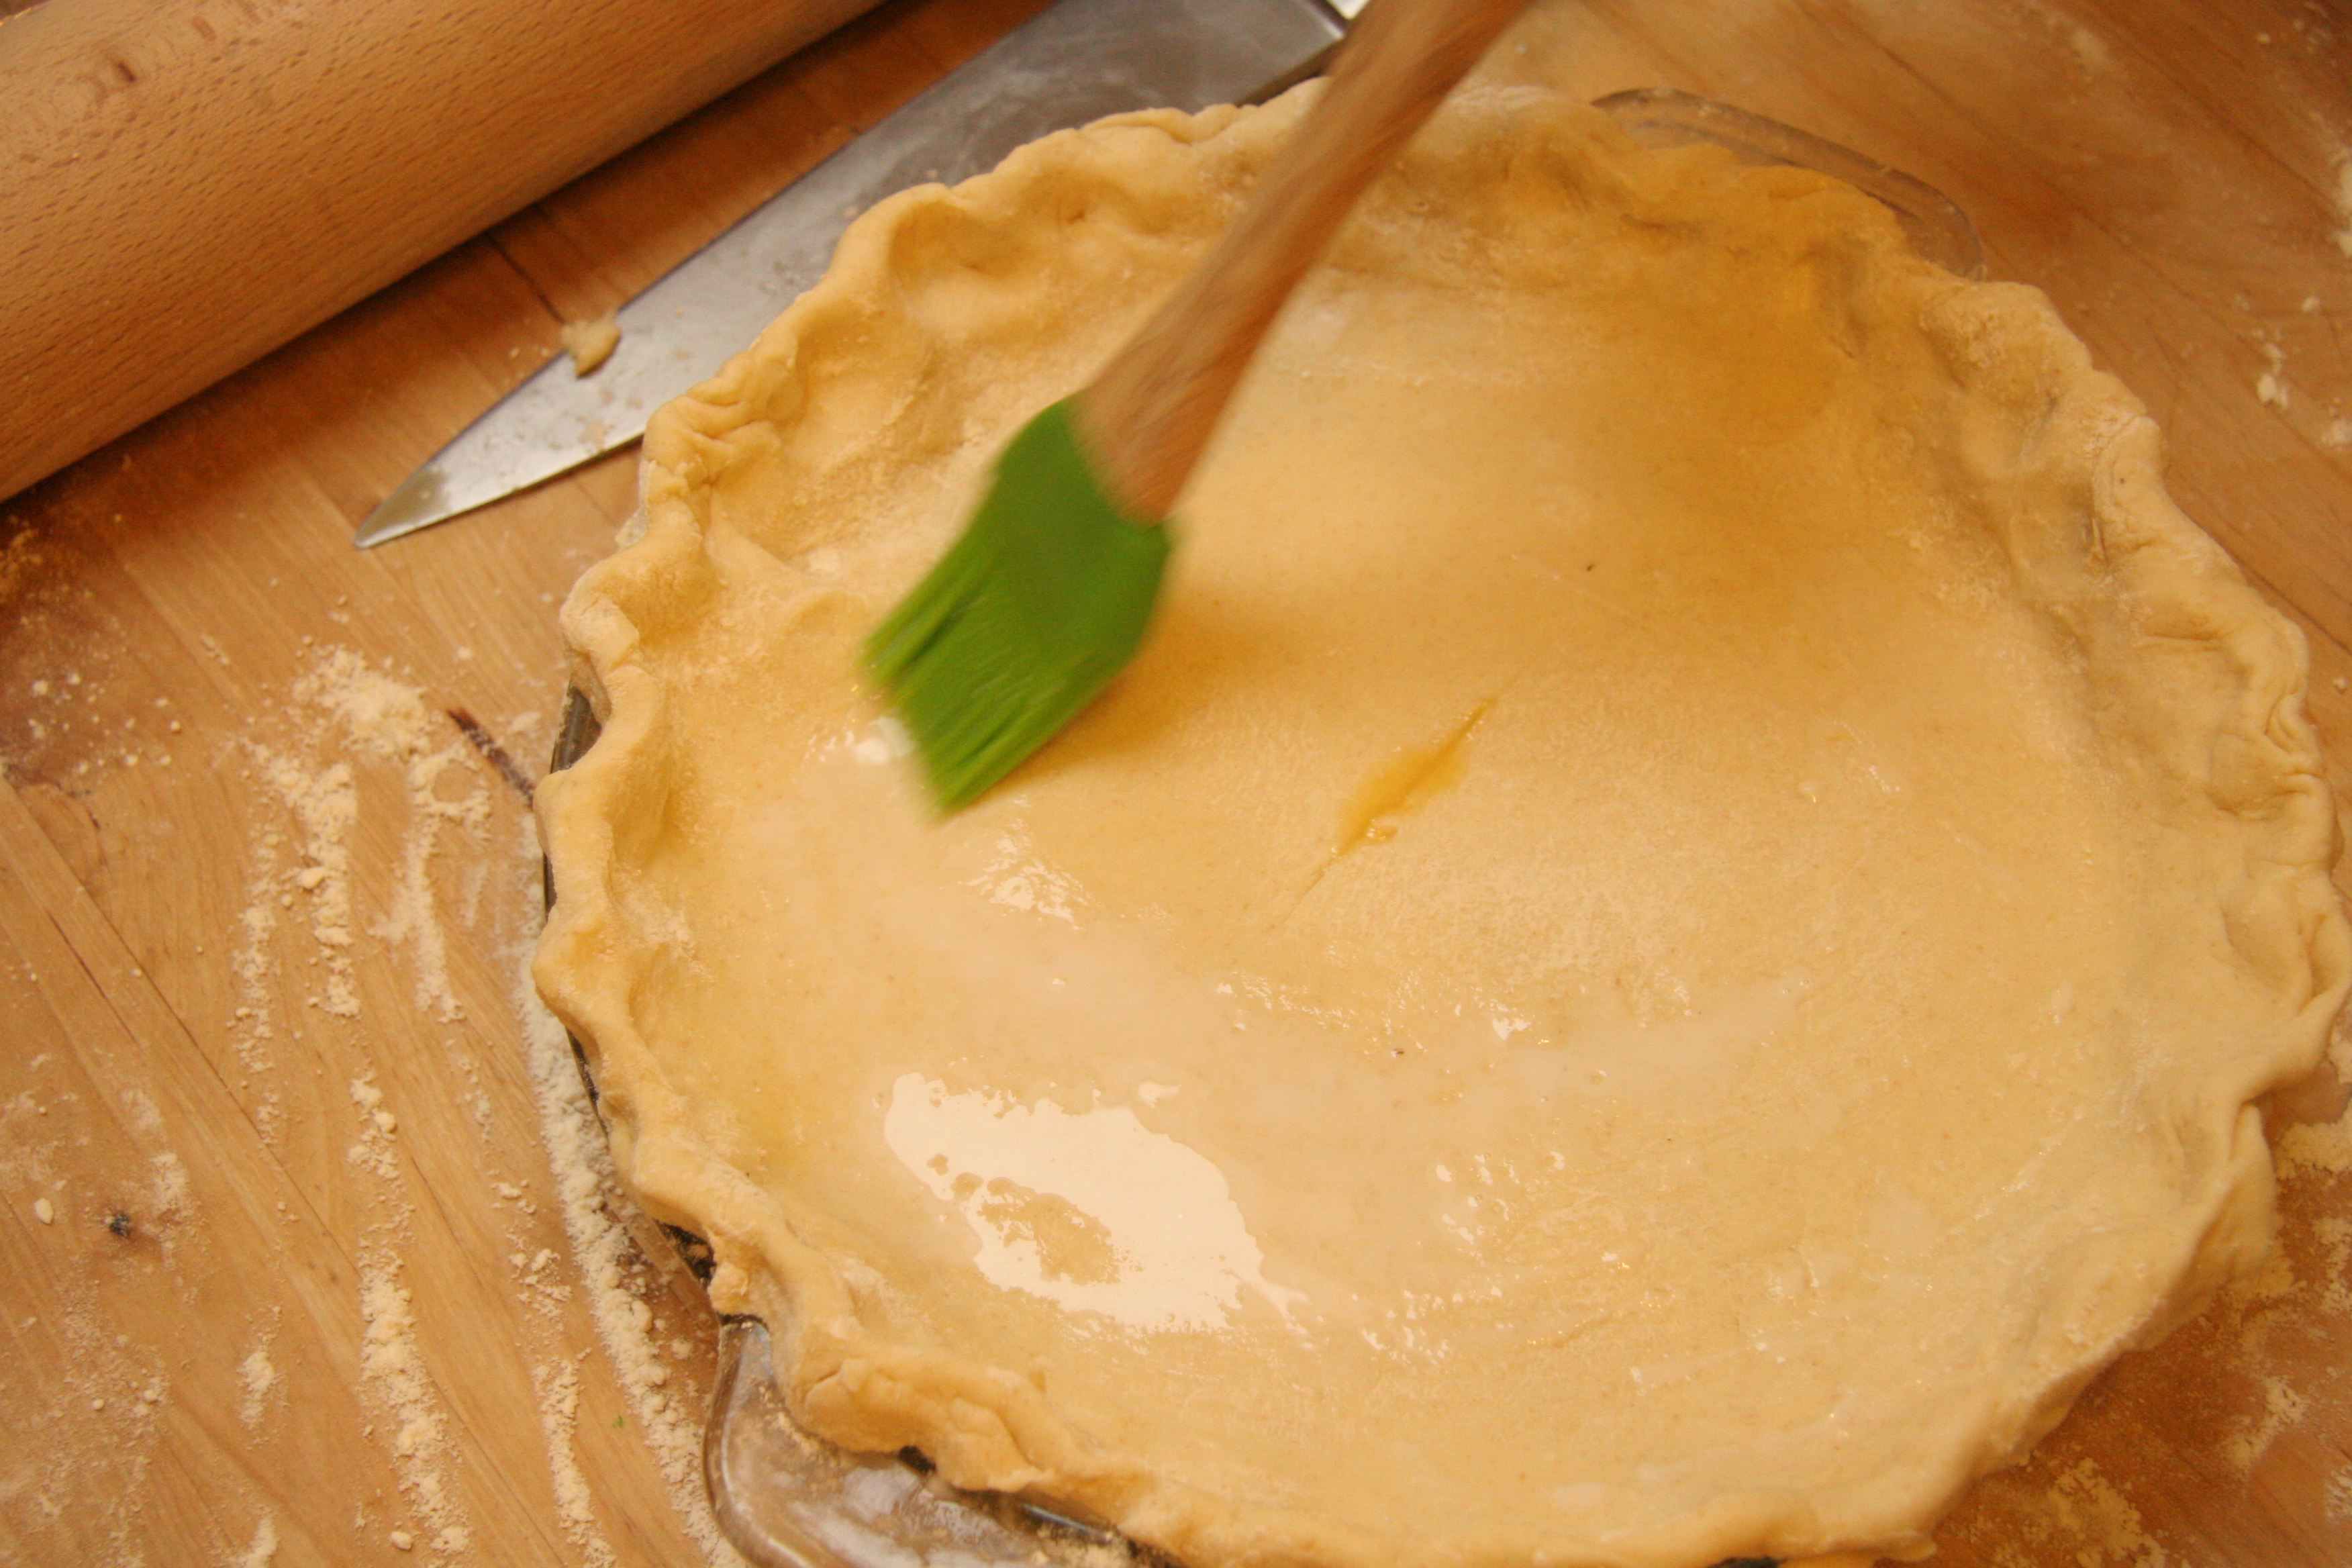
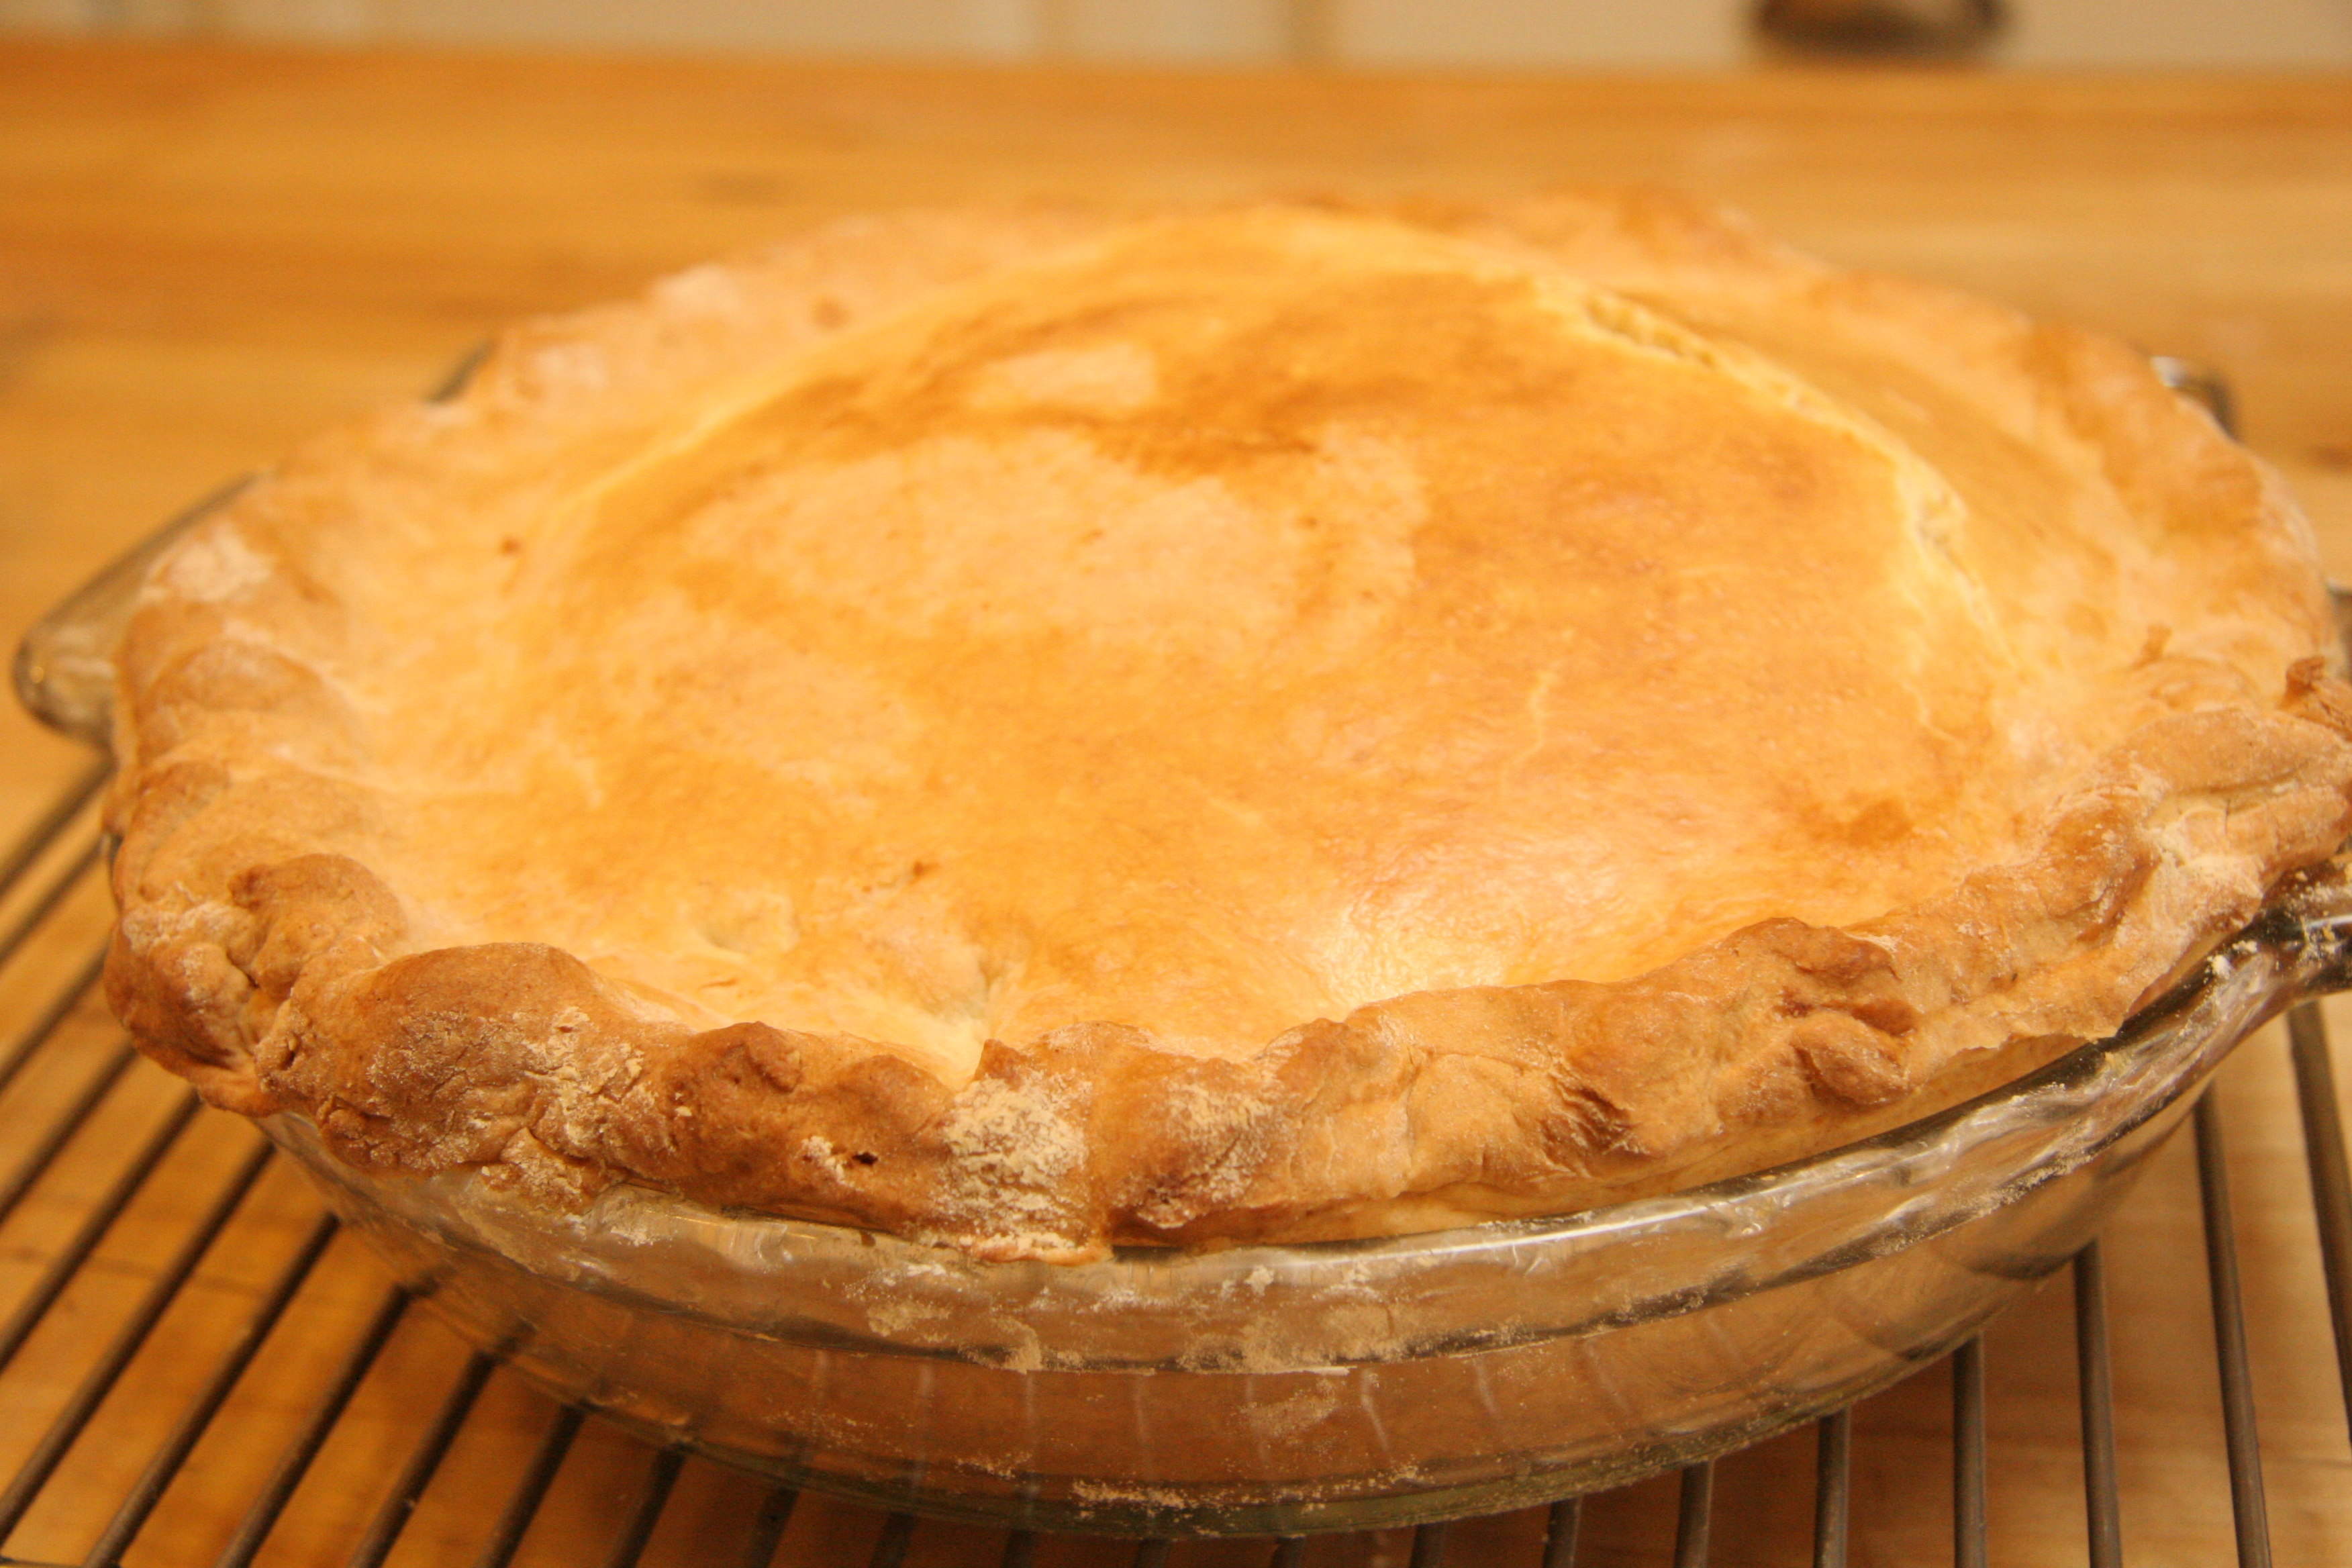
Preheat oven to 375F. Mix milk with vinegar and set aside.  In food processor, pulse flour with butter and lard until they are size of beans.  Divide in two and place in refrigerator for 10 minutes.  Take one ball of dough and place on well floured surface.  (If you have marble, granite or any cold counter, use that.) Roll out turning and flipping every 2-3 rolls so that it will become circular and won’t stick to surface.  Ease into pie plate.  Prick center with fork and weigh down center with aluminum foil or parchment topped with pie weights (pennies, dried beans).  Bake 10-15 minutes until lightly golden.   Set aside to cool.

Triple (Quadruple) Layer Pumpkin Pie

Mix together spices:

1 tsp cinnamon

1 tsp salt

3/4 tsp ground ginger

1/2 tsp ground nutmeg

1/2 tsp allspice

1/4 tsp ground cloves

 Then divide into two— one for custard layer, one for mousse layer.

Custard Layer:

1 cup pumpkin puree

3/4 cup brown sugar

1/4 cup granulated sugar

3 eggs

spice mixture from above

1 1/2 cups heavy cream

2 Tbsp brandy (I used Calvados)

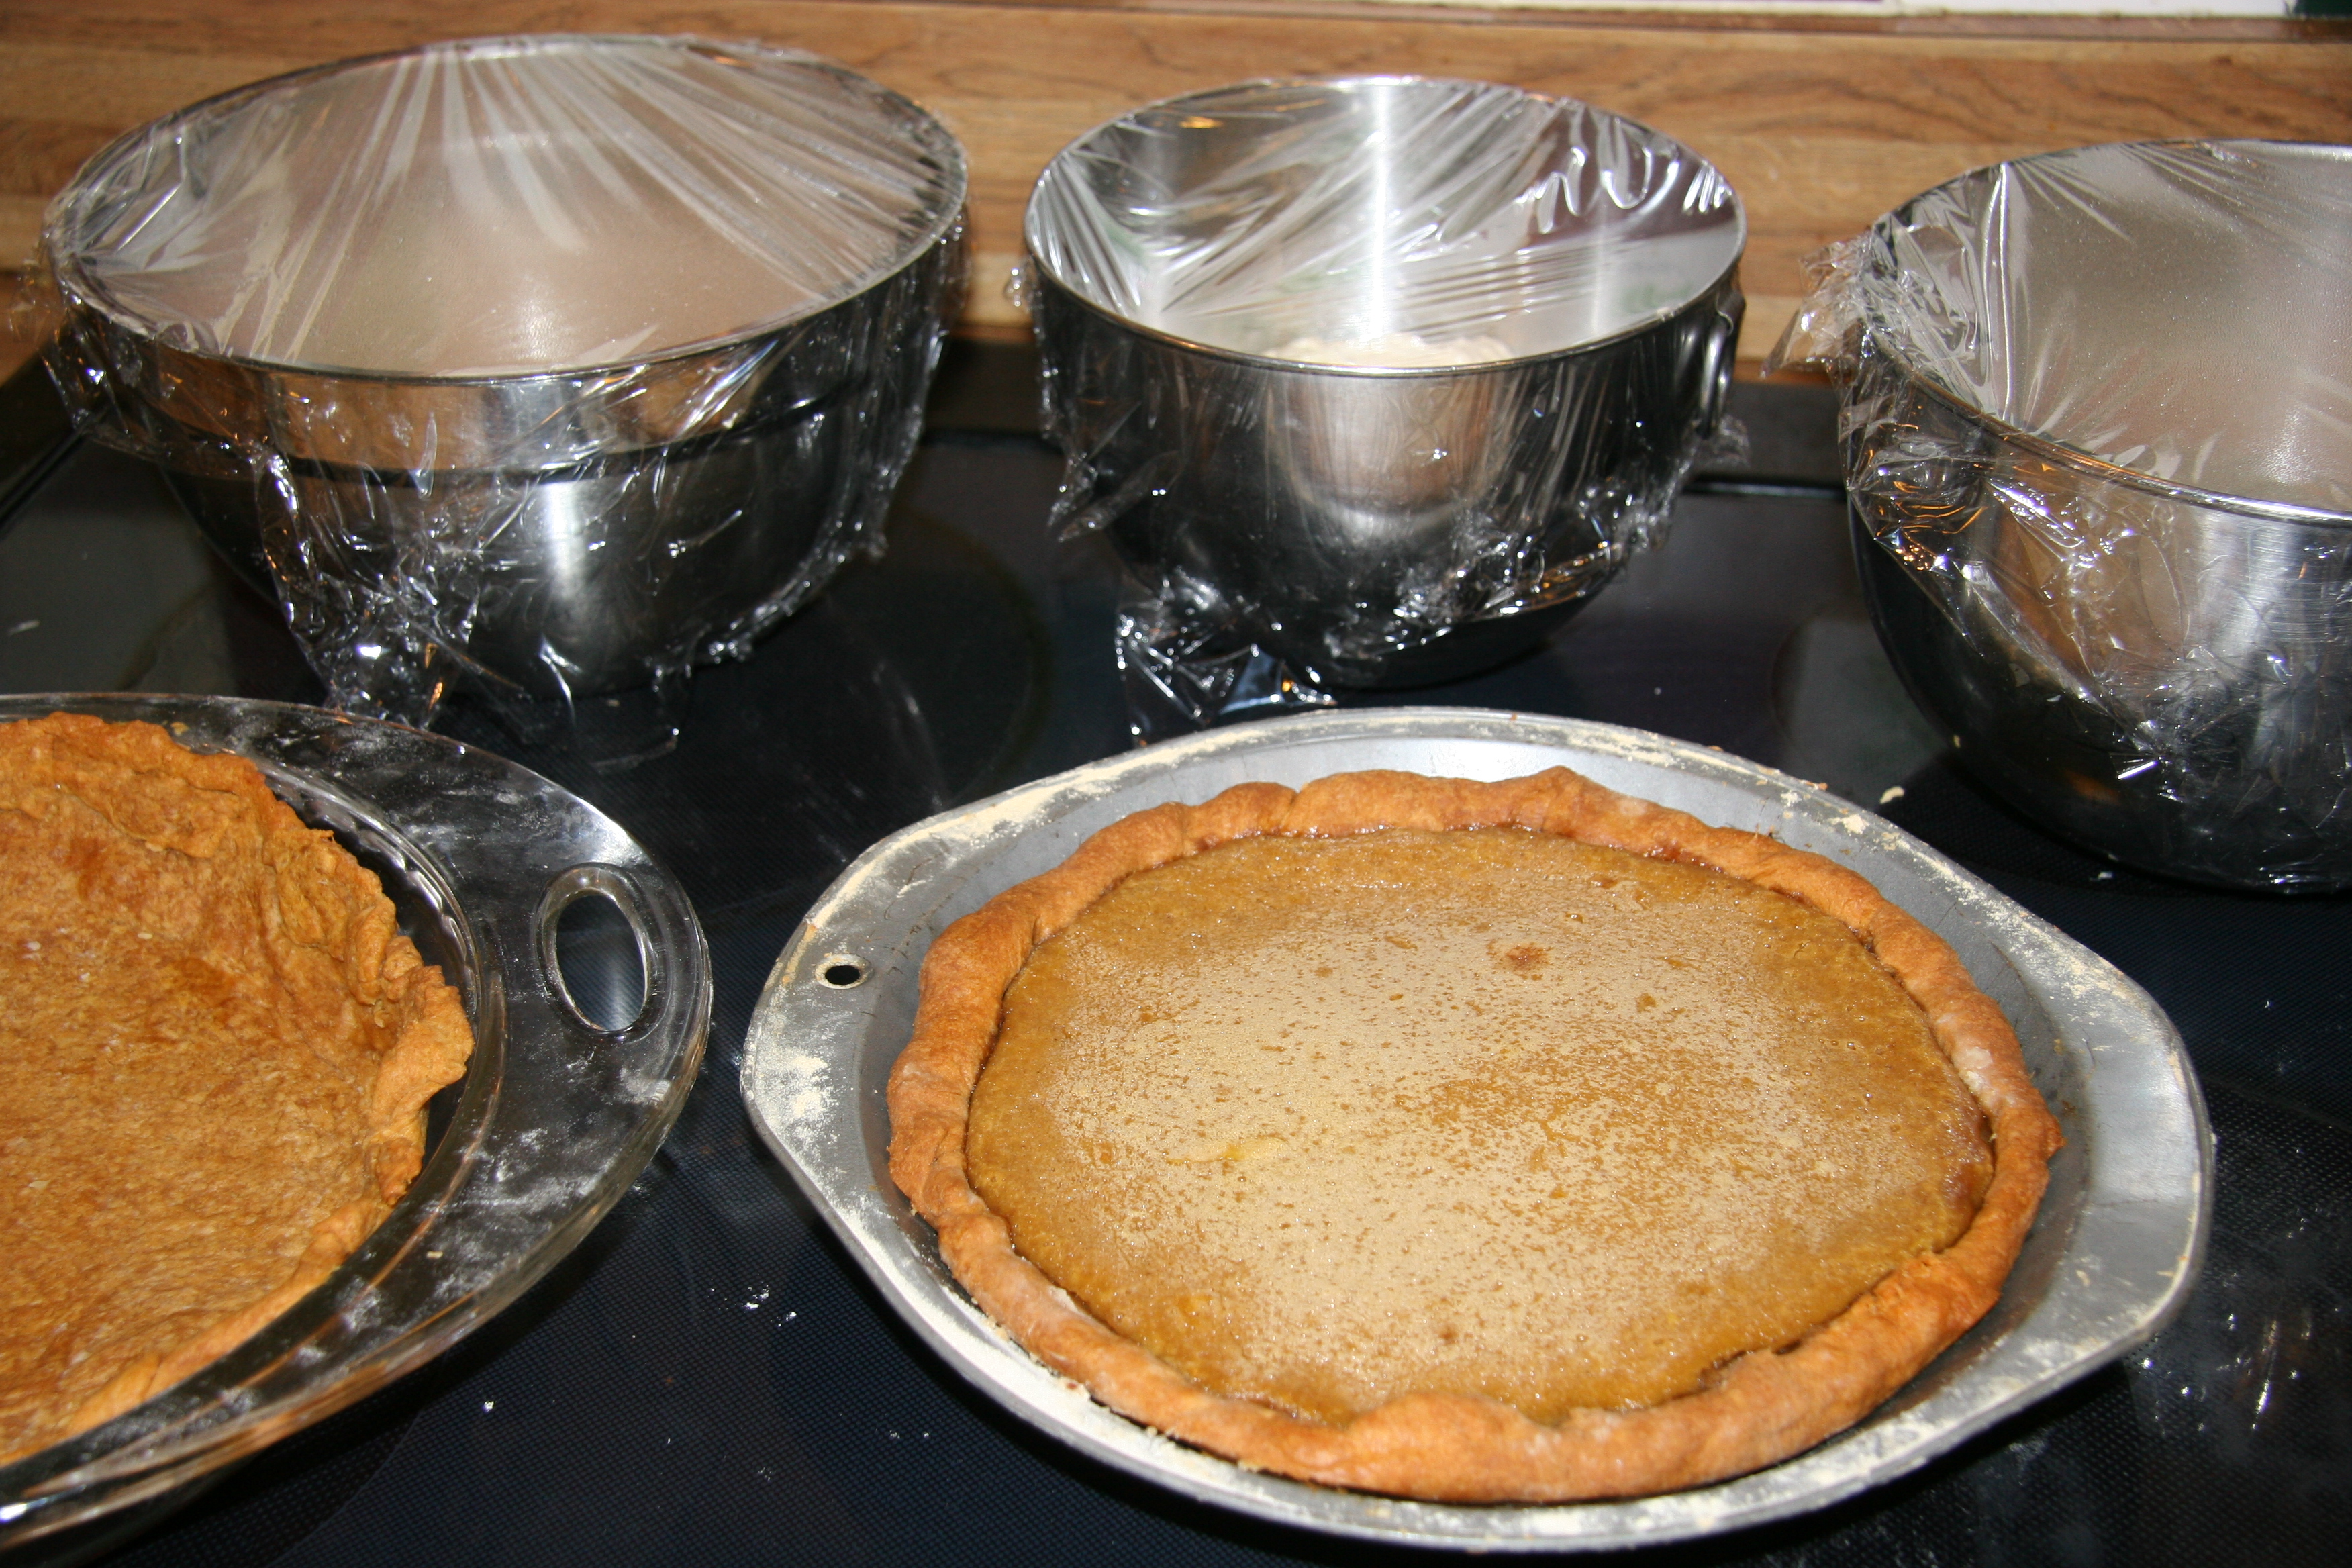
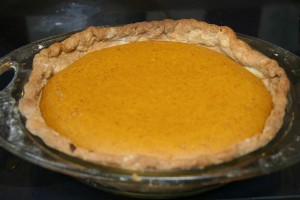
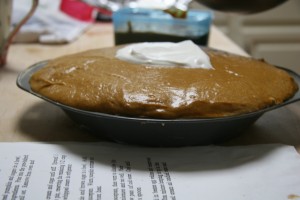
Preheat oven to 350F. With a whisk mix pureed pumpkin and sugars in bowl, slowly add eggs then remaining ingredients.  Pour into pre-baked pie shell and bake until set (about 40 minutes).  When you gently shake it it should move like Jello not liquid, but don’t let it go until it cracks too much (overdone).  Let cool on wire rack then place in fridge for at least an hour.

Whipped Cream Layer:

2 cups heavy cream

1 Tbsp sugar

Whip together until stiff.  Use 1 cup to spread over custard layer.  Reserve 1/2 cup for mousse layer and 1/2 cup for top.  Place pie and remaining cream in fridge.

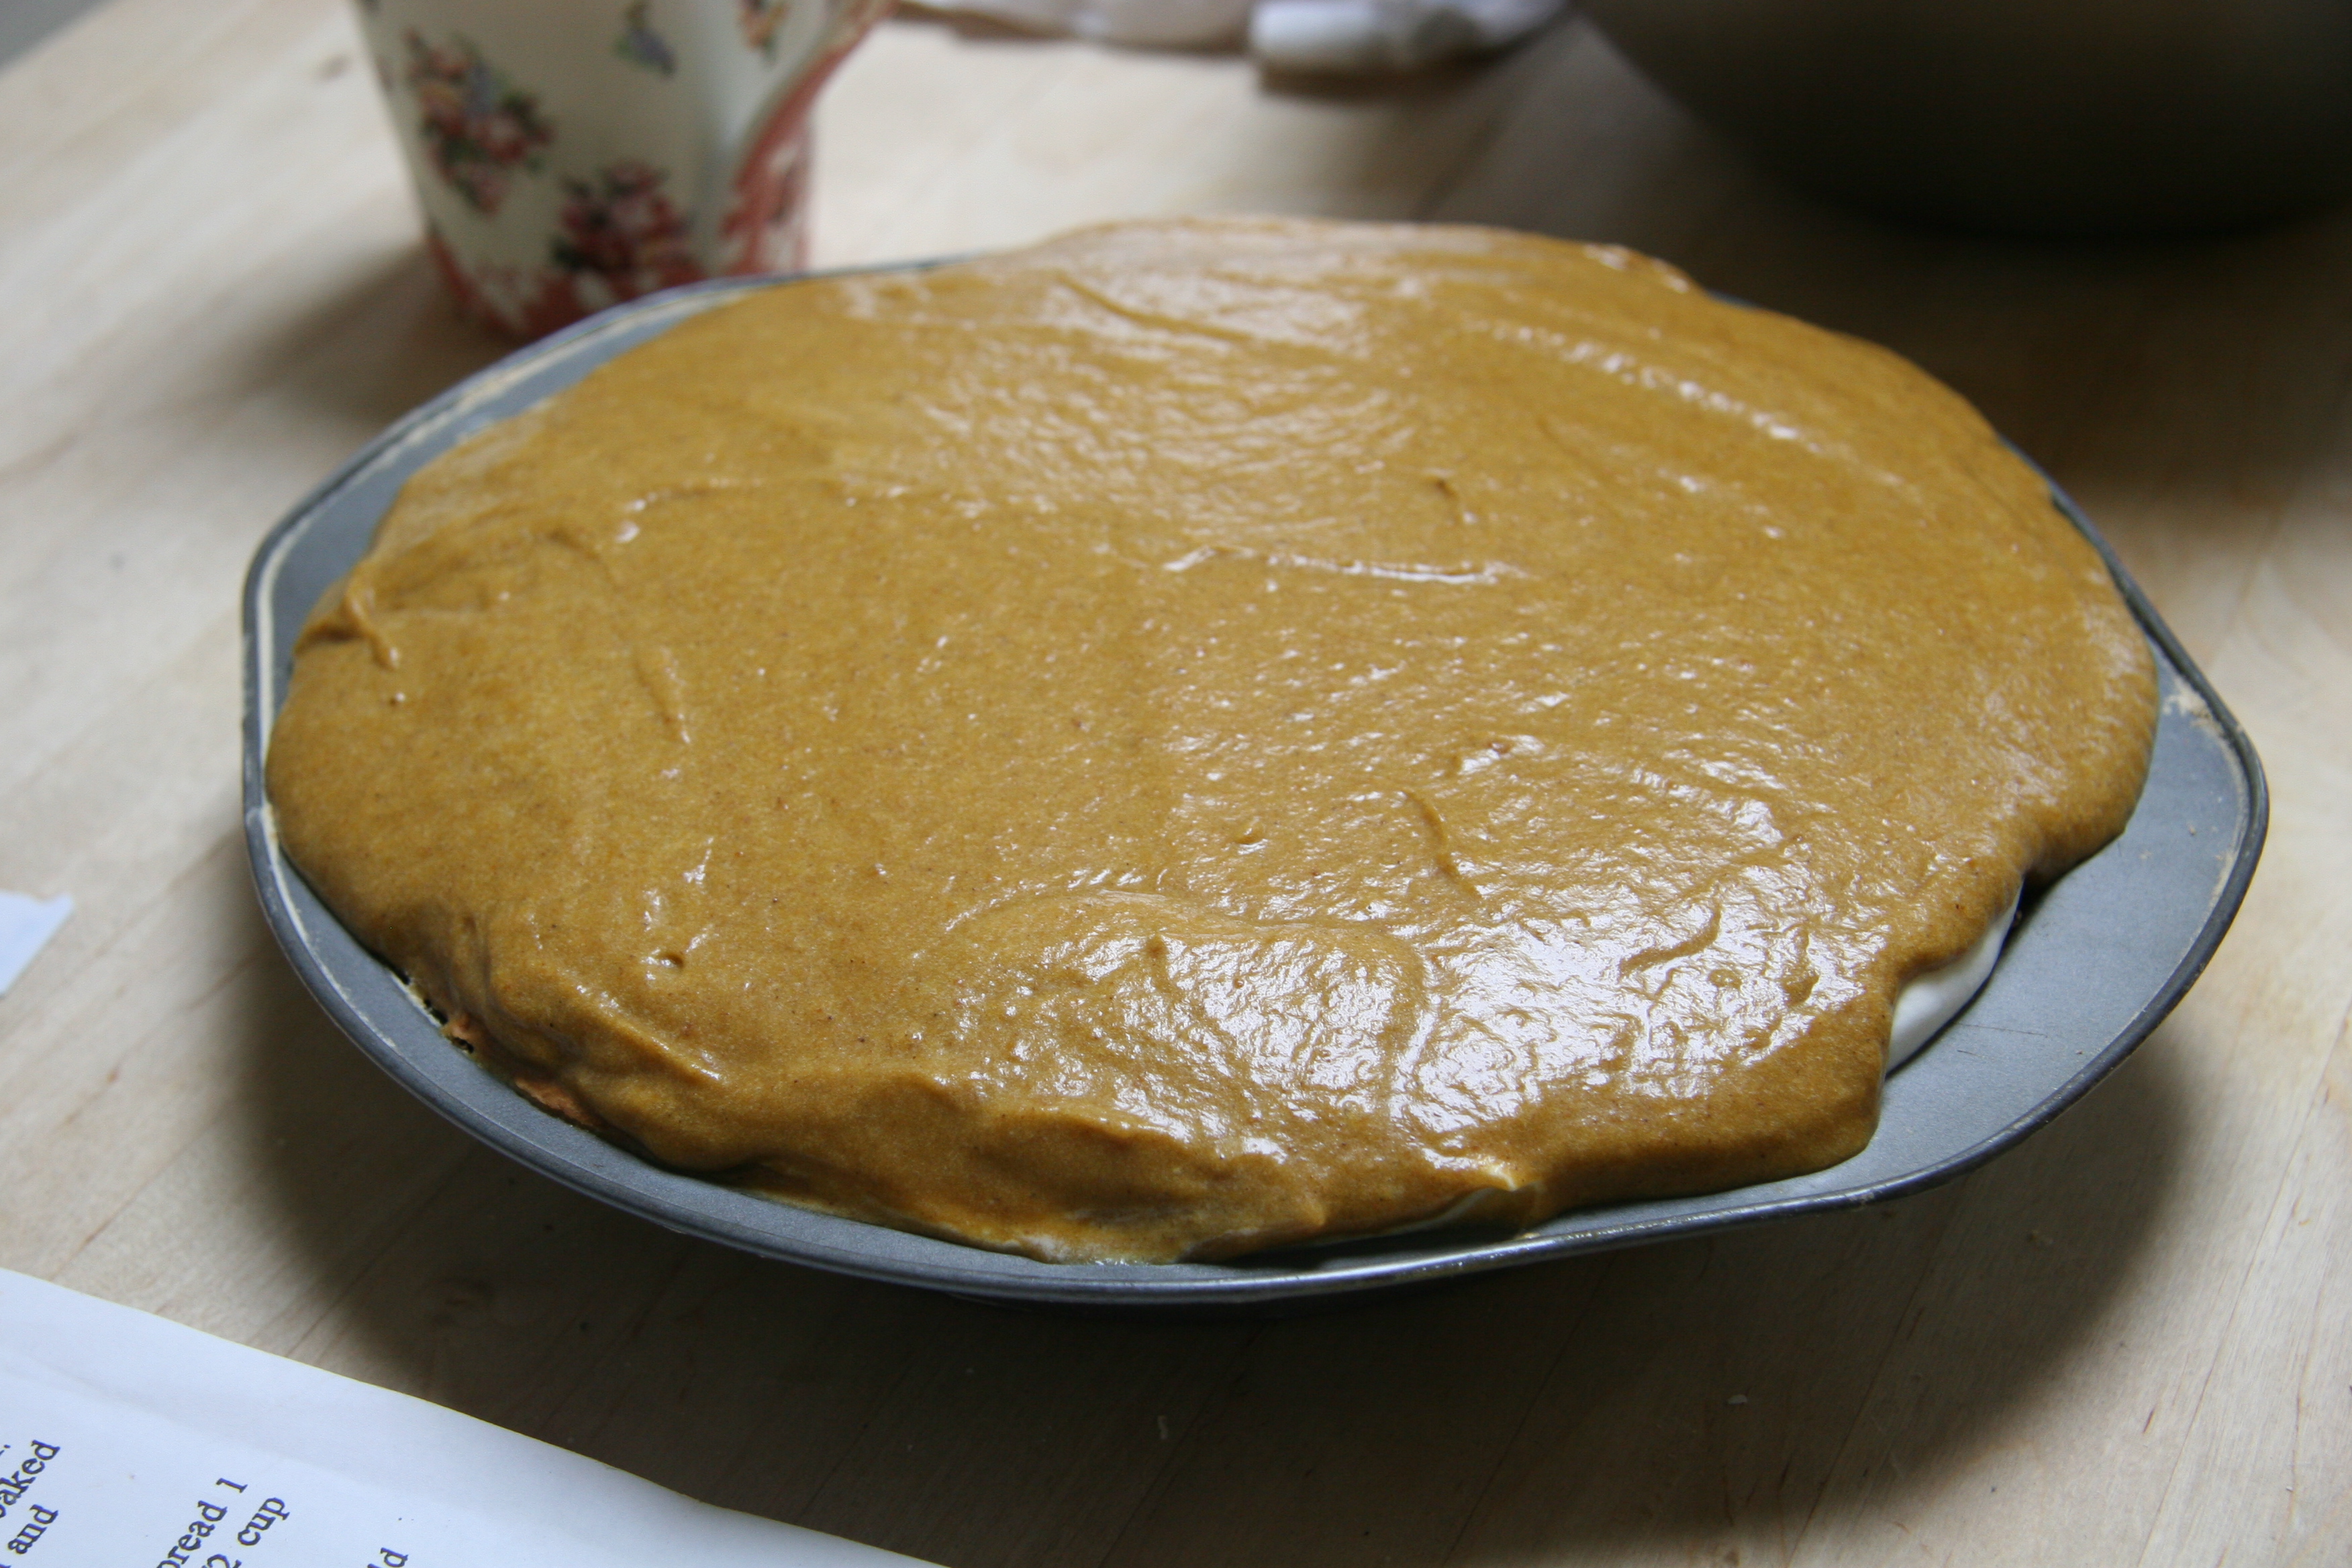
Pumpkin Mousse Layer:

1 Tbsp unflavored gelatin

1/4 cup cold water

1 1/2 cups pumpkin puree

3/4 cup brown sugar

4 egg yolks

3 egg whites (save or throw away the extra white)

spice mixture from above

1 Tbsp granulated sugar

Reserved1/2 cup whipped cream

Mix pumpkin and brown sugar in a medium sausepan.  Add egg yolks (if you separate using shells or hands, make sure no yolk gets in the white) and spices.  Over medium to medium-low heat warm until boiling, stirring constantly.  Remove from heat.  In small sauce pan put water then gelatin, then warm to dissolve (do not boil).  Add gelatin to pumpkin mixture and whisk until well mixed.  Place saucepan with mixture into a shallow pan of cold water (don’t let water get into saucepan) helping it cool.  Cool until mixture mounds slightly when dropped from spoon.

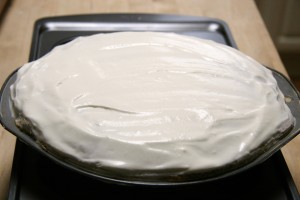
Whip egg whites and sugar until stiff.  (Copper bowls help egg whites stiffen) Gently fold reserved 1/2 cup whipped cream with egg whites then gently fold together with pumpkin mixture.  Finally spread over whipped cream layer heaping in center.  You can top with more whipped cream, or leave as is. Refrigerate until ready to serve.

Pumpkin Custard Layer #2 (Alice Water’s Pumpkin Pie)

1 cup cream

2 tsp flour

1 1/2 cups pumpkin puree

3 eggs

1/4 cup brown sugar

1 Tbsp granulated sugar

1 tsp ground cinnamon

1/4 tsp ground cloves

1/4 tsp ground ginger

1/2 tsp salt

pinch fresh ground black pepper

1 1/2 tsp brandy (optional)

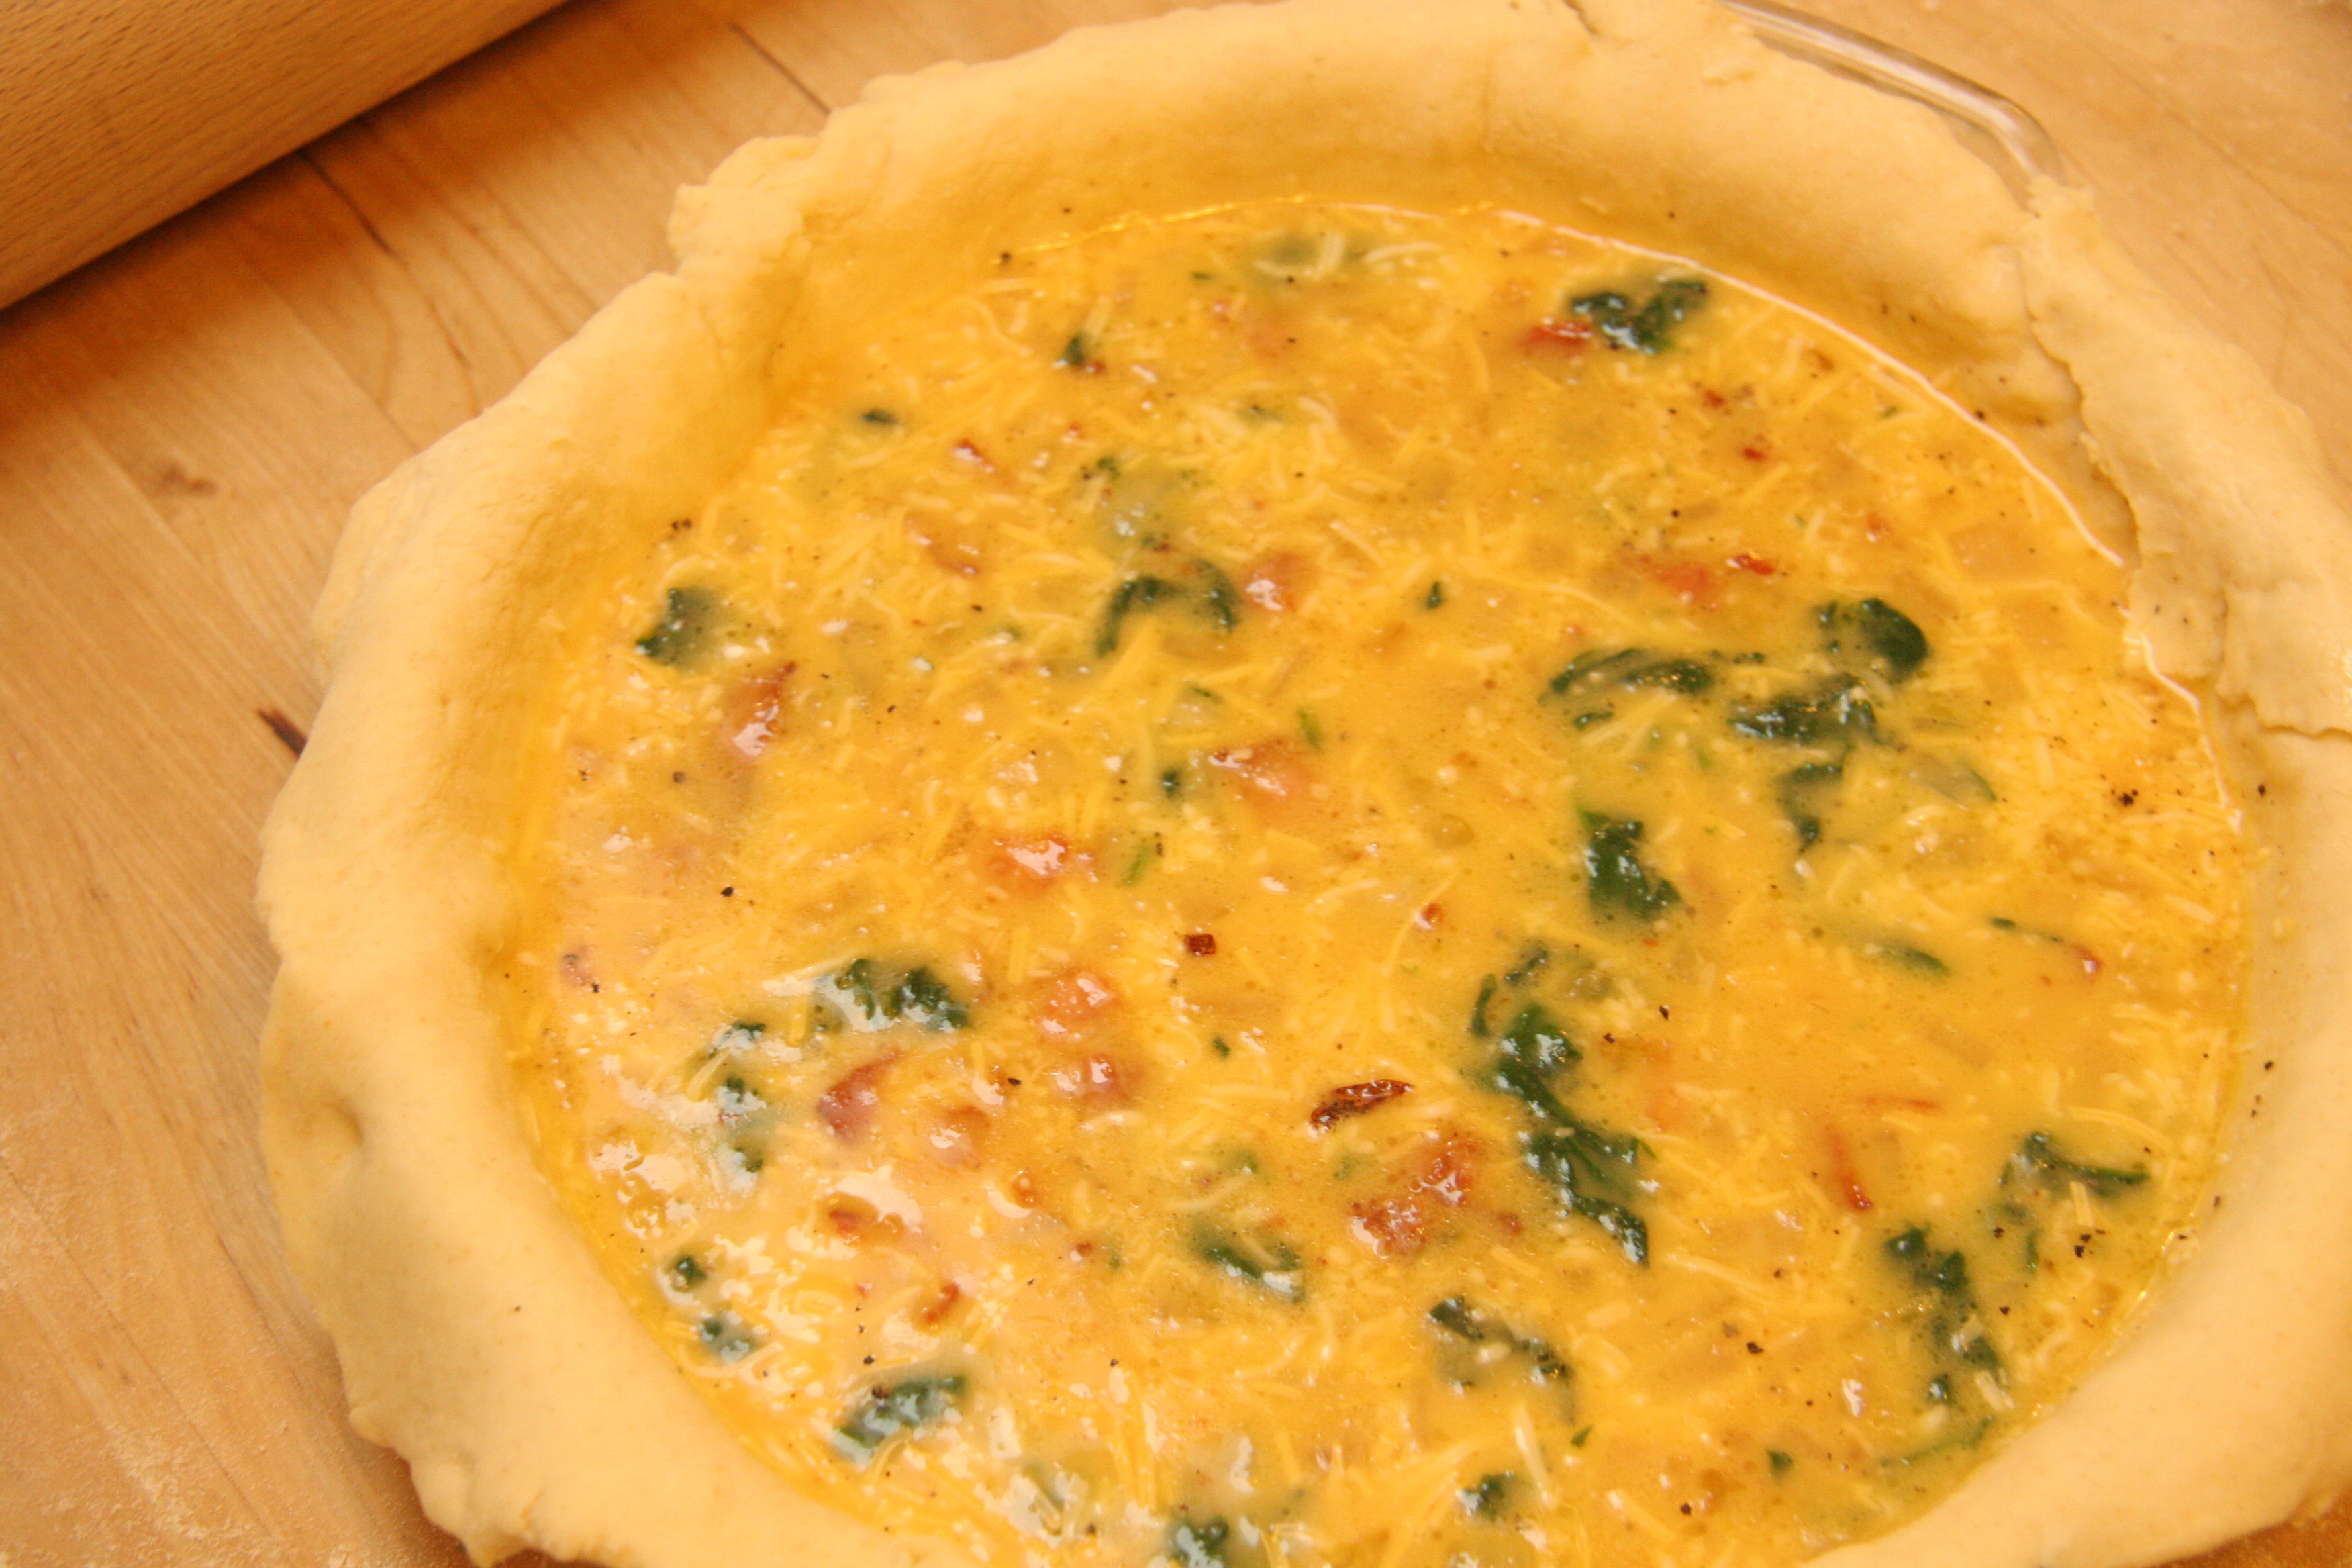
In small saucepan whisk together 1/4 cup cream with flour over low heat until it comes to a boil and thickens.  Slowly whisk in remaining cream.  Continue whisking until it returns to boil.  Remove from heat.  In a medium bowl whisk together pumpkin and eggs.  In another bowl combine sugars and spices.  Combine all three mixtures and whisk in brandy (Again, I used Calvados).  Pour into pre-baked pie shell and bake for 45 minutes until center is just setting.  Place foil around rim if it’s browning too much.  Let cool on wire rack then fridge before adding other layers.  This one I did the mousse next then the whipped cream. 

They were both delicious, though I couldn’t decide which one I liked better.  My kids were so excited to try it during the baking/making of it and when I was carrying it to car,  but once we got there and there were so many other foods and desserts only my eldest was as enthusiastic enough to eat any.   He loved them both too!

Either custard layer can be used as your traditional pumpkin pie without all the layers.
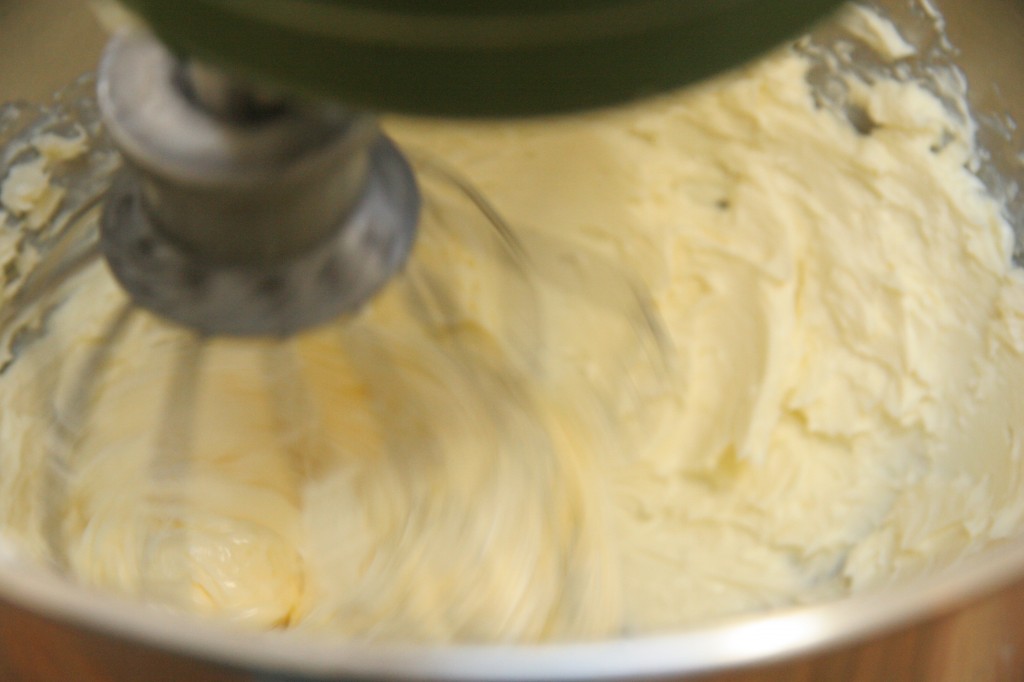
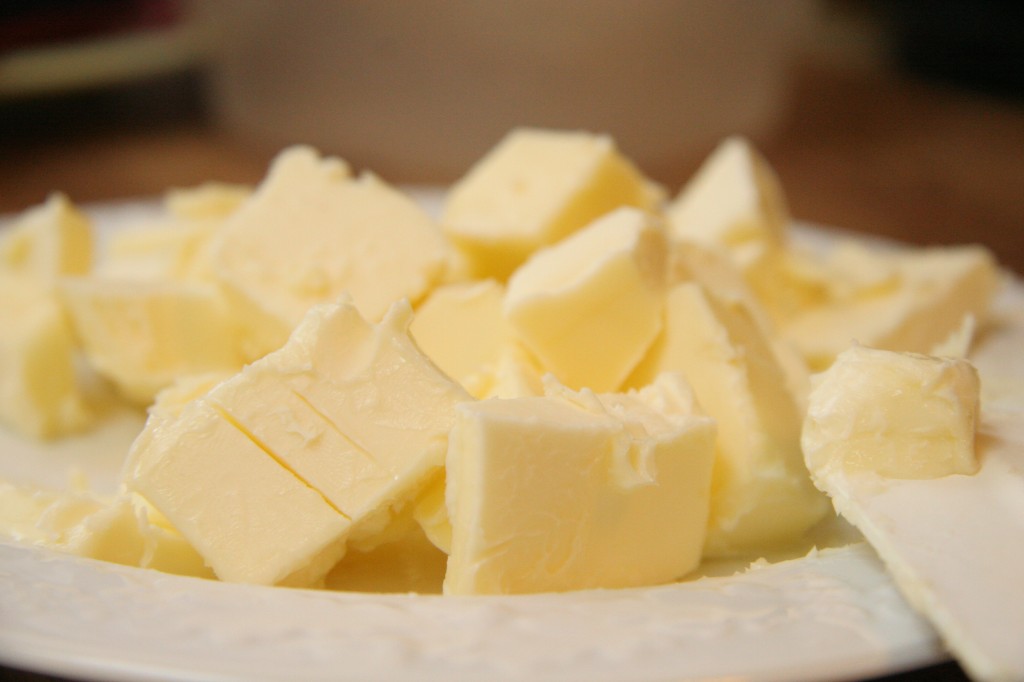